
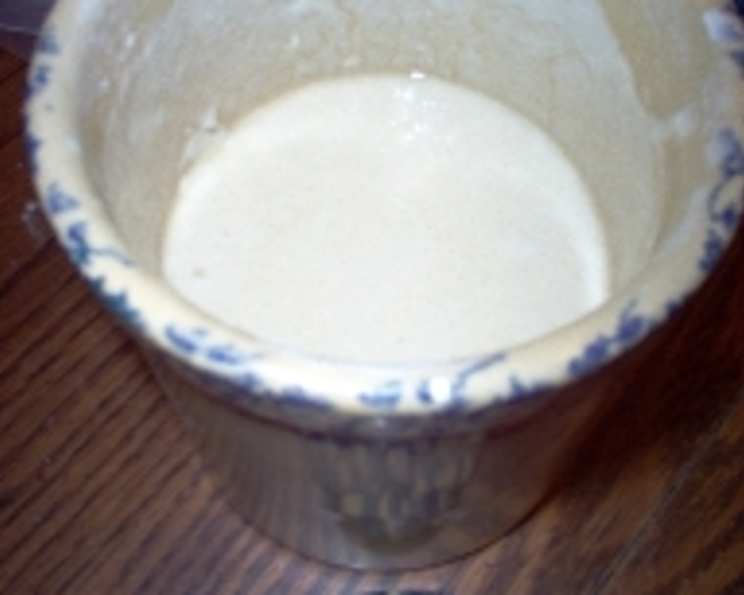
Alaska Sourest Dough Starter: A Culinary Journey to Tangy Perfection
My first encounter with sourdough wasn’t in a trendy bakery, but in my grandmother’s cozy kitchen. She always had a jar bubbling away on the counter, a living testament to her resourcefulness and love for baking. The aroma alone, a mix of tangy yeast and developing complexity, transported me to a world of rustic loaves and endless possibilities. It was more than just bread; it was a connection to heritage, a tangible link to generations past. That memory sparked my journey into the world of sourdough, and I’m thrilled to share this recipe for an Alaska-style sour dough starter with you, which is sure to bring that same magic to your own kitchen.
Recipe Overview
- Prep Time: 5 minutes
- Fermentation Time: 3 days (initial), 1.5 months (for optimal sourness)
- Total Time: Approximately 1.5 months and 3 days
- Yield: 1 starter recipe
- Dietary Type: Vegetarian
Ingredients
- 1 (.25 ounce) package yeast
- 1 teaspoon vinegar
- 2 1/4 cups water
- 1 teaspoon salt
- 2 teaspoons sugar
- 2 cups bread flour
Equipment Needed
- Glass bowl
- Measuring cups and spoons
- Mixing spoon
Instructions
- Begin by dissolving the yeast in 1/4 cup of warm water (around 105-115°F). This step activates the yeast, ensuring it’s ready to work its magic. Let it sit for about 5 minutes until it gets foamy.
- In a large glass bowl, combine the sugar, vinegar, salt, and flour. The vinegar adds a slight acidity that contributes to the overall sour flavor.
- Add the dissolved yeast to the dry ingredients.
- Slowly add the remaining water, mixing until a creamy batter forms. The consistency should be smooth, without any large lumps.
- Cover the bowl and let it sit at room temperature until it starts to ferment. This initial fermentation period typically lasts around 3 days. You’ll notice bubbles forming and the mixture increasing in volume.
- After the initial fermentation, the starter will likely have a powerful, almost boozy smell. This is completely normal and indicates that the fermentation process is well underway.
- Stir the starter again until it is creamy. Now it’s ready to be used. Measure out the amount of starter called for in your desired recipe.
- Replenish the starter by adding equal amounts of flour and water to replace what you’ve used. For example, if you used 1 cup of starter, add 1 cup of flour and 1 cup of water. This is often referred to as “feeding” the starter.
- Store the replenished starter in the refrigerator. Remember to bring it to room temperature before using it in a recipe.
- While some recipes suggest allowing the starter to ferment for a week between uses, I prefer to let it sit out overnight after feeding it. This gives the yeast a boost and enhances the sour flavor.
- For the truly sour flavor characteristic of an Alaska sourdough, allow the starter to ferment and mature for about 1 1/2 months. This extended fermentation period allows the lactic acid bacteria to develop fully, creating a wonderfully tangy flavor. You’ll need to feed it regularly during this period.
Expert Tips & Tricks
- Temperature is key: The fermentation process is greatly affected by temperature. Warmer temperatures will speed up fermentation, while cooler temperatures will slow it down. Aim for a consistent room temperature of around 70-75°F (21-24°C) for optimal results.
- Use quality flour: Bread flour contains a higher protein content than all-purpose flour, which is essential for developing the gluten structure necessary for a good sourdough rise.
- Don’t be afraid to experiment: Sourdough starters can be finicky. If you find that your starter isn’t rising properly, try adjusting the amount of water or flour you add when feeding it.
- Discarding is okay: As you feed your starter, you’ll accumulate excess. Discarding some of the starter before feeding prevents you from ending up with an unmanageably large amount.
- Smell is your guide: A healthy sourdough starter will have a pleasant, tangy aroma. If it smells moldy or off, discard it and start over.
- Patience is a virtue: Developing a truly sour sourdough starter takes time. Don’t be discouraged if it doesn’t have the desired flavor right away. Just keep feeding it regularly and be patient.
- Float Test: Before using your starter, test if it is active enough to leaven bread. Drop a small spoonful into a glass of water. If it floats, it’s ready to bake!
Serving & Storage Suggestions
Once your starter is mature and ready to use, it can be incorporated into various recipes, such as sourdough bread, pancakes, waffles, and even pizza dough. Store the starter in an airtight container in the refrigerator for up to two weeks. If you won’t be using it for a while, you can freeze it for longer storage. Thaw it overnight in the refrigerator before using. To reactivate a refrigerated or frozen starter, simply bring it to room temperature and feed it. It may take a few feedings for it to become fully active again.
Nutritional Information
Please note that the nutritional information will vary depending on the specific recipe you use the starter in. The following is a general estimate for 1/4 cup of starter:
| Nutrient | Amount per Serving | % Daily Value |
|---|---|---|
| Calories | 75 kcal | 4% |
| Total Fat | 0.2g | 0% |
| Saturated Fat | 0g | 0% |
| Cholesterol | 0mg | 0% |
| Sodium | 75mg | 3% |
| Total Carbohydrate | 15g | 5% |
| Dietary Fiber | 0.5g | 2% |
| Sugars | 0.5g | 1% |
| Protein | 2g | 4% |
Variations & Substitutions
- Gluten-Free Starter: Substitute the bread flour with a gluten-free flour blend specifically designed for baking. You may need to adjust the amount of water to achieve the desired consistency.
- Whole Wheat Starter: Replace half or all of the bread flour with whole wheat flour for a more nutritious and flavorful starter. This will also impact the fermentation time and sourness.
- Rye Starter: Incorporate rye flour into your starter for a distinct flavor profile, often associated with classic sourdough rye breads.
- Sweet Starter: Increase the amount of sugar in the starter recipe to promote yeast activity and develop a sweeter flavor profile. This can be particularly useful for sweet sourdough breads or pastries.
- Fruit Starter: Add a small amount of mashed fruit (like grapes or apples) to the starter to introduce wild yeasts and enhance the flavor complexity. Be cautious as this can also introduce unwanted bacteria, so monitor closely for off-smells.
FAQs (Frequently Asked Questions)
Q: How do I know if my starter is ready to use?
A: A mature starter will be bubbly and active, doubling in size within a few hours after feeding. It will also have a pleasant, tangy aroma. The “float test” mentioned above can also be used.
Q: What happens if I forget to feed my starter?
A: If you miss a feeding, the starter may become inactive and develop a layer of liquid on top (hooch). Simply pour off the liquid, stir the starter, and feed it. It may take a few feedings to revive it.
Q: Why is my starter not rising?
A: Several factors can affect a starter’s rise, including temperature, flour quality, and yeast activity. Make sure your starter is kept at a warm temperature and that you are using fresh, high-quality flour. You may also need to adjust the amount of water or flour you add when feeding it.
Q: Can I use my sourdough starter right after feeding it?
A: It’s generally best to wait until the starter has reached its peak activity (doubled in size) before using it in a recipe. This ensures that it has enough leavening power to produce a good rise.
Q: How can I make my sourdough starter more sour?
A: Allowing the starter to ferment for a longer period, using whole wheat or rye flour, and keeping it at a slightly cooler temperature can all contribute to a more sour flavor.
Final Thoughts
Creating your own Alaska Sour Dough starter is more than just following a recipe; it’s an invitation to connect with a time-honored tradition. This is a project that rewards patience. Don’t be afraid to experiment and adapt the recipe to your own preferences. Share your creations with friends and family, and remember that every loaf is a testament to your hard work and dedication. Whether you’re baking crusty loaves of bread or fluffy pancakes, I hope this recipe brings you as much joy as it has brought me. Happy baking!