
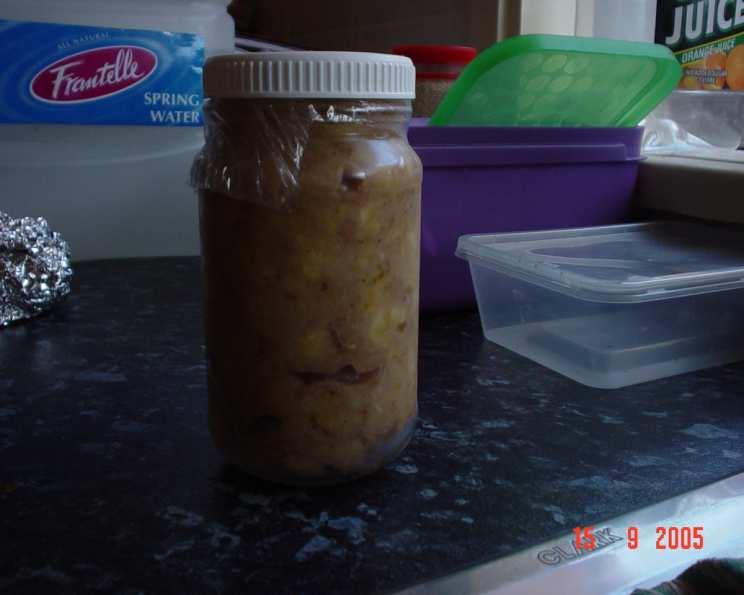
Homemade Banana Jam: A Taste of Sunshine
I remember the first time I tasted banana jam. I was on a small, family-run farm in Hawaii, the air thick with the scent of plumeria and ripe bananas. The farmer’s wife, a kind woman with a smile as warm as the tropical sun, offered me a piece of her homemade bread slathered with this golden, fragrant jam. The sweet, almost caramelized flavor of the bananas, brightened by a hint of citrus, was unlike anything I’d ever experienced. It was pure sunshine in a jar, and I’ve been hooked ever since, experimenting with my own versions to capture that perfect taste of the islands.
Recipe Overview
- Prep Time: 5 minutes
- Cook Time: 25 minutes
- Total Time: 30 minutes
- Yields: About 2 cups
- Serves: About 12
- Dietary Type: Vegan
Ingredients
- 4 cups mashed ripe bananas (about 6-8 medium bananas)
- 1/3 cup fresh lemon juice
- 2 tablespoons brown sugar
- 1/4 teaspoon ground nutmeg
Equipment Needed
- Blender or food processor
- Large saucepan
- Wooden spoon or spatula
- Sterilized jars for storage
Instructions
- Puree the Ingredients: In a blender or food processor, combine the mashed ripe bananas, fresh lemon juice, brown sugar, and ground nutmeg. Process until the mixture is smooth. This step ensures a consistent texture throughout the jam. You may need to scrape down the sides of the blender to get everything fully incorporated.
- Bring to a Boil: Pour the pureed banana mixture into a large saucepan. Place the saucepan over medium-high heat and bring the mixture to a rolling boil, stirring constantly to prevent sticking and scorching.
- Simmer and Thicken: Once the mixture is boiling, reduce the heat to low. Simmer gently, stirring frequently, for approximately 20-25 minutes, or until the jam has thickened to your desired consistency. The jam will thicken further as it cools, so don’t overcook it. The goal is a texture that coats the back of a spoon.
- Check for Doneness: To check for doneness, place a small spoonful of jam on a chilled plate. Let it cool for a minute. If it wrinkles when you push it with your finger, it’s ready. If it’s still runny, continue to simmer for a few more minutes and test again.
- Sterilize Jars (Optional but Recommended): While the jam is simmering, prepare your jars for storage. This is optional, but highly recommended for longer shelf life. Sterilize the jars and lids by boiling them in water for 10 minutes. Remove them carefully with tongs and let them air dry on a clean towel.
- Jar and Seal: If you sterilized your jars, carefully ladle the hot banana jam into the sterilized jars, leaving about 1/4 inch of headspace at the top. Wipe the rims of the jars clean with a damp cloth. Place the lids on the jars and screw on the bands until they are finger-tight (not too tight).
- Process Jars (Optional but Recommended): For long-term storage, process the filled jars in a boiling water bath for 10 minutes. This creates a vacuum seal that helps preserve the jam. If you prefer, you can skip this step and simply store the jam in the refrigerator.
- Cool and Store: Let the jars cool completely on a wire rack. As they cool, you should hear a popping sound, which indicates that the jars have sealed properly. If a jar doesn’t seal, store it in the refrigerator and use it within a few weeks.
Expert Tips & Tricks
- Banana Ripeness is Key: The best bananas for banana jam are those that are very ripe – even slightly overripe. These bananas have the most intense flavor and will result in a sweeter, richer jam. Avoid using green or underripe bananas, as they will be bland and may make the jam taste starchy.
- Lemon Juice is Essential: Don’t skip the lemon juice! The acidity not only brightens the flavor of the jam but also helps with the setting process. It acts as a natural preservative as well.
- Stirring is Crucial: Make sure to stir the jam frequently, especially as it begins to thicken. This prevents the jam from sticking to the bottom of the saucepan and scorching, which can ruin the flavor.
- Adjusting Sweetness: If your bananas are very ripe and sweet, you may want to reduce the amount of brown sugar slightly. Taste the jam as it simmers and adjust the sweetness to your preference.
- Spice it Up: Experiment with other spices to customize your banana jam. A pinch of cinnamon, ginger, or even cardamom can add a warm, inviting flavor.
- Preventing Crystallization: Adding a tablespoon of corn syrup can help prevent sugar crystals from forming in your jam during storage. This is especially useful if you’re planning to store the jam for an extended period.
- Using Pectin: If you prefer a thicker, more traditional jam texture, you can add a small amount of pectin to the recipe. Follow the instructions on the pectin package for best results.
Serving & Storage Suggestions
Banana jam is incredibly versatile. Serve it warm over pancakes, waffles, or French toast. Spread it on toast, biscuits, or scones for a sweet breakfast treat. Use it as a filling for thumbprint cookies or as a topping for ice cream. It also pairs well with savory dishes, such as grilled cheese sandwiches or roasted pork.
Store the banana jam in sterilized jars in a cool, dark place. Properly sealed jars can be stored at room temperature for up to a year. Once opened, store the jam in the refrigerator for up to a month. Unsealed jars should be stored in the refrigerator and used within a few weeks.
Nutritional Information
| Nutrient | Amount per Serving | % Daily Value |
|---|---|---|
| Calories | 45 kcal | 2% |
| Total Fat | 0.1g | 0% |
| Saturated Fat | 0g | 0% |
| Cholesterol | 0mg | 0% |
| Sodium | 1mg | 0% |
| Total Carbohydrate | 11g | 4% |
| Dietary Fiber | 1g | 4% |
| Sugars | 7g | – |
| Protein | 0.4g | 1% |
Nutritional information is an estimate and may vary based on specific ingredients and portion sizes.
Variations & Substitutions
- Spiced Banana Jam: Add 1/2 teaspoon of ground cinnamon and 1/4 teaspoon of ground ginger along with the nutmeg for a warmer, spicier flavor.
- Tropical Twist: Incorporate 1/4 cup of shredded coconut or 1/4 cup of crushed pineapple to add a tropical touch. Reduce the amount of bananas by the same amount.
- Boozy Banana Jam: Add a splash of rum or bourbon during the last few minutes of simmering for an adult-friendly treat. Start with 1 tablespoon and add more to taste.
- Honey Substitute: You can substitute the brown sugar with honey or maple syrup. The flavor will be slightly different, but equally delicious.
- Citrus Zest: Add the zest of one lemon or orange along with the juice for an extra burst of citrus flavor.
FAQs (Frequently Asked Questions)
Q: Can I use frozen bananas for this recipe?
A: Yes, you can use frozen bananas, but make sure to thaw them completely and drain any excess liquid before mashing them. This will help prevent the jam from becoming too watery.
Q: How do I know if the jam is thick enough?
A: The jam will thicken as it cools. To test for doneness, place a small spoonful on a chilled plate. Let it cool for a minute. If it wrinkles when you push it with your finger, it’s ready.
Q: Can I reduce the sugar in this recipe?
A: Yes, you can reduce the sugar slightly, but keep in mind that sugar acts as a preservative. Reducing the sugar too much may shorten the shelf life of the jam.
Q: Why didn’t my jars seal properly?
A: There are several reasons why jars may not seal. Make sure the rims of the jars are clean before applying the lids. Also, ensure that the bands are not too tight, as this can prevent the air from escaping during processing.
Q: How long will the banana jam last?
A: Properly sealed jars of banana jam can be stored at room temperature for up to a year. Once opened, store the jam in the refrigerator for up to a month.
Final Thoughts
This homemade banana jam is a delightful way to enjoy the sweet, tropical flavor of bananas all year round. It’s incredibly easy to make, requiring just a few simple ingredients and minimal effort. Whether you’re spreading it on toast, using it as a filling for baked goods, or gifting it to friends and family, this recipe is sure to bring a smile to anyone’s face. I encourage you to give it a try and let me know what you think! Perhaps you’ll even discover your own perfect flavor combinations to add to this already delightful treat. Enjoy!