
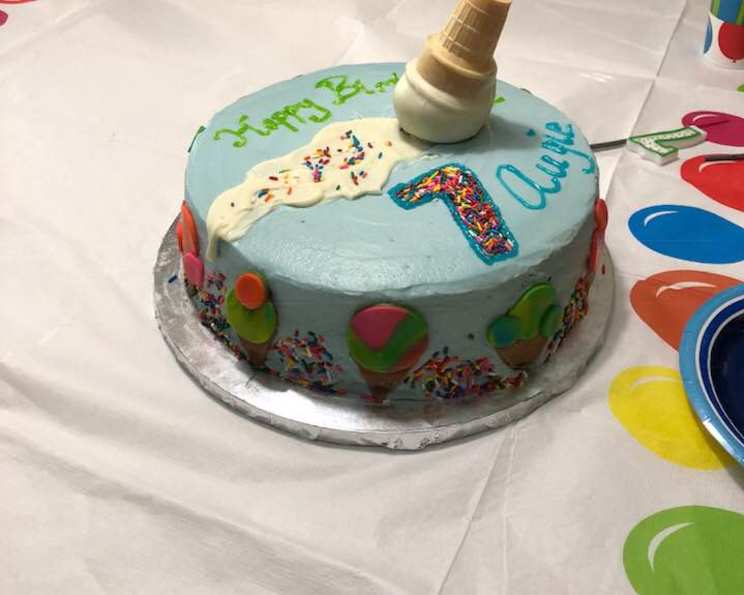
The Enduring Elegance of Basic White Cake
I can still vividly recall the first time I tasted a truly exceptional white cake. It was at my grandmother’s 80th birthday celebration. The cake, a towering confection of pristine white frosting and delicate sugar flowers, was the centerpiece of the party. But it wasn’t just the presentation that captivated me; it was the taste. Each bite was ethereally light, subtly sweet, and melted in my mouth, leaving a lingering vanilla aroma. It was the epitome of elegance, a timeless classic that has remained etched in my memory. From that moment on, I’ve been on a quest to perfect the art of baking the perfect white cake, and this recipe, inspired by that experience, is a culmination of years of experimentation and refinement.
Recipe Overview
- Prep Time: 30 minutes
- Cook Time: 40-50 minutes
- Total Time: 1 hour 10 minutes – 1 hour 20 minutes
- Servings: 25
- Yield: Two 12-inch cakes
- Dietary Type: Not specified
Ingredients
- 10 ½ large egg whites
- 2 ⅓ cups milk
- 5 ¼ teaspoons pure vanilla extract
- 7 cups sifted cake flour
- 3 ½ cups superfine sugar
- 8 teaspoons baking powder
- 1 ¾ teaspoons salt
- 28 tablespoons unsalted butter, cut into cubes and then sit out to soften
Equipment Needed
- Two 12-inch x 1 ½ (or 2) inch cake pans
- Parchment paper
- Mixing bowls (medium and large)
- Electric mixer
- Fork
- Rubber spatula
- Magic Cake Strips (optional)
- Toothpick
- Buttered wire rack
- Plastic wrap
Instructions
-
Preheat your oven to 350 degrees Fahrenheit (175 degrees Celsius). Accuracy in oven temperature is crucial for a perfectly baked cake. Consider using an oven thermometer to ensure your oven is calibrated correctly.
-
Prepare your cake pans. Grease two 12-inch x 1 ½ (or 2) inch cake pans generously. Cut circles of parchment paper to fit the bottoms of the pans and place them inside. Then, grease the bottom and flour the entire pan, tapping out any excess flour. This ensures the cakes release cleanly after baking.
-
If using magic cake strips, prepare them according to the manufacturer’s instructions. These strips help the cakes bake more evenly, preventing a dome from forming in the center.
-
In a medium bowl, lightly combine the egg whites, ¼ of the milk, and vanilla. Beat lightly with a fork to combine. Don’t over-beat at this stage; just ensure the ingredients are mixed.
-
In a large mixing bowl, combine the sifted cake flour, superfine sugar, baking powder, and salt. Mix on low speed for 30 seconds to blend the dry ingredients evenly. Sifting the cake flour is essential for a light and airy texture.
-
Add the softened butter and the remaining milk to the dry ingredients.
-
Mix on low speed until the dry ingredients are just moistened. Be careful not to overmix at this point, as this can develop the gluten in the flour and result in a tough cake.
-
Beat for 90 seconds at medium speed to develop the cake’s structure. This step is important for creating a stable batter that will rise properly in the oven.
-
Stop the mixer and scrape down the sides of the bowl with a rubber spatula to ensure all ingredients are evenly incorporated.
-
Gradually add the egg/milk/vanilla mixture in 3 batches, beating for 20 seconds after each addition. This gradual addition helps to emulsify the mixture and prevent curdling.
-
Stop the mixer, scrape down the sides of the bowl, and give the batter a final mix by hand with the rubber spatula. This ensures that no pockets of unmixed ingredients remain.
-
Pour the batter evenly into the prepared pans and smooth the surface with a spatula.
-
Bake for 40-50 minutes, or until a toothpick inserted in the center of the cake comes out clean and the cake springs back when pressed lightly in the center. Keep a close eye on the cakes during baking, as oven temperatures can vary.
-
The cakes should start to shrink from the sides of the pans after taking them out of the oven. Cool the cakes in the pans for 10 minutes, then invert them onto a buttered wire rack.
-
Reinvert the cakes so that the tops are right side up. Cool to room temperature completely before frosting. This prevents the frosting from melting.
-
Once cooled to room temperature, wrap tightly with plastic wrap to maintain freshness until ready to frost and serve.
Expert Tips & Tricks
- Superfine Sugar is Key: Using superfine sugar, also known as caster sugar, helps the sugar dissolve more easily into the batter, resulting in a smoother and more even texture.
- Softened Butter is Essential: Ensure your butter is properly softened, but not melted. It should be pliable and easily creamed with the sugar. This contributes to the cake’s tenderness.
- Sifting is Non-Negotiable: Sifting the cake flour aerates it and removes any lumps, resulting in a lighter and more delicate crumb.
- Don’t Overmix: Overmixing the batter develops the gluten in the flour, leading to a tough cake. Mix until just combined, and finish with a gentle hand mixing.
- Room Temperature Ingredients: Using room temperature ingredients, particularly the eggs and milk, helps the batter emulsify properly, resulting in a smoother and more stable mixture.
Serving & Storage Suggestions
This basic white cake is a blank canvas for your creativity. Serve it layered with your favorite buttercream frosting, fruit fillings, or even a simple dusting of powdered sugar.
- Storage: Store unfrosted cakes wrapped tightly in plastic wrap at room temperature for up to 3 days, in the refrigerator for up to 5 days, or in the freezer for up to 2 months.
- Frosted Cake Storage: Frosted cakes should be stored in the refrigerator. Bring to room temperature before serving for the best flavor and texture.
- Freezing: To freeze frosted cake, wrap it tightly in plastic wrap and then in foil. Thaw in the refrigerator overnight before serving.
Nutritional Information
| Nutrient | Amount per Serving | % Daily Value |
|---|---|---|
| Calories | 386.3 kcal | N/A |
| Calories from Fat | N/A | N/A |
| Total Fat | 14.1 g | 21% |
| Saturated Fat | 8.7 g | 43% |
| Cholesterol | 37.4 mg | 12% |
| Sodium | 315.7 mg | 13% |
| Total Carbohydrate | 59.6 g | 19% |
| Dietary Fiber | 0.7 g | 2% |
| Sugars | 28.3 g | N/A |
| Protein | 5.5 g | 11% |
Note: Nutritional information is an estimate and may vary based on specific ingredients and serving sizes.
Variations & Substitutions
- Flavor Variations: Add lemon or orange zest to the batter for a citrusy twist. Almond extract can be substituted for vanilla extract for a different flavor profile.
- Dairy-Free: Substitute the butter with a vegan butter alternative and the milk with almond milk or soy milk for a dairy-free version.
- Gluten-Free: Substitute the cake flour with a high-quality gluten-free cake flour blend. You may need to add a binder like xanthan gum to improve the texture.
- Smaller Cakes: Use the same recipe for several smaller cakes (like cupcakes) to offer individual portions. Adjust cooking time accordingly.
FAQs (Frequently Asked Questions)
Q: Why is my cake not as white as I expected?
A: This recipe includes butter and vanilla extract, which can give the cake a slightly off-white color. For a truly pure white cake, consider using shortening instead of butter and clear vanilla extract.
Q: Can I use all-purpose flour instead of cake flour?
A: While you can, cake flour is recommended for its lower protein content, resulting in a more tender cake. If using all-purpose flour, consider reducing the amount by 2 tablespoons per cup and adding 2 tablespoons of cornstarch.
Q: My cake sank in the middle. What did I do wrong?
A: This could be due to a number of factors, including overmixing the batter, opening the oven door too frequently during baking, or underbaking the cake. Ensure your oven temperature is accurate and follow the recipe instructions carefully.
Q: How can I prevent my cake from sticking to the pan?
A: Grease and flour your pans thoroughly, or use parchment paper liners. Ensure the cakes cool slightly in the pans before inverting them onto a wire rack.
Q: Can I make the batter ahead of time?
A: It is best to bake the cake immediately after mixing the batter. Letting the batter sit can affect the leavening and texture of the cake.
Final Thoughts
This basic white cake recipe is more than just a set of instructions; it’s an invitation to create memories. From birthdays and weddings to simple weeknight desserts, this cake is the perfect centerpiece for any occasion. Don’t be afraid to experiment with different flavors and frostings to make it your own. Bake this cake, share it with loved ones, and experience the joy of creating something truly special. I encourage you to try this recipe and share your feedback! Happy baking!