
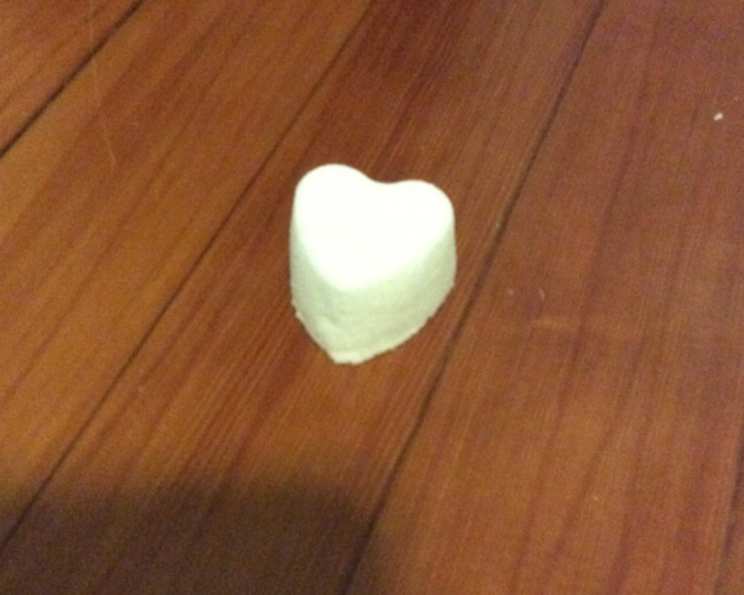
DIY Bath Bombs: A Little Luxury at Home
I’ll never forget the first time I saw a bath bomb fizzing away in a tub. I was a wide-eyed kid at a friend’s birthday party, and it felt like pure magic. The swirling colors, the gentle fragrance, and the way it transformed ordinary bathwater into something special – it was an experience that sparked my love for all things homemade and luxurious. Now, years later, I’m sharing my version of this delightful creation. This recipe allows you to bring that same touch of enchantment into your own home.
Recipe Overview
- Prep Time: 5 minutes
- Yields: 8 bath bombs
- Dietary Type: DIY Beauty
Ingredients
- 1 cup baking soda
- ½ cup citric acid
- ½ cup cornstarch
- 1-2 drops food coloring (optional)
- Fragranced body oil (essential oils)
- Dried flower petals (optional)
Equipment Needed
- Small mixing bowl
- Large mixing bowl
- Spray bottle with water
- 2″ round chocolate molds (or similar)
Instructions
-
In a small mixing bowl, combine a small amount of baking soda with 1-2 drops of food coloring (if using) and 10-20 drops of your chosen fragrance oil or essential oils. Mix this together thoroughly until the color is evenly distributed. This pre-mixing helps prevent speckling in your final bath bombs.
-
In the large mixing bowl, combine the remaining baking soda, citric acid, and cornstarch. If you’re using dried flower petals, add them to the bowl at this stage as well.
-
Pour the colored and scented baking soda mixture into the larger bowl with the other dry ingredients.
-
Mix everything together very well, ensuring that the color and fragrance are evenly distributed throughout the dry ingredients. This step is crucial for consistent bath bombs.
-
Using a spray bottle, lightly spritz the mixture with water while continuously mixing it with your hands. The key is to add water very gradually.
-
Continue spritzing and mixing until a handful of the mixture, when squeezed firmly, holds its shape. It should feel like damp sand. Be extremely careful not to add too much water, as this will cause the bath bombs to fizz prematurely and ruin them. Less is more!
-
Firmly press the mixture into your molds. Plain 2″ round chocolate molds work well. Avoid molds that are too large or have intricate details, as the bath bombs are more likely to break when you try to remove them.
-
Immediately (and carefully) pop the bath bombs out of the molds. Be gentle, as they will still be delicate at this stage.
-
Let the bath bombs dry overnight on a sheet of parchment paper. You’ll notice that they grow slightly as they dry.
-
Once fully dry, store the bath bombs individually wrapped in plastic wrap to prevent them from absorbing moisture, or in a jar with a tight-fitting lid. This will help preserve their fizzing power and fragrance.
Expert Tips & Tricks
-
Humidity is the Enemy: Work in a dry environment to prevent the bath bombs from fizzing prematurely. If you live in a humid climate, consider running a dehumidifier while you’re making them.
-
Scent Savvy: When choosing essential oils, research their properties and benefits. Lavender is relaxing, while citrus oils can be energizing. You can also create custom blends to achieve your desired effect.
-
Color Consistency: For vibrant, even color, use powdered food coloring instead of liquid. If you only have liquid, add it very sparingly to minimize the risk of activating the mixture.
-
Citric Acid Quality: The quality of your citric acid can affect the fizz. Use a fine-grained citric acid for the best results.
-
Mold Release: If your bath bombs are sticking to the molds, lightly dust the molds with cornstarch before pressing in the mixture.
-
Troubleshooting Fizzing: If your bath bombs are fizzing prematurely, you’ve likely added too much water. Try adding more dry ingredients (baking soda, citric acid, and cornstarch in the same ratio) to absorb the excess moisture.
Serving & Storage Suggestions
These bath bombs are best enjoyed fresh, within a few weeks of making them, to ensure maximum fizz and fragrance. To use, simply drop one into a tub of warm bathwater and enjoy the bubbly, aromatic experience. Store your finished bath bombs in a cool, dry place, individually wrapped or in an airtight container. Avoid storing them in humid environments, such as the bathroom itself, as this can cause them to deteriorate. They should last for several months if stored properly.
Nutritional Information
Since these are for external use only, nutritional information is not applicable.
Variations & Substitutions
-
Epsom Salt Boost: Add 1/4 cup of Epsom salts to the dry ingredients for added relaxation and muscle relief.
-
Oatmeal Soother: Incorporate 2 tablespoons of finely ground oatmeal for a soothing and moisturizing bath experience, especially beneficial for sensitive skin.
-
Clay Mask Bath Bombs: Add 1-2 tablespoons of kaolin clay or bentonite clay to the dry ingredients for a detoxifying and cleansing effect.
-
Herbal Infusion: Infuse your bath bombs with dried herbs like chamomile, calendula, or rose petals for added therapeutic benefits.
-
Kid-Friendly Fun: Use kid-safe essential oils like sweet orange or lavender, and add a small toy surprise inside the bath bomb (make sure it’s safe for bath use and won’t pose a choking hazard).
FAQs (Frequently Asked Questions)
Q: Why are my bath bombs cracking?
A: Cracking is often caused by not packing the mixture tightly enough into the molds or by the mixture being too dry. Try packing the mixture more firmly and adding a bit more water, spritzing sparingly, until the mixture holds its shape when squeezed.
Q: My bath bombs aren’t fizzing enough. What went wrong?
A: Insufficient fizz can be due to several factors, including too much moisture in the air, using old baking soda or citric acid, or not using enough citric acid in the recipe. Make sure your ingredients are fresh and stored properly, and that you’re working in a dry environment.
Q: Can I use different molds?
A: Yes, you can use different molds, but simple shapes like spheres, ovals, or hearts work best. Avoid intricate molds with small details, as the bath bombs tend to break when removing them.
Q: How much essential oil should I use?
A: A general guideline is to use 10-20 drops of essential oil per batch of bath bombs. However, this can vary depending on the strength of the oil. Start with less and add more to your preference, but be mindful of potential skin sensitivities.
Q: Can I make these in advance?
A: Absolutely! Bath bombs can be made well in advance. Just make sure they are completely dry and stored properly in an airtight container or wrapped individually to prevent moisture absorption.
Final Thoughts
Creating your own bath bombs is a truly rewarding experience. Not only do you get to indulge in a little self-care, but you also have the satisfaction of knowing you made something wonderful with your own hands. So, gather your ingredients, get creative with scents and colors, and prepare to transform your ordinary bath into a luxurious spa experience. Don’t hesitate to experiment with different variations and share your creations with friends and family – they’ll thank you for it!