
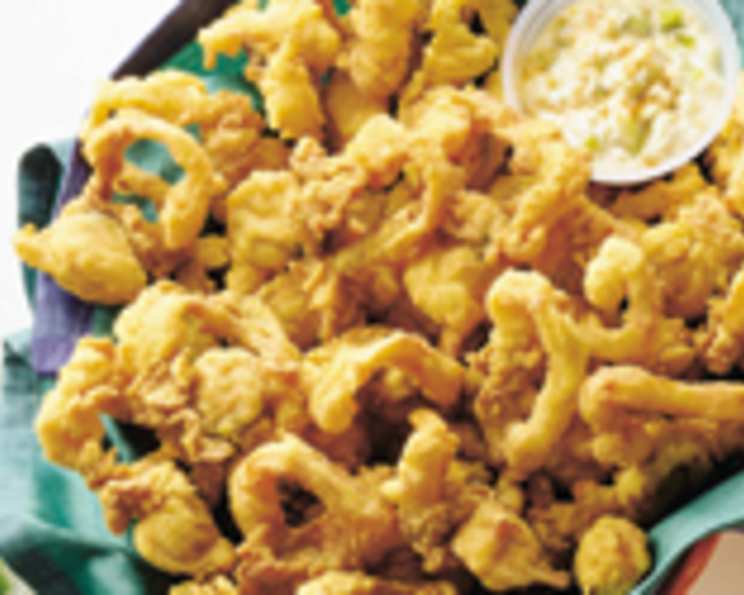
The Quintessential Battered Fried Clams: A Taste of Nostalgia
The briny tang of the ocean, the satisfying crunch of a perfectly golden crust, the tender sweetness of the clam within – these are the elements that make fried clams an unforgettable culinary experience. Growing up in New England, summer wasn’t summer without a trip to the local clam shack. The smell of salt air mingling with hot oil and the excited chatter of families created a unique atmosphere. These aren’t just fried clams; they’re a taste of childhood, a reminder of sunny days and carefree joy. I’m thrilled to share a recipe that captures that authentic flavor, bringing the taste of the coast to your kitchen.
Recipe Overview
- Prep Time: 20 minutes
- Cook Time: 1-1/2 minutes per batch
- Total Time: 30-45 minutes
- Servings: 2-4
- Yield: Varies depending on clam size
- Dietary Type: Not Gluten-Free
Ingredients
- 1/2 cup milk
- 1 egg yolk
- 1 tablespoon butter, melted and cooled
- 1/4 teaspoon salt
- 1/2 cup all-purpose flour
- 1 egg white
- 1 pint shucked clams, rinsed and well drained
- Oil (for deep frying)
- Tartar sauce, for dipping
Equipment Needed
- Medium-sized bowl
- Whisk
- Small chilled bowl
- Electric mixer
- Large saucepan or deep fat fryer
- Slotted spoon
- Paper towels or brown paper bags
Instructions
- Prepare the Batter: In a medium-sized bowl, combine the milk, egg yolk, melted and cooled butter, and salt. Whisk together until well combined.
- Incorporate the Flour: Sift the flour into the milk mixture. This helps prevent lumps. Stir until the batter is smooth. Don’t overmix; a few small lumps are fine.
- Whip the Egg White: In a small, chilled bowl, beat the egg white with an electric mixer until soft peaks form. For the best results, refrigerate the bowl, mixer blade, and egg white prior to mixing. This helps the egg white achieve maximum volume.
- Fold in the Egg White: Gently fold the beaten egg white into the milk mixture. Be careful not to deflate the egg white too much; this is what gives the batter its light and airy texture.
- Heat the Oil: In a large saucepan or deep fat fryer, heat the oil to 375°F (190°C). Use a deep-fry thermometer to ensure the oil is at the correct temperature. If the oil is too cool, the clams will be greasy; if it’s too hot, they’ll burn on the outside before they’re cooked through.
- Prepare the Clams: Poke each clam with a fork. This prevents them from curling up too much during frying.
- Batter and Fry: Dip the clams into the batter, ensuring they are fully coated. Fry a few clams at a time (don’t overcrowd the pan), for around 1-1/2 minutes, or until golden brown. Turn the clams once during frying to ensure even cooking.
- Drain and Keep Warm: Remove the fried clams with a slotted spoon and drain them on paper towels or brown paper bags to remove excess oil. To keep the fried clams warm while you finish frying the rest, place them in a 300°F (150°C) oven.
- Serve: Serve immediately with tartar sauce for dipping.
Expert Tips & Tricks
- Chilling is Key: Chilling the bowl and beaters before whipping the egg white is crucial for achieving maximum volume. The cold temperature helps stabilize the egg white proteins.
- Don’t Overcrowd the Pan: Frying too many clams at once will lower the oil temperature, resulting in greasy, undercooked clams. Work in batches to maintain a consistent temperature.
- Use Fresh Oil: Use fresh, clean oil for the best flavor. Old or used oil can impart an unpleasant taste to the fried clams. Peanut oil or canola oil are good choices for frying due to their high smoke points.
- Poke the Clams: Poking the clams prevents them from shrinking and becoming tough during frying. It also allows for even cooking.
- Adjust Batter Thickness: If the batter seems too thick, add a tablespoon or two of milk until it reaches the desired consistency. It should be thick enough to coat the clams but thin enough to drip off easily.
- Season the Clams: For extra flavor, lightly season the clams with salt and pepper before dipping them in the batter.
- Crispier Clams: For extra crispy clams, double dip them in the batter. Dip them once, then dip them again just before frying.
Serving & Storage Suggestions
Serve the fried clams immediately for the best taste and texture. They are delicious served with tartar sauce, coleslaw, french fries, or onion rings. A squeeze of fresh lemon juice also adds a bright, refreshing touch.
Leftover fried clams are best stored in the refrigerator in an airtight container. They will keep for 1-2 days. To reheat, preheat your oven to 350°F (175°C) and place the clams on a baking sheet. Reheat for about 5-10 minutes, or until heated through. Reheating in the oven helps to crisp them up slightly. Microwaving is not recommended, as it will make them soggy.
Fried clams are not ideal for freezing as they tend to lose their crispiness and texture upon thawing.
Nutritional Information
| Nutrient | Amount per Serving | % Daily Value |
|---|---|---|
| Calories | 430.6 kcal | N/A |
| Calories from Fat | 112 g | 26% |
| Total Fat | 12.5 g | 19% |
| Saturated Fat | 6.2 g | 31% |
| Cholesterol | 174.4 mg | 58% |
| Sodium | 1756.4 mg | 73% |
| Total Carbohydrate | 35.1 g | 11% |
| Dietary Fiber | 0.8 g | 3% |
| Sugars | 0.2 g | 1% |
| Protein | 41.3 g | 82% |
Note: Nutritional information is an estimate and may vary based on specific ingredients and cooking methods.
Variations & Substitutions
- Gluten-Free: Substitute the all-purpose flour with a gluten-free all-purpose flour blend. You may need to adjust the amount of liquid slightly to achieve the correct batter consistency.
- Spicy Clams: Add a pinch of cayenne pepper or a dash of hot sauce to the batter for a spicy kick.
- Herb-Infused: Stir in some finely chopped fresh herbs, such as parsley, thyme, or chives, to the batter for added flavor.
- Beer Batter: Replace the milk with beer for a richer, more flavorful batter. Use a light-colored beer for the best results.
- Cornmeal Crust: Add 1/4 cup of cornmeal to the batter for a slightly coarser texture and a hint of corn flavor.
FAQs (Frequently Asked Questions)
Q: Why is it important to chill the bowl and beaters when whipping the egg white?
A: Chilling the bowl and beaters helps to stabilize the egg white proteins, allowing them to whip up to a greater volume and create a lighter, airier batter.
Q: How do I prevent the clams from becoming greasy?
A: Ensure the oil is at the correct temperature (375°F) and don’t overcrowd the pan. Also, drain the fried clams on paper towels or brown paper bags to remove excess oil.
Q: Can I use frozen clams for this recipe?
A: While fresh clams are preferable, you can use frozen clams if they are thawed completely and thoroughly drained before battering and frying.
Q: What kind of oil is best for deep frying?
A: Oils with high smoke points, such as peanut oil, canola oil, or vegetable oil, are ideal for deep frying.
Q: How can I keep the fried clams warm while I finish frying the rest?
A: Place the fried clams on a baking sheet in a preheated 300°F (150°C) oven to keep them warm and crispy.
Final Thoughts
There’s something magical about the simple pleasure of biting into a perfectly fried clam. The crispy exterior gives way to a tender, briny interior, creating a symphony of textures and flavors that’s hard to resist. I hope this recipe helps you recreate that experience in your own kitchen, bringing a taste of the coast to your table. Don’t be afraid to experiment with different variations and toppings to create your own signature fried clams. And most importantly, enjoy the process! Gather your friends and family, fire up the fryer, and create memories that will last a lifetime. Share your feedback and let me know how your fried clam adventure turns out.