
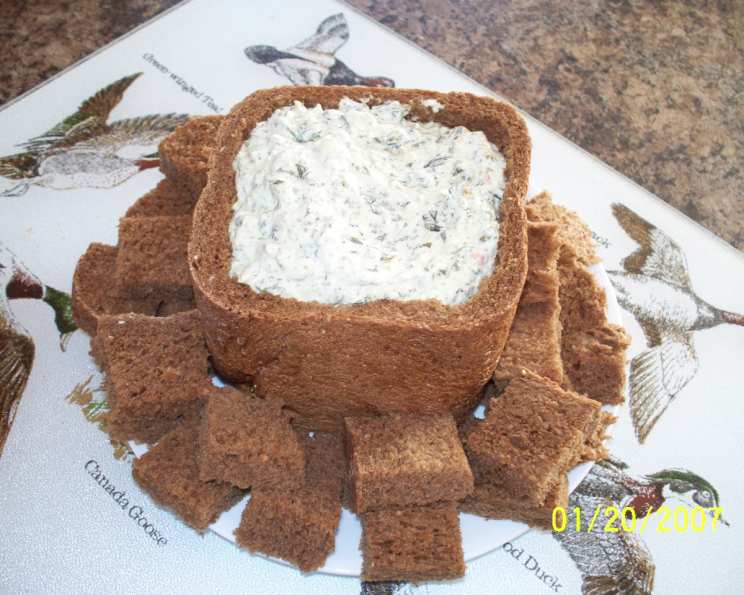
Black Forest Pumpernickel Bread Machine Loaf: A Taste of Home
The aroma of freshly baked bread is a powerful time machine. One whiff of this particular pumpernickel, with its deep, earthy notes and hint of cocoa, transports me straight back to my grandmother’s kitchen. I remember standing on a stool, mesmerized as she carefully measured out ingredients, the rhythmic hum of her ancient bread machine a comforting backdrop to our afternoon. We’d slather thick slices with butter and homemade apple butter, the sweet and savory combination a perfect prelude to stories of her childhood in the Black Forest. To this day, that simple bread remains a symbol of warmth, love, and the enduring magic of family recipes.
Recipe Overview
- Prep Time: 15 minutes
- Cook Time: 3 hours 10 minutes
- Total Time: 3 hours 25 minutes
- Servings: 16
- Yield: 1 loaf
- Dietary Type: Vegetarian (easily adaptable to vegan by ensuring yeast and other ingredients are vegan-friendly).
Ingredients
- 1 1⁄8 cups warm water
- 1⁄3 cup molasses
- 1 1⁄2 tablespoons canola oil
- 1 1⁄2 cups bread flour
- 1 cup rye flour
- 1 cup whole wheat flour
- 1 1⁄2 teaspoons salt
- 3 tablespoons cocoa powder
- 1 1⁄2 tablespoons caraway seeds
- 2 teaspoons active dry yeast
Equipment Needed
- Bread machine
Instructions
- Begin by carefully measuring all your ingredients. Accuracy is key for a successful bread machine loaf.
- Add the ingredients to your bread machine pan in the order recommended by your bread machine’s manufacturer. Generally, this means starting with the liquids: pour in the warm water first, followed by the molasses and canola oil.
- Next, add the dry ingredients: the bread flour, rye flour, whole wheat flour, salt, cocoa powder, and caraway seeds. Be sure to level off your measuring spoons and cups for precise amounts.
- Finally, make a small well in the center of the dry ingredients and add the active dry yeast. This separation ensures the yeast doesn’t prematurely activate from contact with the liquids.
- Place the bread machine pan into the bread machine. Select the appropriate setting on your bread machine. For this recipe, you want to select a setting that corresponds to a light crust.
- Press the start button to begin the bread-making process.
- Keep a close eye on the dough during the initial kneading phase. This is crucial for achieving the right texture.
- If the dough appears too dry, add warm water one tablespoon at a time until the dough comes together. Conversely, if the dough appears too wet and sticky, add bread flour one tablespoon at a time until the desired consistency is achieved.
- The ideal dough consistency should be soft and slightly sticky to the touch, forming a cohesive ball as it kneads. This is a general rule of thumb for most bread doughs made in a bread machine.
- Allow the bread machine to complete its cycle. Once finished, carefully remove the bread pan from the machine.
- Let the loaf cool slightly in the pan before transferring it to a wire rack to cool completely. This prevents the bread from becoming soggy.
- Slice and enjoy! This recipe yields approximately a one and a half pound loaf.
Expert Tips & Tricks
- Bloom the yeast (optional): For extra assurance that your yeast is active, proof it in the warm water with a teaspoon of sugar for about 5-10 minutes before adding it to the bread machine. If it foams, it’s good to go!
- Cocoa Powder Quality: Use a high-quality, unsweetened cocoa powder for the best flavor. Dutch-processed cocoa will give a smoother, less acidic flavor.
- Molasses Matters: Opt for unsulphured molasses for a richer, more natural flavor. Blackstrap molasses will give a bolder, more intense flavor, but use it sparingly as it can be overpowering.
- Kneading Check is Key: Don’t skip the step of observing the dough during kneading. Adjusting the moisture content early on is crucial for a successful loaf. Different flours absorb water differently, and humidity levels can also affect the dough.
- Adjust Baking Time: If your bread machine tends to produce loaves with overly dark crusts, try reducing the baking time slightly on a subsequent bake.
- Caraway Seed Alternatives: While caraway seeds are traditional in pumpernickel, you can experiment with other spices like fennel seeds or anise seeds for a unique twist. Just use them sparingly.
Serving & Storage Suggestions
This Black Forest Pumpernickel Bread is fantastic served warm with a generous smear of butter. It’s also an excellent accompaniment to hearty soups, stews, and chili. For a classic pairing, serve it with slices of ham, Swiss cheese, and a dollop of mustard.
To store the bread, wrap it tightly in plastic wrap or place it in an airtight container at room temperature. It will stay fresh for about 3-4 days. For longer storage, you can freeze the loaf, well-wrapped, for up to 2-3 months. To thaw, leave it at room temperature for several hours or overnight. You can also revive slightly stale bread by briefly toasting it or warming it in the oven.
Nutritional Information
| Nutrient | Amount per Serving | % Daily Value |
|---|---|---|
| Calories | 128.5 kcal | N/A |
| Calories from Fat | N/A | 14% |
| Total Fat | 1.9 g | 2% |
| Saturated Fat | 0.2 g | 1% |
| Cholesterol | 0 mg | 0% |
| Sodium | 222.3 mg | 9% |
| Total Carbohydrate | 25.6 g | 8% |
| Dietary Fiber | 2.8 g | 11% |
| Sugars | 4 g | N/A |
| Protein | 3.4 g | 6% |
Note: Nutritional information is an estimate and may vary based on specific ingredients and measuring techniques.
Variations & Substitutions
- Vegan Pumpernickel: Ensure all your ingredients, especially the yeast, are vegan-friendly. Some yeasts contain animal-derived ingredients.
- Gluten-Free Option: While a true gluten-free pumpernickel is challenging to achieve, you can experiment with gluten-free flour blends specifically designed for bread making. You may need to add a binder like xanthan gum to help with the texture. Be prepared for a denser loaf.
- Sweetened Pumpernickel: For a slightly sweeter bread, increase the molasses to 1/2 cup. You can also add a tablespoon or two of brown sugar.
- Seed Variations: In addition to caraway seeds, try adding sunflower seeds, pumpkin seeds, or flax seeds for extra flavor and texture.
- Spiced Pumpernickel: Incorporate a pinch of ground cloves, cinnamon, or nutmeg for a warm, spiced variation.
FAQs (Frequently Asked Questions)
Q: Can I use instant yeast instead of active dry yeast?
A: Yes, you can substitute instant yeast for active dry yeast in this recipe. You don’t need to proof instant yeast; simply add it directly to the dry ingredients.
Q: My bread machine has a specific order for adding ingredients. Should I follow that?
A: Absolutely! Always follow the manufacturer’s instructions for your specific bread machine model. The order of adding ingredients can affect the final outcome.
Q: What if I don’t have rye flour?
A: While rye flour is essential for the distinctive flavor of pumpernickel, you can substitute it with whole wheat flour in a pinch. However, the flavor will be noticeably different.
Q: My loaf came out dense and didn’t rise much. What could have gone wrong?
A: Several factors could contribute to a dense loaf, including using expired yeast, not enough liquid, or over-kneading. Make sure your yeast is fresh, and carefully monitor the dough’s consistency during the kneading phase.
Q: Can I bake this in the oven instead of using a bread machine?
A: Yes, you can adapt this recipe for oven baking. After the kneading phase, let the dough rise in a warm place until doubled in size. Then, shape it into a loaf and bake in a preheated oven at 350°F (175°C) for about 45-50 minutes, or until the loaf is golden brown and sounds hollow when tapped.
Final Thoughts
Now it’s your turn to create some magic! Whether you’re a seasoned baker or a bread machine novice, I encourage you to give this Black Forest Pumpernickel recipe a try. The rich, complex flavors and satisfyingly dense texture make it a true culinary delight. Don’t be afraid to experiment with variations and make it your own. And most importantly, share your creation with loved ones – the warmth of freshly baked bread is always best enjoyed together.