
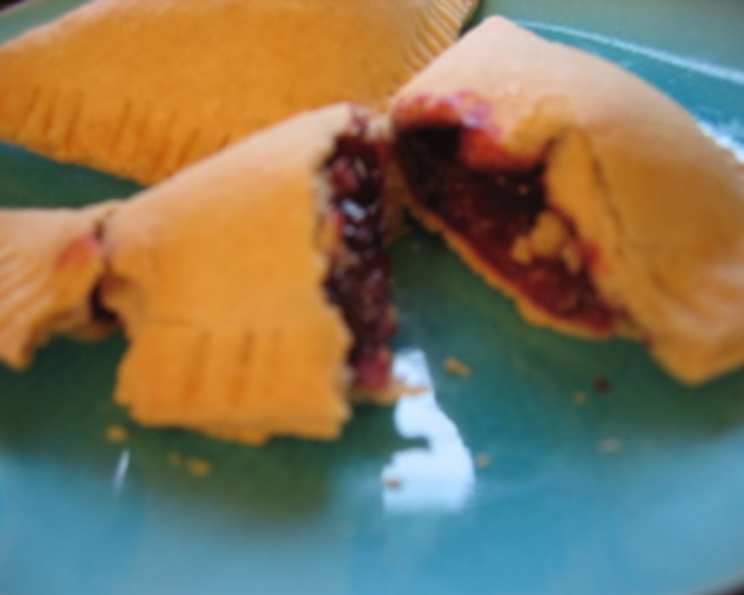
Blackberry Hand Pies: A Taste of Summer Nostalgia
The scent of blackberries baking always takes me back to my grandmother’s kitchen. As a child, I’d spend summers picking blackberries in the fields behind her house, the thorny bushes scratching my arms, but the sweet reward was always worth it. We’d return, stained purple from fingertip to chin, and she’d transform our bounty into the most incredible pies, their flaky crusts shattering with each bite to reveal a warm, juicy filling. These blackberry hand pies are my homage to those cherished memories.
Recipe Overview
- Prep Time: 30 minutes
- Cook Time: 40 minutes
- Total Time: 1 hour 10 minutes
- Servings: 12
- Yield: 12 mini pies
- Dietary Type: Vegetarian
Ingredients
- 2 cups blackberries (3/4 lb)
- 1 large Golden Delicious apple, peeled and coarsely grated
- 2 tablespoons semolina flour
- 1 teaspoon semolina flour
- 1/4 teaspoon cinnamon
- 8 tablespoons sugar, divided
- 1 recipe pastry for double-crust pie (homemade or store-bought)
- 2 tablespoons milk or 2 tablespoons soymilk (for brushing)
Equipment Needed
- Saucepan
- Measuring cups and spoons
- Grater
- Rolling pin
- Floured surface
- Knife or pastry cutter
- Baking sheets
- Parchment paper
- Fork
Instructions
- First, prepare the filling. In a saucepan, combine the blackberries, grated apple, 2 tablespoons of semolina flour, cinnamon, and 6 tablespoons of sugar.
- Place the saucepan over medium heat, stirring frequently. Cook the mixture until it just begins to boil and thickens, about 8 minutes. The semolina flour helps to absorb excess moisture from the fruit.
- Remove from heat and allow the filling to cool completely. This prevents the crust from becoming soggy. While the filling cools, preheat your oven to 375°F (190°C).
- Position oven racks in the upper and lower thirds of the oven. This ensures even baking and browning. Line baking sheets with parchment paper. This prevents sticking and makes cleanup easier.
- On a lightly floured surface, roll out half of the pie dough to a thickness of about 1/8 inch using a lightly floured rolling pin.
- Cut the rolled-out dough into 6 (5-inch) squares, reserving any scraps. You can use a knife or a pastry cutter for this.
- Place a heaping teaspoon of the cooled fruit filling into the center of each square. Don’t overfill, or the pies might burst during baking.
- Moisten the edges of each square with milk or soymilk. This acts as a glue to help seal the pie.
- Fold each square diagonally to form a triangle, pressing the edges firmly to seal.
- Transfer the filled and sealed pies to the prepared baking sheets. Ensure they are spaced apart to allow for even heat circulation.
- Press the tines of a fork around the edges of each triangle to further seal and create a decorative border.
- Repeat steps 5-11 with the remaining dough and filling. Re-roll all the scraps together once to make a total of 12 triangles. Be careful not to overwork the dough when re-rolling, as this can make it tough.
- Brush the tops of the triangles with milk or soymilk. This helps them to brown beautifully in the oven.
- Sprinkle the brushed pies with the remaining 2 tablespoons of sugar. This adds a touch of sweetness and a delightful crunch.
- Bake the pies, switching the position of the pans halfway through baking, until they are golden brown, about 40 minutes total. Switching the pans ensures even browning, especially if your oven has hot spots.
- Once baked, transfer the pies to wire racks to cool completely. This prevents the bottoms from becoming soggy.
Expert Tips & Tricks
- Make-Ahead Tip: The filling can be made a day in advance and stored in the refrigerator. This allows the flavors to meld together even more.
- Preventing Soggy Crust: Blind baking the bottom crust for a few minutes before adding the filling can help prevent a soggy bottom, especially if using a particularly juicy fruit.
- Enhance the Flavor: Add a pinch of ground cloves or nutmeg to the filling for a warmer, more complex flavor profile. A squeeze of lemon juice can also brighten the flavors.
- Egg Wash Alternative: If you don’t have milk or soymilk, you can use a simple egg wash (1 egg yolk whisked with 1 tablespoon of water) for a richer, glossier finish.
- Decorative Touches: Cut small vents in the top of the pies before baking to allow steam to escape and prevent bursting. You can also use cookie cutters to create decorative shapes on top of the pies.
Serving & Storage Suggestions
These blackberry hand pies are best served warm, either on their own or with a scoop of vanilla ice cream or a dollop of whipped cream. They are also delicious at room temperature.
Store leftover pies in an airtight container at room temperature for up to 2 days or in the refrigerator for up to 4 days. To reheat, warm them in a preheated oven at 350°F (175°C) for about 10-15 minutes, or until heated through. You can also reheat them in a microwave, but the crust may become slightly softer.
For longer storage, you can freeze the baked pies. Wrap them individually in plastic wrap and then place them in a freezer-safe bag or container. They can be frozen for up to 2 months. To reheat frozen pies, bake them directly from frozen at 350°F (175°C) for about 20-25 minutes, or until heated through.
Nutritional Information
| Nutrient | Amount per Serving | % Daily Value |
|---|---|---|
| Calories | 219 kcal | – |
| Calories from Fat | 95 | – |
| Total Fat | 10.6 g | 16% |
| Saturated Fat | 2.7 g | 13% |
| Cholesterol | 0.4 mg | 0% |
| Sodium | 164.3 mg | 6% |
| Total Carbohydrate | 29 g | 9% |
| Dietary Fiber | 2.3 g | 9% |
| Sugars | 11.4 g | – |
| Protein | 2.6 g | 5% |
Note: Nutritional information is an estimate and may vary based on specific ingredients and preparation methods.
Variations & Substitutions
- Gluten-Free: Use a gluten-free pie crust recipe or a store-bought gluten-free pie crust. You may need to adjust the baking time slightly.
- Other Berries: Substitute blackberries with other berries such as raspberries, blueberries, or a mix of your favorites.
- Vegan: Ensure your pie crust recipe is vegan-friendly. Use soymilk or another plant-based milk for brushing.
- Apple Variety: Feel free to experiment with different types of apples, such as Granny Smith or Honeycrisp, depending on your preference for tartness or sweetness.
- Spices: Add a pinch of ground ginger or cardamom to the filling for a different flavor twist.
FAQs (Frequently Asked Questions)
Q: Can I use frozen blackberries?
A: Yes, you can use frozen blackberries. Thaw them completely and drain any excess liquid before using them in the filling.
Q: My filling is too runny. What can I do?
A: If your filling is too runny, you can add a bit more semolina flour (or cornstarch) to help thicken it. Mix a teaspoon of semolina flour with a tablespoon of cold water to form a slurry, then stir it into the filling and cook for a few more minutes until thickened.
Q: Can I make these ahead of time and freeze them?
A: Yes, you can assemble the pies, but freeze them before baking. When ready to bake, you can bake them directly from frozen, adding a few extra minutes to the baking time.
Q: My crust is browning too quickly. What should I do?
A: If your crust is browning too quickly, you can tent the pies with aluminum foil during the last part of the baking time to prevent further browning.
Q: Can I use a different type of flour instead of semolina?
A: While semolina flour adds a unique texture, you can substitute it with all-purpose flour or cornstarch. Use the same amount as the semolina flour called for in the recipe.
Final Thoughts
These blackberry hand pies are a delightful way to enjoy the flavors of summer. Whether you’re using freshly picked berries or store-bought ones, the combination of sweet, juicy filling and flaky crust is sure to be a crowd-pleaser. Don’t be afraid to experiment with different variations and substitutions to create your own signature hand pie. So, gather your ingredients, preheat your oven, and embark on a baking adventure that will fill your kitchen with the irresistible aroma of homemade goodness. I encourage you to try this recipe and share your creations with friends and family – and feel free to let me know how they turned out! Pair these pies with a glass of iced tea or a scoop of vanilla ice cream for the perfect summer treat.