
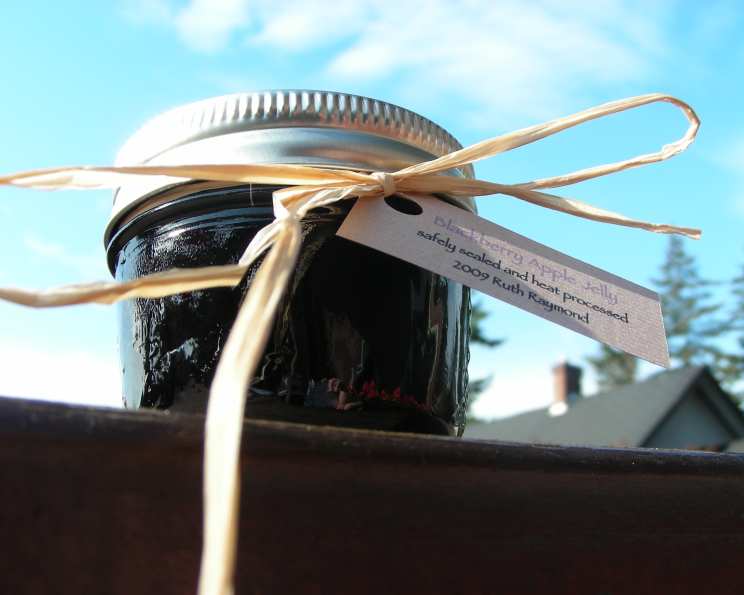
The Deepest Purple: Crafting Homemade Blackberry Jelly
My summers as a child were defined by the annual pilgrimage to my grandmother’s farm. Amidst the sprawling fields of corn and the cacophony of chickens, the wild blackberry bushes held a special allure. Their thorny embrace guarded the sweet, dark jewels that stained our fingers purple. My grandmother, with her flour-dusted apron and a knowing smile, transformed those berries into the most exquisite blackberry jelly, a taste of summer bottled and preserved. The memory of that rich, fruity flavor spreading across a warm biscuit is a taste I chase to this day.
Recipe Overview
- Prep Time: 20 minutes
- Cook Time: 30 minutes
- Total Time: 50 minutes
- Yields: 6-8 half pints
- Dietary Type: Vegetarian, Gluten-Free, Dairy-Free
Ingredients
To Make Juice:
- 4 cups blackberries
- 4 cups water (or enough to cover berries)
To Make Jelly:
- 3 3/4 cups juice (from the cooked blackberries)
- 4 1/2 cups sugar
- 1 (1.75 ounce) box dry pectin (like Sure-Jell)
- 1/2 teaspoon butter (optional, to reduce foaming)
Equipment Needed
- Large saucepan (6 to 8 quart capacity)
- Cheesecloth, wire mesh strainer, or sieve
- Measuring cups and spoons
- Canning jars (half-pint size)
- Jar lifter
- Canning pot with rack (for hot water bath processing)
- Ladle
Instructions
-
Prepare the Berries: Gently rinse the blackberries to remove any dirt or debris. Lightly mash the berries in a large saucepan.
-
Cook the Berries: Add the water to the saucepan, ensuring the berries are mostly submerged. Place the saucepan on the stovetop over medium to medium-high heat. Cook the berries for approximately 20 minutes, stirring occasionally. This process helps to extract the juice and soften the fruit.
-
Extract the Juice: Once the berries are cooked, it’s time to separate the juice. Carefully pour the cooked berry mixture into a cheesecloth-lined colander, a wire mesh strainer, or a fine-mesh sieve suspended over a bowl. Allow the juice to drain naturally; avoid squeezing the pulp, as this can result in cloudy jelly. Save the extracted juice! Discard the leftover berries and seeds.
-
Measure Ingredients Accurately: Precise measurements are crucial for successful jelly-making. Measure the sugar exactly – do not reduce the quantity or use sugar substitutes, as they can affect the jelling process. Set the sugar aside. Next, measure out 3 3/4 cups of the blackberry juice. If you’re slightly short on juice, you can add up to 1/2 cup of water to reach the required measurement.
-
Combine Juice and Pectin: In a 6 to 8 quart saucepan, combine the measured blackberry juice and the dry pectin. Add the butter at this stage if you are using it. The butter helps to reduce foaming during cooking, resulting in a clearer jelly.
-
Bring to a Full Rolling Boil: Place the saucepan over high heat and bring the juice and pectin mixture to a full rolling boil. This is a boil that doesn’t stop bubbling even when stirred. It’s essential to stir constantly during this phase to prevent scorching and ensure even heat distribution.
-
Add Sugar and Boil Again: Once the mixture reaches a full rolling boil, quickly stir in all of the sugar. Return the mixture to a full rolling boil and boil for exactly one minute, continuing to stir constantly. This precise timing is critical for proper jelling.
-
Remove from Heat and Skim Foam: After the minute is up, remove the saucepan from the heat. Use a spoon to skim off any foam that has formed on the surface of the jelly. This step ensures a clear and visually appealing final product.
-
Fill the Jars: Carefully ladle the hot jelly into prepared canning jars, leaving 1/8 inch of headspace at the top of each jar. A canning funnel can be helpful for minimizing spills.
-
Prepare Jars for Sealing: Wipe the rims and threads of the jars with a damp cloth to remove any jelly residue. This ensures a good seal. Cover each jar with a two-piece canning lid. Screw the bands on tightly, but not too tightly.
-
Process Jars (Hot Water Bath): Process the jars in a hot water bath for 5 minutes. Ensure the jars are fully submerged in boiling water, with at least 1 inch of water covering the tops. Alternatively, you can use the inversion method: immediately invert the filled jars for 5 minutes. Note: All instructions are included with the pectin you purchase.
-
Cool and Check Seals: Remove the jars from the canning pot using a jar lifter and place them on a towel-lined surface to cool. As the jars cool, you may hear a popping sound, which indicates that the lids have sealed properly. After cooling completely (about 12-24 hours), check the seals by pressing down on the center of each lid. If the lid doesn’t flex or pop back up, it’s sealed.
Expert Tips & Tricks
- Use Ripe Berries: The best blackberry jelly comes from ripe, flavorful blackberries. Avoid using underripe or overripe berries, as they can affect the taste and texture of the jelly.
- Sterilize Jars Properly: Sterilizing your canning jars is essential to prevent spoilage. You can sterilize them by boiling them in water for 10 minutes or running them through a hot cycle in your dishwasher.
- Don’t Overcook the Jelly: Overcooking the jelly can result in a tough, rubbery texture. Follow the boiling time precisely. A candy thermometer can be used to ensure the jelly reaches the correct temperature (around 220°F or 104°C).
- Adjust Sugar Based on Berry Sweetness: If your blackberries are particularly tart, you may need to slightly increase the amount of sugar. Start with the recipe as written, but taste the jelly after boiling it and add more sugar if needed.
Serving & Storage Suggestions
Blackberry jelly is a versatile condiment that can be enjoyed in many ways. Spread it on toast, biscuits, scones, or muffins for a delicious breakfast or snack. Use it as a glaze for meats, or serve it alongside cheeses and crackers for an elegant appetizer.
Properly sealed jars of blackberry jelly can be stored in a cool, dark place for up to one year. Once opened, refrigerate the jelly and use it within a few weeks.
Nutritional Information
(Estimated per serving – Varies based on specific ingredients & portion size)
| Nutrient | Amount per Serving | % Daily Value |
|---|---|---|
| Calories | 250 kcal | 13% |
| Total Fat | 0g | 0% |
| Saturated Fat | 0g | 0% |
| Cholesterol | 0mg | 0% |
| Sodium | 5mg | 0% |
| Total Carbohydrate | 65g | 22% |
| Dietary Fiber | 1g | 4% |
| Sugars | 60g | N/A |
| Protein | 0g | 0% |
Variations & Substitutions
- Mixed Berry Jelly: Combine blackberries with other berries, such as raspberries or strawberries, for a unique flavor profile.
- Spiced Blackberry Jelly: Add a pinch of cinnamon, cloves, or nutmeg to the jelly for a warm, spiced flavor.
- Low-Sugar Blackberry Jelly: While reducing sugar significantly can affect the jelling process, consider using a pectin specifically designed for low-sugar recipes. Adjust sugar levels carefully and follow the pectin manufacturer’s instructions.
FAQs (Frequently Asked Questions)
Q: Why didn’t my jelly set?
A: Several factors can prevent jelly from setting, including insufficient pectin, inaccurate sugar measurements, or not boiling the mixture for long enough. Always use fresh pectin, measure ingredients precisely, and follow the recipe instructions carefully.
Q: Can I use frozen blackberries?
A: Yes, you can use frozen blackberries. Thaw them before cooking, and be aware that they may release more liquid than fresh berries, so you may need to adjust the cooking time slightly.
Q: Why is my jelly cloudy?
A: Cloudy jelly can be caused by squeezing the berry pulp when extracting the juice. Allow the juice to drain naturally through the cheesecloth or strainer.
Q: Do I have to use butter?
A: No, the butter is optional. It helps reduce foaming during cooking, but it doesn’t affect the jelling process.
Q: Can I reuse canning lids?
A: No, it’s not recommended to reuse canning lids. Once a lid has been used, the sealing compound is no longer reliable, and you may not get a proper seal. The bands can be reused, provided they’re in good condition (no rust or dents).
Final Thoughts
Creating homemade blackberry jelly is a rewarding experience that connects you to the seasons and the simple pleasures of preserving nature’s bounty. Don’t be intimidated by the process – with a little patience and attention to detail, you can create a beautiful and delicious jelly that will bring a taste of summer to your table all year round. I urge you to try this recipe and taste the depth of flavor within. Share your creations, your questions, and most importantly, your love for food!