
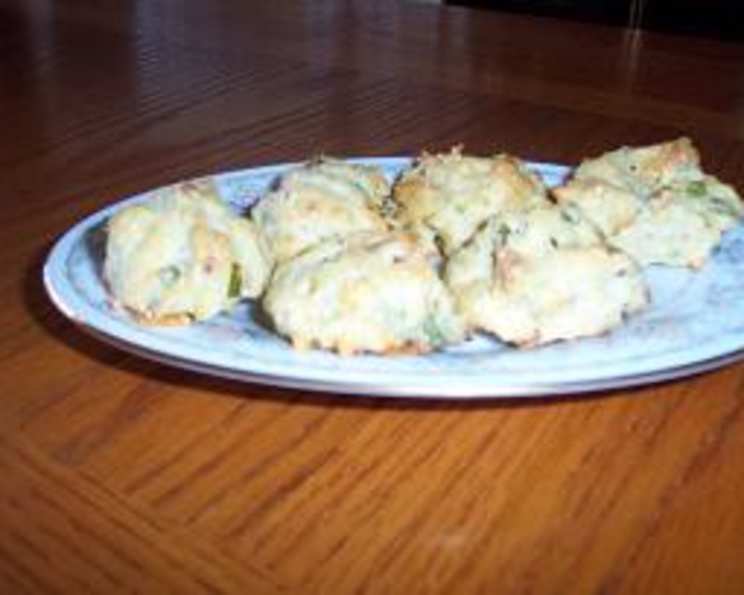
Blue Cheese Bacon Puffs: A Savory Bite of Delight
There’s something about the combination of blue cheese and bacon that just screams “party,” and I have a vivid memory of that very sentiment. Years ago, catering a small gathering at a local vineyard, I was scrambling for a last-minute appetizer when inspiration struck. I had some leftover blue cheese and a mountain of crispy bacon from another event. The result? A batch of these very puffs, which vanished in minutes. Guests were practically fighting over them, the salty bacon perfectly complementing the tangy blue cheese in a light, airy puff. It was an instant hit, and these Blue Cheese Bacon Puffs have been a staple in my repertoire ever since.
Recipe Overview
- Prep Time: 20 minutes
- Cook Time: 20-25 minutes
- Total Time: 40-45 minutes
- Yields: Approximately 48 puffs
- Dietary Type: Not Gluten-Free
Ingredients
- 1 1/2 cups water
- 1/2 cup butter
- 1 1/2 cups all-purpose flour
- 1/2 teaspoon salt
- 1/4 teaspoon red pepper
- 1/4 teaspoon black pepper
- 8 slices bacon, crumbled
- 6 eggs
- 8 ounces crumbled blue cheese
- 4 green onions, chopped
Equipment Needed
- Large saucepan
- Wooden spoon
- Electric mixer (optional, but recommended)
- Lightly greased cookie sheet
- Measuring cups and spoons
Instructions
- Preheat your oven to 400°F (200°C). Make sure your oven rack is positioned in the center.
- In a large saucepan, combine the water and butter. Bring the mixture to a rolling boil over medium heat. It’s crucial that the butter is fully melted before the next step.
- Once boiling, remove the saucepan from the heat. Immediately add the flour, salt, red pepper, and black pepper.
- Using a sturdy wooden spoon, vigorously stir the mixture until it forms a smooth ball and pulls away from the sides of the pan. This step requires some elbow grease, but it’s essential for the puff’s texture. This process cooks the flour slightly, which is key to achieving a light and airy puff.
- Let the mixture cool slightly for a few minutes. This prevents the eggs from scrambling when you add them.
- Now comes the egg incorporation. Using an electric mixer (or continuing with the wooden spoon if you’re feeling ambitious), beat in the eggs one at a time. Make sure each egg is fully incorporated before adding the next. The dough will look a bit curdled at first, but keep mixing, and it will come together into a smooth, glossy batter.
- Fold in the crumbled blue cheese, chopped green onions, and crumbled bacon until evenly distributed throughout the batter. Don’t overmix at this stage; you want to keep the cheese and bacon intact.
- Drop the batter by rounded teaspoonfuls onto a lightly greased cookie sheet. Leave about an inch or two between each puff to allow for expansion.
- Bake in the preheated oven for 20 to 25 minutes, or until the puffs are golden brown and firm to the touch. Avoid opening the oven door during baking, as this can cause the puffs to collapse.
- Once baked, remove the cookie sheet from the oven and let the puffs cool slightly on the sheet before transferring them to a wire rack to cool completely.
Expert Tips & Tricks
- Crispy Bacon is Key: Ensure your bacon is cooked until very crispy before crumbling. Soggy bacon will make the puffs greasy.
- Don’t Overmix: Overmixing the batter after adding the cheese and bacon can result in tough puffs.
- Piping for Uniformity: For a more professional look, transfer the batter to a piping bag fitted with a large round tip and pipe uniform rounds onto the baking sheet.
- Make-Ahead Option: The batter can be made ahead of time and stored in the refrigerator for up to 24 hours. Let it come to room temperature slightly before baking.
- Freezing Baked Puffs: Baked puffs can be frozen for up to 2 months. Reheat them in a 350°F (175°C) oven until warmed through.
Serving & Storage Suggestions
These Blue Cheese Bacon Puffs are best served warm or at room temperature. They make a fantastic appetizer for parties, game-day gatherings, or even a sophisticated brunch. Garnish them with a sprinkle of fresh chives or a dollop of sour cream for an extra touch.
Store any leftover puffs in an airtight container in the refrigerator for up to 3 days. They can be reheated in a low oven or microwave, but they’re best enjoyed fresh. Freezing is also an option; just thaw them completely before reheating.
Nutritional Information
| Nutrient | Amount per Serving | % Daily Value |
|---|---|---|
| Calories | 75 kcal | 4% |
| Total Fat | 6g | 8% |
| Saturated Fat | 3g | 14% |
| Cholesterol | 38mg | 12% |
| Sodium | 144mg | 6% |
| Carbohydrate | 3g | 1% |
| Dietary Fiber | 0g | 0% |
| Sugars | 0g | 0% |
| Protein | 3g | 5% |
Variations & Substitutions
- Cheese Swap: Not a fan of blue cheese? Substitute with sharp cheddar, Gruyère, or feta cheese for a different flavor profile.
- Spice it Up: Add a pinch of cayenne pepper to the batter for an extra kick.
- Herb Infusion: Incorporate chopped fresh herbs like thyme, rosemary, or oregano into the batter for added aroma and flavor.
- Vegetarian Option: Omit the bacon and add finely chopped sun-dried tomatoes or roasted red peppers for a vegetarian twist.
- Gluten-Free: While this recipe uses all-purpose flour, you can experiment with a gluten-free all-purpose blend, though the texture might be slightly different.
FAQs (Frequently Asked Questions)
Q: Why are my puffs flat and not puffy?
A: This could be due to a few reasons: not cooking the flour mixture long enough, adding the eggs while the mixture is too hot, or opening the oven door during baking. Make sure to follow the instructions carefully.
Q: Can I make these ahead of time and bake them later?
A: Yes, you can make the batter ahead of time and store it in the refrigerator for up to 24 hours. Let it come to room temperature slightly before baking.
Q: How do I prevent the cheese from melting out of the puffs?
A: Make sure the cheese is evenly distributed throughout the batter, and don’t overmix. This will help keep the cheese inside the puffs during baking.
Q: Can I freeze the baked puffs?
A: Absolutely! Let them cool completely before freezing in an airtight container for up to 2 months. Reheat them in a 350°F (175°C) oven until warmed through.
Q: Can I use turkey bacon instead of regular bacon?
A: Yes, turkey bacon can be used as a substitute. Just make sure it’s cooked until crispy before crumbling.
Final Thoughts
These Blue Cheese Bacon Puffs are more than just an appetizer; they’re a little bite of happiness, packed with flavor and a delightful airy texture. They’re surprisingly easy to make, and the combination of salty bacon, tangy blue cheese, and flaky puff pastry is simply irresistible. So go ahead, gather your ingredients, preheat your oven, and prepare to impress your friends and family with these savory delights. I encourage you to experiment with different cheese and herb combinations to create your own signature version. Don’t be afraid to share your creations and feedback – happy baking!