
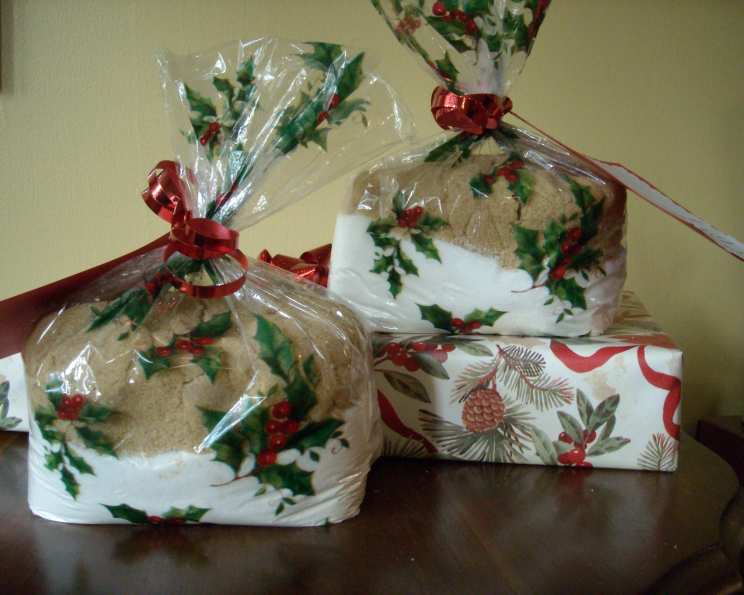
Butterscotch Brownies: A Jarful of Happiness
There’s something truly magical about a homemade gift. I remember one Christmas, my grandmother, a woman whose baking was legendary, gifted everyone in the family these beautiful layered jars. Each one held the promise of warm, chewy butterscotch brownies. As a child, the anticipation of mixing those layers and the incredible aroma that filled the kitchen as they baked was pure holiday bliss. Now, continuing that tradition is a joy, and this recipe is my way of sharing a little piece of that happiness.
Recipe Overview
- Prep Time: 20 minutes
- Cook Time: 20-25 minutes
- Total Time: 45 minutes
- Yields: 24 bars
- Serves: 24
- Dietary Type: Vegetarian
Ingredients
JAR Ingredients:
- 2 cups flour
- 1/4 teaspoon salt
- 1 1/2 teaspoons baking powder
- 1/2 cup sugar
- 1 3/4 cups brown sugar, packed
ADDITIONAL INGREDIENTS (to be added by the recipient):
- 3/4 cup butter, softened
- 2 eggs
- 2 teaspoons vanilla extract
Equipment Needed
- 1-quart wide-mouth canning jar
- 13×9 inch baking pan
- Large mixing bowl
- Mixing spoon or electric mixer
- Measuring cups and spoons
- Toothpick
- Flat-bottomed object (for packing layers)
Instructions
-
Creating the Gift in a Jar: Begin by ensuring your 1-quart wide-mouth canning jar is clean, dry, and ready to be filled.
-
Layering the Dry Ingredients: Systematically layer the dry ingredients into the jar, following the order listed. Start with 2 cups of flour, gently pouring it into the jar to create an even layer.
-
Adding Salt and Baking Powder: Next, add 1/4 teaspoon of salt followed by 1 1/2 teaspoons of baking powder, distributing them evenly over the flour.
-
Sweetening the Deal: Now, introduce the sweetness. Carefully pour 1/2 cup of sugar over the baking powder layer.
-
The Brown Sugar Finale: Top the jar with 1 3/4 cups of packed brown sugar. Be sure to pack the brown sugar firmly into the measuring cup to ensure accurate measurements.
-
Packing the Layers: After adding each layer, use a flat-bottomed object, such as a measuring cup or the bottom of a spice jar, to gently but firmly press down on the layer. This helps to create distinct, visually appealing layers within the jar and ensures all the ingredients fit. Level each layer as much as possible.
-
Securing the Gift: Once all the dry ingredients are layered, securely fasten the lid onto the canning jar.
-
Personalizing the Gift: Decorate the jar as desired! You can use ribbons, twine, fabric scraps, or personalized labels to add a personal touch. Most importantly, attach a card with the following instructions for the recipient: “Preheat oven to 375°F (190°C). In a large bowl, blend 3/4 cup softened butter, 2 eggs, and 2 teaspoons vanilla extract. Add the contents of this jar and stir until well mixed. Spread the batter evenly in a greased 13×9 inch baking pan. Bake for 20-25 minutes, or until a toothpick inserted in the center comes out clean. Cool completely in pan before cutting into 24 squares.”
-
Baking the Brownies (for the recipient): Preheat your oven to 375°F (190°C).
-
Preparing the Wet Ingredients: In a large bowl, thoroughly blend together 3/4 cup of softened butter, 2 eggs, and 2 teaspoons of vanilla extract. You can use an electric mixer for a smoother batter, or a sturdy spoon and some elbow grease.
-
Combining Wet and Dry: Gradually add the contents of the jar to the wet ingredients, stirring until just combined. Be careful not to overmix, as this can lead to tough brownies. Some lumps are okay!
-
Preparing the Pan: Grease a 13×9 inch baking pan. This step is crucial to prevent the brownies from sticking.
-
Spreading the Batter: Pour the batter into the prepared pan and spread it evenly using a spatula or the back of a spoon.
-
Baking to Perfection: Bake for 20-25 minutes, or until a toothpick inserted into the center comes out clean. Keep a close eye on the brownies during the last few minutes of baking to prevent over-baking. Every oven is different.
-
Cooling and Cutting: Once baked, remove the pan from the oven and let the brownies cool completely in the pan before cutting them into 24 squares. This allows the brownies to set properly and makes them easier to cut.
-
Serving and Enjoying: Serve immediately, or store in an airtight container for later enjoyment.
Expert Tips & Tricks
-
Packing Perfection: When layering the ingredients in the jar, ensure each layer is firmly packed. This not only makes the jar look more appealing but also helps to prevent the ingredients from mixing prematurely.
-
Brown Sugar Softness: To keep the brown sugar soft and pliable in the jar, consider adding a small marshmallow or a piece of bread to the jar. These will help absorb moisture and prevent the sugar from clumping.
-
Baking Time Variance: Baking times may vary depending on your oven. Start checking for doneness at 20 minutes, and continue baking until a toothpick inserted into the center comes out clean or with a few moist crumbs attached.
-
Preventing Sticking: For easy brownie removal, line the baking pan with parchment paper, leaving an overhang on the sides. After baking and cooling, lift the brownies out of the pan using the parchment paper overhang.
Serving & Storage Suggestions
These butterscotch brownies are delicious served warm, straight from the pan, or at room temperature. For an extra touch of indulgence, top them with a scoop of vanilla ice cream or a drizzle of butterscotch sauce.
Store leftover brownies in an airtight container at room temperature for up to 3 days, or in the refrigerator for up to a week. For longer storage, freeze the brownies in an airtight container for up to 2 months. Thaw overnight in the refrigerator before serving.
Nutritional Information
Please note that the following nutrition information is an estimate and can vary depending on specific ingredients and serving sizes.
| Nutrient | Amount per Serving | % Daily Value |
|---|---|---|
| Calories | 173 kcal | – |
| Calories from Fat | 56 g | 33% |
| Total Fat | 6.2 g | 9% |
| Saturated Fat | 3.8 g | 18% |
| Cholesterol | 30.8 mg | 10% |
| Sodium | 108.3 mg | 4% |
| Total Carbohydrate | 28 g | 9% |
| Dietary Fiber | 0.3 g | 1% |
| Sugars | 19.8 g | 79% |
| Protein | 1.7 g | 3% |
Variations & Substitutions
- Nutty Butterscotch: Add 1/2 cup of chopped pecans or walnuts to the jar for a nutty twist.
- Chocolate Chunk: Mix in 1/2 cup of chocolate chunks or chips for a chocolate-butterscotch fusion.
- Gluten-Free Option: Substitute the all-purpose flour with a gluten-free flour blend. Be sure to use a blend that contains xanthan gum for best results.
- Spice It Up: Add a pinch of cinnamon or nutmeg to the flour mixture for a warm, spiced flavor.
FAQs (Frequently Asked Questions)
Q: Can I use a different size jar?
A: While a 1-quart jar is ideal, you can use a slightly larger jar. However, be mindful of the proportions and adjust the ingredients accordingly if needed.
Q: How long will the jar mix last?
A: If stored in a cool, dry place, the jar mix should last for several months. However, it’s best to use it within 6 months for optimal freshness.
Q: Can I add more ingredients to the jar?
A: Yes! Feel free to add other dry ingredients such as chocolate chips, chopped nuts, or sprinkles to the jar. Just be sure to adjust the layering accordingly.
Q: What if the brownies are too dry?
A: Over-baking is the most common cause of dry brownies. Be sure to check for doneness frequently and remove the brownies from the oven as soon as a toothpick inserted into the center comes out clean.
Q: Can I make these brownies without the gift jar?
A: Absolutely! Simply combine all the dry ingredients in a large bowl, then follow the instructions for adding the wet ingredients and baking.
Final Thoughts
These Butterscotch Brownies in a Jar are more than just a recipe; they’re a heartfelt gift that brings joy and deliciousness to anyone who receives it. Whether you’re creating a homemade present for a loved one or simply treating yourself to a delightful dessert, these brownies are sure to please. So, gather your ingredients, layer them with love, and bake up a batch of happiness today! And, of course, I’d love to hear your feedback. Don’t hesitate to share your experiences and creative variations. Happy baking!