
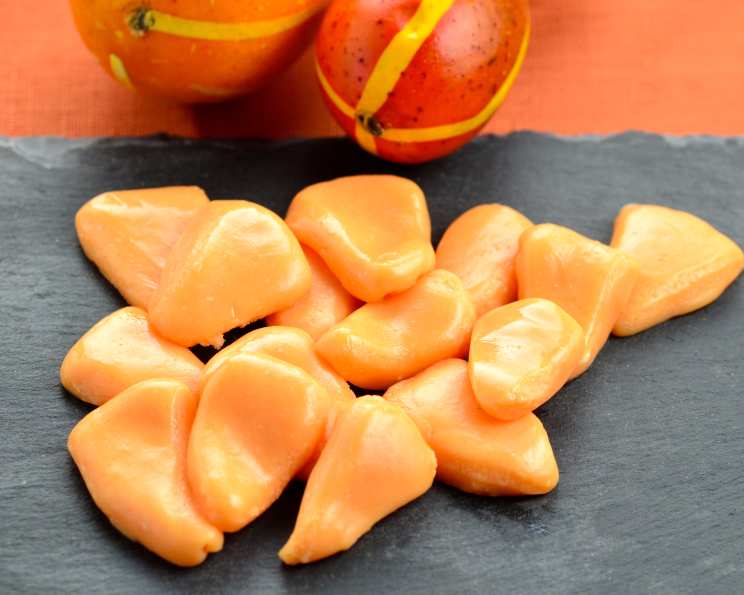
Crafting Your Own Classic Candy Corn
The first sign of fall for me wasn’t the changing leaves or the crisp air, but the arrival of those iconic, tri-colored triangles: candy corn. As a child, Halloween wasn’t complete without a bag of these sugary treats. I remember carefully separating the yellow, orange, and white layers, savoring each bite as if it were a precious jewel, a little edible totem of autumnal joy. Now, years later, I find myself recreating that same simple magic in my own kitchen.
Recipe Overview
- Prep Time: 15 minutes
- Cook Time: 5 minutes
- Total Time: 20 minutes (plus cooling time)
- Yields: 1 3/4 lbs candy
- Dietary Type: Not suitable for Vegan, Dairy-Free, or Gluten-Free
Ingredients
- 1 cup sugar
- 2/3 cup white corn syrup
- 1/3 cup butter
- 1 teaspoon vanilla
- To taste food coloring (several drops) (optional)
- 2 1/2 cups powdered sugar
- 1/4 teaspoon salt
- 1/3 cup powdered milk
Equipment Needed
- Heavy-bottomed saucepan
- Wooden spoon or spatula
- Measuring cups and spoons
- Wax paper or silicone mat
- Gloves (optional, for kneading)
Instructions
-
In a heavy-bottomed saucepan, combine the sugar, white corn syrup, and butter.
-
Place the saucepan over medium heat and bring the mixture to a boil, stirring constantly. It is crucial to stir continuously at this stage to prevent the sugar from burning or sticking to the bottom of the pan.
-
Once the mixture reaches a boil, reduce the heat to low and continue to boil for 5 minutes. Stir occasionally during this time. The candy needs to reach the right temperature to set properly, but overcooking can result in a hard, brittle candy.
-
Remove the saucepan from the heat. Immediately add the vanilla and a few drops of food coloring (if using). Remember, food coloring is optional, but it adds to the traditional look of candy corn. Stir to incorporate the ingredients evenly.
-
In a separate bowl, combine the powdered sugar, salt, and powdered milk.
-
Add the dry ingredients all at once to the wet mixture in the saucepan.
-
Stir until the mixture is cool enough to handle. This is a crucial step; stirring helps to distribute the ingredients and start the cooling process.
-
Once the mixture has cooled enough to handle, turn it out onto a clean surface dusted lightly with powdered sugar. Knead until the dough is stiff enough to hold its shape. You can wear gloves to avoid the mixture from sticking to your hands.
-
Shape the candy into triangles, or any shape desired. For a traditional candy corn look, divide the dough into three portions. Leave one portion white, color the second yellow, and the third orange using food coloring. Roll each portion into a long rope. Lay the ropes side by side and gently press them together. Use a knife or dough scraper to cut the rope into triangles.
-
Place the shaped candies on wax paper or a silicone mat to cool completely.
Expert Tips & Tricks
-
Temperature is Key: Ensuring the candy mixture reaches the right temperature during boiling is critical for achieving the desired texture. Use a candy thermometer if you have one; it should reach the soft-ball stage (around 235-240°F or 112-115°C).
-
Prevent Sticking: To prevent the candy from sticking to your hands while kneading, lightly grease your hands with butter or shortening, or wear gloves.
-
Coloring Technique: For vibrant, even colors, use gel food coloring. Liquid food coloring can sometimes change the consistency of the candy slightly.
-
Kneading: Don’t over-knead the candy, as it can become tough. Knead just until the dough is smooth and holds its shape.
-
Rescuing Dry Dough: If the dough becomes too dry or crumbly, add a teaspoon of water or corn syrup at a time while kneading until it reaches the desired consistency.
Serving & Storage Suggestions
Serve your homemade candy corn as a festive treat for Halloween or any autumnal celebration. Arrange them on a decorative platter, include them in party favor bags, or simply enjoy them as a sweet snack.
Store the candy corn in an airtight container at room temperature. It will last for up to 2 weeks. Avoid storing in the refrigerator, as the moisture can make the candy sticky.
While freezing is not recommended, candy corn will maintain its quality best when stored away from light and excessive heat/cold.
Nutritional Information
| Nutrient | Amount per Serving | % Daily Value |
|---|---|---|
| Calories | 1916 kcal | N/A |
| Calories from Fat | N/A | 20% |
| Total Fat | 41.8 g | 64% |
| Saturated Fat | 26.3 g | 131% |
| Cholesterol | 116.5 mg | 38% |
| Sodium | 816.7 mg | 34% |
| Total Carbohydrate | 395.2 g | 131% |
| Dietary Fiber | 0 g | 0% |
| Sugars | 326.4 g | 1305% |
| Protein | 6.8 g | 13% |
Note: Nutritional information is an estimate and can vary based on specific ingredients and portion sizes.
Variations & Substitutions
-
Vegan Option: Unfortunately, this recipe relies heavily on butter and powdered milk. Creating a true vegan candy corn would require a completely different formula that mimics both the texture and taste.
-
Different Shapes: Get creative with your candy shapes! Try making pumpkins, bats, or other Halloween-themed designs.
-
Flavor Variations: Experiment with adding different extracts, such as almond or maple, to the dough for a unique flavor twist.
-
Natural Food Coloring: Explore using natural food coloring options like beet juice for red, turmeric for yellow, and spirulina for blue (which can be mixed with other colors to achieve different shades).
FAQs (Frequently Asked Questions)
Q: Why is my candy corn too sticky?
A: This likely means the candy wasn’t boiled long enough or wasn’t kneaded properly. Reheating it is not recommended, but you can try coating the pieces generously with powdered sugar to absorb some of the excess moisture.
Q: Can I use a stand mixer instead of kneading by hand?
A: Yes, you can use a stand mixer with a dough hook to knead the candy. Be sure to monitor the dough closely to avoid over-kneading.
Q: How do I get the colors to stay separate when shaping the candy corn?
A: Gently press the colored dough ropes together without over-mixing them. This will help maintain distinct color layers.
Q: What if I don’t have powdered milk?
A: While powdered milk contributes to the texture and flavor, you can try substituting it with an equal amount of cornstarch. The final result may be slightly different.
Q: How long does the candy corn need to cool before I can eat it?
A: The candy corn should cool completely before eating, which can take about 30 minutes to an hour. This allows it to firm up and develop its characteristic texture.
Final Thoughts
There’s a certain satisfaction that comes from creating something familiar from scratch. Making your own candy corn is not only a fun activity, but it also allows you to tailor the flavor and appearance to your liking. It’s a journey into the heart of autumn, one delicious triangle at a time. So, gather your ingredients, don your apron, and get ready to conjure up a batch of homemade candy corn that’s sure to bring a touch of sweetness to your autumn celebrations! Let me know in the comments how you got on, and how you adjusted the recipe to make it your own.