
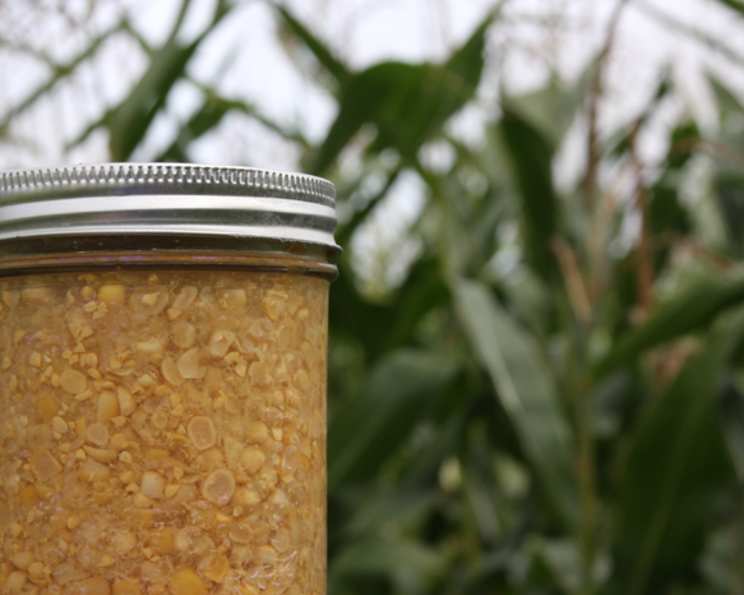
Preserving Summer’s Sweetness: A Guide to Canning Fresh Corn
I remember summers spent on my grandparents’ farm, the air thick with the smell of sunshine and freshly turned earth. My favorite task was helping my grandfather harvest the corn, the tall stalks rustling like secrets in the wind. We’d shuck the ears right there in the field, the sweet kernels promising a taste of summer that we would work hard to preserve. Canning that corn, a family ritual, was more than just putting food on the table; it was bottling up memories, flavors, and the simple joys of farm life to savor throughout the colder months.
Recipe Overview: Canned Corn (Raw Pack)
- Prep Time: 1 hour
- Cook Time: 55 minutes – 1 hour 25 minutes
- Total Time: Approximately 2 hours 30 minutes (includes cooling time)
- Yields: Varies depending on corn, approximately 1 pint per 3-6 ears
- Dietary Type: Vegan, Gluten-Free, Dairy-Free, Vegetarian
Ingredients
- 3-6 ears of corn, per quart jar
- ½ teaspoon pickling salt, per pint jar (optional, for flavor)
- Water
Equipment Needed
- Large pot for blanching (optional)
- Sharp knife
- Large bowls
- Hot jars (pint or quart)
- Jar lifter
- Lid wand
- Pressure canner
- Clean damp cloths
Instructions
- Prepare the corn: Husk the corn, removing all silk. Wash the ears thoroughly under cold running water.
- Cut the kernels: Using a sharp knife, cut the kernels from the cob. A helpful tip is to use an angel food cake pan; place the cob on the center post and cut down, allowing the kernels to fall neatly into the pan. This minimizes mess and keeps the kernels contained.
- Blanch (Optional): For a slightly sweeter result and better color preservation, blanch the cut kernels. Bring a large pot of water to a boil. Add the corn kernels and boil for 2 minutes. Drain the corn well. This step is optional and can be skipped if you prefer a truly raw pack.
- Pack the jars: Pack the corn kernels loosely into hot, sterilized canning jars, leaving 1-inch headspace at the top. Do not shake or press down the kernels, as this can affect the processing.
- Add salt (Optional): If desired, add ½ teaspoon of pickling salt to each pint jar or 1 teaspoon to each quart jar. This is for flavor only and does not affect the preservation process.
- Add water: Carefully ladle boiling water over the corn, ensuring it covers the kernels and maintaining the 1-inch headspace.
- Remove air bubbles: Use a non-metallic utensil, like a chopstick or plastic spatula, to gently release any trapped air bubbles. Run the utensil around the inside of the jar, pressing lightly against the corn. Readjust the headspace if necessary.
- Wipe the rims: Clean the rims of the jars with a clean, damp cloth to ensure a good seal. Any residue can prevent the lids from sealing properly.
- Apply lids and bands: Center the canning lids on the jars and screw on the bands until fingertip tight. Do not overtighten, as this can prevent air from escaping during processing.
- Process in a pressure canner: Follow the manufacturer’s instructions for your specific pressure canner model. Ensure the canner has the appropriate amount of water. Load the jars into the canner, being careful not to overcrowd them.
- Venting the canner: Vent the canner for 10 minutes to remove all air. This is a crucial step for accurate pressure canning.
- Processing times: Process the jars at 10 pounds of pressure (adjust for altitude, see below) for the following times:
- Pint jars: 55 minutes
- Quart jars: 1 hour and 25 minutes
- Altitude adjustments: If you live at an altitude above 1,000 feet, you will need to increase the pressure according to the following guidelines:
- 1,001 – 2,000 feet: 11 pounds pressure
- 2,001 – 4,000 feet: 12 pounds pressure
- 4,001 – 6,000 feet: 13 pounds pressure
- 6,001 – 8,000 feet: 14 pounds pressure
- 8,001 – 10,000 feet: 15 pounds pressure
- Cooling and sealing: Once the processing time is complete, turn off the heat and allow the canner to cool naturally until the pressure returns to zero. Do not force cool the canner. Carefully remove the lid, tilting it away from you to avoid steam burns. Use a jar lifter to remove the jars from the canner and place them on a towel-lined surface, leaving space between the jars for air circulation.
- Check for seals: Allow the jars to cool completely, undisturbed, for 12-24 hours. After cooling, check the seals by pressing down on the center of each lid. If the lid flexes up and down, it is not sealed and should be reprocessed with a new lid or refrigerated.
- Label and store: Label each jar with the date and contents. Store in a cool, dark, and dry place.
Expert Tips & Tricks
- Corn selection: Choose fresh, sweet corn for the best flavor and texture. The kernels should be plump and milky.
- Jar sterilization: Sterilize jars by boiling them in water for 10 minutes or running them through a dishwasher cycle. Keep jars hot until filling.
- Headspace: Accurate headspace is essential for proper sealing. Use a headspace tool or a ruler to ensure the correct measurement.
- Preventing floating: While some settling of corn is normal, blanching helps to minimize it. Ensure the jars are packed loosely and headspace is accurate.
- Dealing with unsealed jars: If a jar doesn’t seal, you can reprocess it with a new lid within 24 hours. Alternatively, store the unsealed jar in the refrigerator and use the corn within a week.
- Freezing the Corn: If you don’t want to can the corn, you can freeze it instead. Blanch as directed above and then lay flat on baking sheets in the freezer. Once frozen, transfer to freezer bags.
Serving & Storage Suggestions
Canned corn is a versatile ingredient that can be used in countless dishes. Enjoy it simply as a side dish, seasoned with butter, salt, and pepper. Add it to soups, stews, casseroles, or salads. Canned corn also makes a delicious addition to cornbread, salsa, and dips. Properly canned corn can be stored in a cool, dark, and dry place for at least one year. Once opened, refrigerate any unused portion and use within a week.
Nutritional Information
(Per serving, based on approximately ½ cup serving size)
| Nutrient | Amount per Serving | % Daily Value |
|---|---|---|
| Calories | 75 kcal | 4% |
| Total Fat | 1g | 1% |
| Saturated Fat | 0g | 0% |
| Cholesterol | 0mg | 0% |
| Sodium | 150mg | 7% |
| Total Carbohydrate | 17g | 6% |
| Dietary Fiber | 2g | 7% |
| Sugars | 4g | N/A |
| Protein | 2g | 4% |
Note: Nutritional information is an estimate and may vary based on specific ingredients and preparation methods.
Variations & Substitutions
- Sweet Corn Relish: Add diced peppers, onions, and vinegar to create a sweet and tangy corn relish.
- Spicy Corn: Incorporate a pinch of cayenne pepper or chopped jalapeños for a spicy kick.
- Creamed Corn: Blend a portion of the canned corn with milk or cream for a creamy texture. Season with butter, salt, and pepper.
- Roasted Corn Flavor: Roast the corn kernels in the oven before canning for a deeper, richer flavor. Cool completely before packing into jars.
- Herb Infused: Add fresh herbs like thyme, rosemary, or basil to the jars before adding water for a subtle flavor infusion.
FAQs (Frequently Asked Questions)
Q: Why is pressure canning necessary for corn?
A: Corn is a low-acid food, which means it requires pressure canning to reach a high enough temperature to kill botulism spores. Boiling water bath canning is not safe for low-acid foods.
Q: Can I use frozen corn instead of fresh corn?
A: While it’s generally recommended to use fresh corn for canning, you can use frozen corn if necessary. Thaw the corn completely before packing it into the jars. The texture may be slightly softer compared to fresh corn.
Q: How do I know if my jars are sealed correctly?
A: After cooling, the lids should be concave and not flex when pressed in the center. If a lid flexes, it is not sealed and should be reprocessed or refrigerated.
Q: What happens if I don’t remove the air bubbles properly?
A: Trapped air bubbles can prevent the jars from sealing properly and can also affect the quality of the canned corn.
Q: How long will canned corn last?
A: Properly canned corn can last for at least one year when stored in a cool, dark, and dry place. Check the jars for any signs of spoilage before using. Discard any jars that show signs of bulging, leakage, or unusual odor.
Final Thoughts
Canning fresh corn is a labor of love, but the rewards are well worth the effort. Imagine the joy of opening a jar of sunshine in the middle of winter, savoring the sweet taste of summer corn. Don’t be intimidated by the process; follow these instructions carefully, and you’ll be enjoying your own homegrown (or locally sourced) canned corn in no time. I encourage you to give it a try and share your delicious results with family and friends. Maybe you’ll even start a new family tradition!