
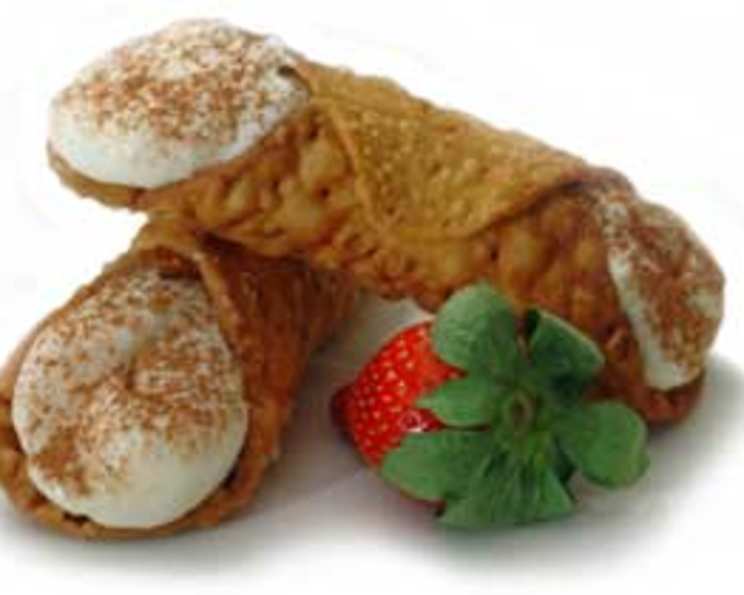
Cannoli Shells Like a Pro
The scent of fried dough mingled with sweet ricotta filling is a scent permanently etched in my memory. As a child, visiting my grandmother’s tiny apartment in Little Italy was always a sensory explosion. But nothing compared to watching her, with flour dusting her apron, expertly rolling and frying these delicate shells. The rhythmic sizzle of the oil, the careful wrapping of the dough around metal forms – it was a culinary ballet that always ended with the most heavenly treat imaginable. I may have upgraded my kitchen since then, but the love and tradition behind those cannoli remain the same.
Recipe Overview
- Prep Time: 30 minutes
- Cook Time: 3-4 minutes per batch
- Total Time: 1 hour 4 minutes (includes chilling time)
- Servings: 12
- Yield: 12 cannoli shells
- Dietary Type: Not Gluten-Free
Ingredients
- 3 cups flour
- ¼ cup sugar
- 1 teaspoon cinnamon
- ¼ teaspoon salt
- 3 tablespoons shortening
- 2 eggs, well beaten
- 2 tablespoons white vinegar
- 2 tablespoons cold water
- 1 egg white, slightly beaten (for sealing)
- Vegetable oil (for deep frying)
Equipment Needed
- Deep saucepan
- Pastry blender
- Plastic wrap
- Aluminum cannoli tubes (6)
- Cardboard (for pattern)
- Paper towels
- Slotted spoon or spider
- Rolling pin
Instructions
-
Begin by combining the dry ingredients. In a large bowl, sift together the flour, sugar, cinnamon, and salt. This ensures a uniform mixture and helps prevent lumps.
-
Incorporate the shortening. Use a pastry blender (or your fingertips) to cut the shortening into the dry ingredients. Work the mixture until it resembles coarse crumbs, with pieces of shortening about the size of small peas. This creates pockets of fat that will contribute to a flaky texture.
-
Add the wet ingredients. Stir in the well-beaten eggs. Then, blend in the white vinegar and cold water. The vinegar helps to tenderize the dough, while the cold water keeps the gluten from developing too much, preventing a tough shell.
-
Knead the dough. Turn the dough out onto a lightly floured surface. Knead until the dough is smooth and elastic, about 5 minutes. If the dough is too sticky, add a little more flour, a tablespoon at a time, until it reaches the desired consistency. The dough should be firm but pliable.
-
Chill the dough. Wrap the dough tightly in plastic wrap and refrigerate for at least 30 minutes. This chilling period allows the gluten to relax, making the dough easier to roll out.
-
Prepare the cannoli tubes. Set out six aluminum cannoli tubes. These will provide the form for your shells as they fry.
-
Heat the oil. In a deep saucepan, heat the vegetable oil to 360 degrees F (182 degrees C). Use a thermometer to ensure accurate temperature control. Maintaining the correct temperature is crucial for achieving perfectly golden and crispy shells. If the oil is too cold, the shells will absorb too much oil; if it’s too hot, they’ll burn.
-
Create a pattern. Cut an oval-shaped pattern from cardboard, approximately 6×4 inches. This template will ensure uniform size for your shells.
-
Roll and cut the dough. On a lightly floured surface, roll the chilled dough to 1/8-inch thickness. It’s important to roll the dough thinly to achieve the desired crispness.
-
Use the pattern. Place the cardboard pattern on the dough and cut out as many ovals as will fit. Gather the scraps, re-roll, and cut out more ovals until all the dough is used.
-
Wrap the dough around the tubes. Wrap each oval of dough loosely around a cannoli tube, slightly overlapping the opposite ends.
-
Seal the ends. Seal the overlapping ends by brushing with egg white and pressing firmly together. The egg white acts as a glue, ensuring the shells stay sealed during frying.
-
Fry the shells. Carefully fry only as many shells as will float uncrowded in the hot oil. Overcrowding the pan will lower the oil temperature and result in greasy shells.
-
Fry until golden. Fry the shells until they are light golden brown, about 3-4 minutes, turning them occasionally for even browning.
-
Drain and cool. Remove the fried cannoli shells to paper towels to drain excess oil.
-
Remove the tubes. Allow the shells to cool slightly before carefully removing the tubes. Gently twist and slide the tube out while the shell is still warm but cool enough to handle.
-
Cool completely. Allow the shells to cool completely on a wire rack before filling.
-
Repeat. Continue forming and frying cannoli shells until all the dough is used.
-
Fill the shells. Using a pastry bag or a small spoon, fill the shells with the desired filling from both ends. Ricotta filling is traditional, but you can experiment with other creams and mousses. Do not fill the shells until up to an hour before serving, as the filling will make the shells soggy.
-
Garnish. Sprinkle the ends with chopped pistachio nuts and dust with confectioners’ sugar for an elegant finishing touch.
Expert Tips & Tricks
- Dough Consistency is Key: Don’t overwork the dough. Over-kneading develops too much gluten, resulting in tough shells. If the dough seems too dry, add a teaspoon of water at a time until it comes together.
- Oil Temperature Monitoring: Invest in a good quality thermometer. Maintaining a consistent oil temperature is essential for perfectly fried shells.
- Avoid Soggy Shells: To prevent soggy shells, consider dipping the inside of the cooled shells in melted chocolate before filling. The chocolate acts as a barrier against moisture. Alternatively, use a very dry ricotta filling, draining it well through cheesecloth.
- Make-Ahead: The shells can be made a day or two in advance and stored in an airtight container at room temperature. Do not fill them until just before serving.
- Flavor Infusion: Add a touch of orange zest or a few drops of orange blossom water to the dough for a subtle citrus flavor.
Serving & Storage Suggestions
Serve the cannoli immediately after filling for the best texture. Arrange them artfully on a platter and dust generously with confectioners’ sugar. Freshly filled cannoli are best enjoyed within a few hours.
Unfilled cannoli shells can be stored in an airtight container at room temperature for up to 2 days. Avoid storing them in the refrigerator, as this will cause them to become soft. Once filled, cannoli are best consumed immediately. If you have leftover filled cannoli, store them in the refrigerator for up to 24 hours, but be aware that the shells will lose some of their crispness.
Nutritional Information
| Nutrient | Amount per Serving | % Daily Value |
|---|---|---|
| Calories | 172.9 kcal | N/A |
| Calories from Fat | 39 g | 23% |
| Total Fat | 4.3 g | 6% |
| Saturated Fat | 1.1 g | 5% |
| Cholesterol | 35.2 mg | 11% |
| Sodium | 65.5 mg | 2% |
| Total Carbohydrate | 28.3 g | 9% |
| Dietary Fiber | 0.9 g | 3% |
| Sugars | 4.3 g | N/A |
| Protein | 4.6 g | 9% |
Variations & Substitutions
- Gluten-Free Cannoli: Substitute the all-purpose flour with a gluten-free flour blend. You may need to adjust the liquid slightly to achieve the correct dough consistency.
- Liqueur Infusion: Add a tablespoon of your favorite liqueur, such as Marsala or Amaretto, to the dough for added flavor.
- Chocolate Cannoli: Add 2 tablespoons of unsweetened cocoa powder to the dry ingredients for chocolate cannoli shells.
- Savory Cannoli: Omit the sugar and cinnamon and add herbs such as rosemary and thyme for a savory version. Fill with seasoned ricotta cheese and vegetables.
FAQs (Frequently Asked Questions)
Q: Why are my cannoli shells not crispy?
A: Several factors can contribute to shells that aren’t crispy, including too much liquid in the dough, oil that isn’t hot enough, or overcrowding the pan while frying.
Q: Can I bake the cannoli shells instead of frying them?
A: While frying is traditional and provides the best texture, you can try baking the shells at 375°F (190°C) for 10-12 minutes, or until golden brown. The texture will be different, less blistered and crunchy, but it is an alternative.
Q: How do I prevent the filling from making the shells soggy?
A: Only fill the shells right before serving. You can also dip the inside of the cooled shells in melted chocolate to create a moisture barrier.
Q: Can I use a different type of oil for frying?
A: Yes, you can use other high-heat oils such as peanut oil or canola oil.
Q: How long will unfilled cannoli shells last?
A: Unfilled cannoli shells can be stored in an airtight container at room temperature for up to 2 days.
Final Thoughts
Now it’s your turn to create these delicious treats! Don’t be intimidated by the process; with a little practice, you’ll be making cannoli shells like a pro. Experiment with different fillings and garnishes to create your own signature cannoli. And most importantly, don’t forget to share your creations with friends and family! Mangia!