
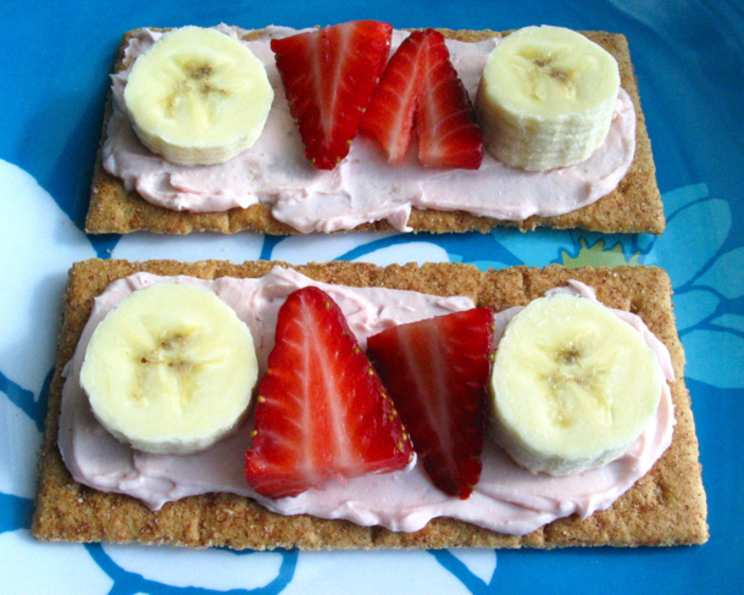
Luscious Cheesecake Bites: A Tiny Taste of Indulgence
The memory is etched in my mind: Sunday afternoons at my grandmother’s house. While the adults chatted, a small army of us grandkids would sneak into the kitchen, drawn by the sweet aroma wafting from the oven. Nestled amongst the pies and cookies were these delightful little squares – cheesecake bites. They were miniature versions of her famous cheesecake, perfectly portioned for tiny hands and bursting with creamy, tangy flavor. Each bite was pure, unadulterated joy, a little piece of heaven that always left me wanting more. Now, I’m thrilled to share my adapted version of this beloved treat with you!
Recipe Overview
- Prep Time: 15 minutes
- Cook Time: 20 minutes
- Total Time: 35 minutes
- Servings: 24 bites
- Yield: 24 bites
- Dietary Type: Not specified
Ingredients
- For the Crust:
- 1 ½ cups graham cracker crumbs
- ¼ cup granulated sugar
- 6 tablespoons unsalted butter, melted
- For the Filling:
- 16 ounces cream cheese, softened
- ¾ cup granulated sugar
- 2 large eggs
- 2 teaspoons vanilla extract
- ¼ cup sour cream
Equipment Needed
- 9×13 inch baking pan
- Mixing bowls
- Electric mixer
- Measuring cups and spoons
- Parchment paper (optional, for easier removal)
Instructions
-
Preheat your oven to 350°F (175°C). This temperature is crucial for a evenly baked cheesecake.
-
Prepare the crust: In a medium bowl, combine the graham cracker crumbs, sugar, and melted butter. Mix well until the crumbs are evenly moistened.
-
Press the crust into the pan: Press the graham cracker mixture firmly into the bottom of the 9×13 inch baking pan. Use the bottom of a measuring cup to ensure an even and compact crust.
-
Bake the crust: Bake the crust in the preheated oven for 8 minutes. This par-baking ensures a crisp crust that will hold its shape. Remove from oven and let cool slightly while you prepare the filling.
-
Prepare the filling: In a large bowl, beat the softened cream cheese with an electric mixer until smooth and creamy. This is a critical step to avoid lumps in your cheesecake.
-
Add sugar gradually: Gradually add the sugar to the cream cheese, beating until well combined. Make sure to scrape down the sides of the bowl to incorporate all the sugar.
-
Incorporate the eggs: Add the eggs one at a time, beating well after each addition. Be careful not to overmix at this stage, as it can incorporate too much air and cause the cheesecake to crack.
-
Add vanilla and sour cream: Stir in the vanilla extract and sour cream until just combined. Sour cream adds a lovely tang and helps keep the cheesecake moist.
-
Pour filling over crust: Pour the cream cheese filling evenly over the pre-baked graham cracker crust.
-
Bake the cheesecake: Bake in the preheated oven for 20 minutes, or until the filling is set but still slightly jiggly in the center. The cheesecake will continue to set as it cools.
-
Cool completely: Turn off the oven and let the cheesecake cool in the oven with the door slightly ajar for 1 hour. Then, remove from the oven and let cool completely at room temperature.
-
Chill before cutting: Cover the cheesecake with plastic wrap and refrigerate for at least 4 hours, or preferably overnight, before cutting into squares. This allows the cheesecake to fully set and makes it easier to cut cleanly.
-
Cut and serve: Cut the cheesecake into small squares or rectangles to create the “bites.” Use a sharp knife and wipe it clean between each cut for neat edges.
Expert Tips & Tricks
- Softening the cream cheese is key: Make sure your cream cheese is completely softened before starting. This will prevent lumps in your filling and ensure a smooth, creamy texture. You can leave it at room temperature for at least an hour or microwave it in short bursts (about 15 seconds at a time) until softened, being careful not to melt it.
- Don’t overmix: Overmixing the filling, especially after adding the eggs, can incorporate too much air, which can cause the cheesecake to crack during baking. Mix just until the ingredients are combined.
- Water bath (optional): For an even more decadent and crack-free cheesecake, consider using a water bath. Wrap the bottom of your baking pan in aluminum foil, then place it inside a larger pan. Pour hot water into the larger pan, reaching about halfway up the sides of the cheesecake pan. Bake as directed. This method provides gentle, even heat.
- Preventing a soggy crust: If you’re worried about a soggy crust, you can brush the pre-baked crust with a thin layer of melted white chocolate before pouring in the filling. This creates a moisture barrier.
Serving & Storage Suggestions
Serve the cheesecake bites chilled. They are perfect as a standalone dessert, a party snack, or a component of a dessert platter. Garnish with fresh berries, a dusting of cocoa powder, or a drizzle of chocolate sauce for an extra touch of elegance.
- Storage: Store leftover cheesecake bites in an airtight container in the refrigerator for up to 5 days.
- Freezing: Cheesecake bites can also be frozen for longer storage. Wrap them individually in plastic wrap, then place them in a freezer-safe container. They can be frozen for up to 2 months. Thaw in the refrigerator overnight before serving. They may lose a bit of their creamy texture after freezing, but they will still be delicious.
Nutritional Information
| Nutrient | Amount per Serving | % Daily Value |
|---|---|---|
| Calories | 145 kcal | 7% |
| Total Fat | 10g | 15% |
| Saturated Fat | 6g | 30% |
| Cholesterol | 45mg | 15% |
| Sodium | 70mg | 3% |
| Total Carbohydrate | 10g | 4% |
| Dietary Fiber | 0g | 0% |
| Sugars | 7g | |
| Protein | 2g | 4% |
Note: Nutritional information is an estimate and may vary depending on specific ingredients and portion sizes.
Variations & Substitutions
- Gluten-Free: Use gluten-free graham crackers for the crust.
- Chocolate Cheesecake: Add ¼ cup of cocoa powder to the filling. You can also melt ½ cup of chocolate chips and swirl it into the filling before baking.
- Lemon Cheesecake: Add 2 tablespoons of lemon zest to the filling for a bright, citrusy flavor.
- Berry Cheesecake: Swirl in a berry puree (such as raspberry or strawberry) into the filling before baking.
- Oreo Cheesecake: Replace the graham cracker crust with a crushed Oreo crust.
FAQs (Frequently Asked Questions)
Q: Can I use a different type of cookie for the crust?
A: Yes, you can use other types of cookies like Oreos (with the cream filling removed), shortbread cookies, or even digestive biscuits for the crust. Adjust the amount of butter accordingly.
Q: How do I prevent the cheesecake from cracking?
A: Avoid overmixing the filling, especially after adding the eggs. Also, cooling the cheesecake slowly (in the oven with the door ajar) can help prevent cracking. Using a water bath is the most effective method.
Q: Can I make these cheesecake bites ahead of time?
A: Absolutely! Cheesecake bites are perfect for making ahead. They need to chill for at least 4 hours, so making them a day in advance is ideal.
Q: What if my cheesecake filling is too runny?
A: Make sure your cream cheese is properly softened, and avoid overmixing the filling. If the filling is still too runny, you can add a tablespoon of cornstarch to help thicken it.
Q: How do I get clean cuts when slicing the cheesecake bites?
A: Use a sharp knife and wipe it clean with a damp cloth between each cut. This will prevent the cheesecake from sticking to the knife and ensure neat edges.
Final Thoughts
These cheesecake bites are more than just a recipe; they’re a little piece of comfort and joy, perfect for sharing with loved ones or indulging in a moment of sweet bliss. Don’t be intimidated – this recipe is surprisingly simple, and the results are truly rewarding. So, preheat your oven, gather your ingredients, and get ready to create a batch of these irresistible treats. I encourage you to try this recipe and make it your own with different flavor variations. Let me know how they turn out – I’d love to hear about your cheesecake adventures! Perhaps you could pair these with a strong cup of coffee or a light dessert wine for the ultimate treat. Happy baking!