
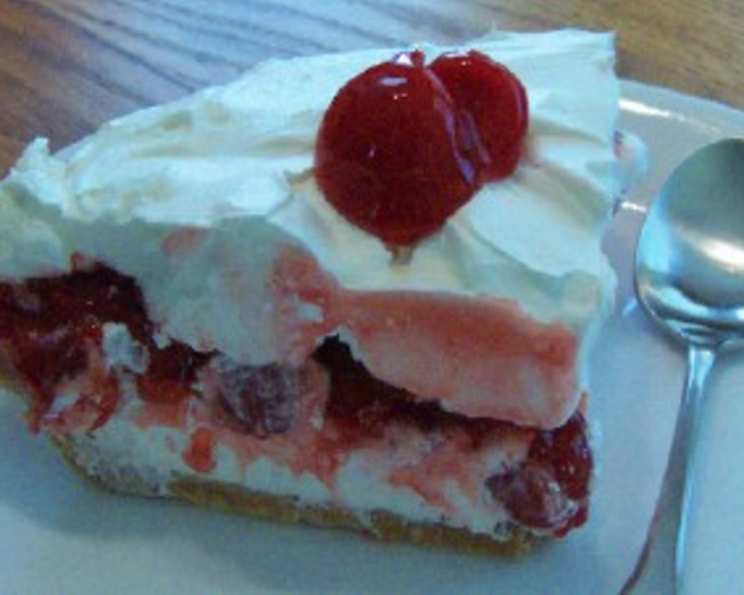
Cherry Cha Cha: A Sweet Slice of Nostalgia
The aroma of Cherry Cha Cha always whisks me back to summer picnics with my Grandma Elsie. I remember her effortlessly whipping up this dessert, the bright red cherry filling peeking through layers of creamy delight. It wasn’t fancy, but it was pure love in every bite. The combination of graham cracker crumbs, sweet cherry filling, and fluffy marshmallows always had everyone reaching for seconds – a simple, comforting dessert perfect for sharing on a warm day.
Recipe Overview
- Prep Time: 20 minutes
- Cook Time: 0 minutes
- Total Time: 20 minutes
- Servings: 12
- Yield: 1 9×13 pan
- Dietary Type: Not Specified
Ingredients
- 1 cup crushed graham wafers
- 1/4 cup melted margarine or 1/4 cup melted butter
- 3 tablespoons icing sugar
- 1 1/2 cups whipping cream
- 4 cups mini marshmallows
- 19 ounces cherry pie filling
Equipment Needed
- 9 x 13 inch pan
- Mixing bowl
- Whisk
- Measuring cups and spoons
Instructions
- In a mixing bowl, combine the crushed graham wafers, melted margarine (or butter), and icing sugar. Mix thoroughly until well combined. This mixture forms the crust.
- Press the graham cracker mixture into the bottom of a 9 x 13 inch pan. Be sure to reserve some of the crumb mixture (about 1/4 cup) to sprinkle over the top later.
- In a separate mixing bowl, whip the whipping cream until stiff peaks form. This is easiest with an electric mixer, but you can do it by hand if you’re feeling ambitious. Make sure the cream is cold for the best results.
- Gently fold in the mini marshmallows to the whipped cream. Ensure they are evenly distributed.
- Spread half of the whipped cream and marshmallow mixture over the prepared graham cracker crust.
- Carefully spread the entire can (19 ounces) of cherry pie filling evenly over the whipped cream layer. Be gentle to avoid mixing the layers too much.
- Spread the remaining whipped cream and marshmallow mixture over the cherry pie filling.
- Sprinkle the reserved graham cracker crumbs over the top of the dessert.
- Cover the pan and refrigerate for at least 2 hours, or preferably overnight, to allow the flavors to meld and the dessert to set. This step is crucial for achieving the right consistency.
- To serve, cut into squares and enjoy.
Expert Tips & Tricks
- For a richer flavor, use butter instead of margarine in the crust.
- Make sure your whipping cream is very cold before whipping; this will help it whip up faster and hold its shape better. Consider chilling your mixing bowl and whisk as well.
- If you find that the cherry pie filling layer is too thin, you can use two cans for a more pronounced cherry flavor.
- To prevent the crust from becoming soggy, you can lightly pre-bake it at 350°F (175°C) for 5 minutes before adding the other layers. However, this is not strictly necessary.
- For an extra touch of elegance, dust the top with a light coating of icing sugar before serving.
- To avoid a grainy texture when making the base, make sure the margarine/butter is fully melted and combined well with the graham cracker crumbs and icing sugar.
Serving & Storage Suggestions
Serve Cherry Cha Cha chilled, straight from the refrigerator. It’s best enjoyed within 2-3 days for optimal texture. To store leftovers, cover the pan tightly with plastic wrap or transfer to an airtight container and refrigerate. It will keep in the refrigerator for up to 3 days. While it can be frozen, freezing may alter the texture of the whipped cream and marshmallows. If freezing, thaw in the refrigerator overnight. This dessert is not suitable for leaving at room temperature for extended periods due to the dairy content.
Nutritional Information
| Nutrient | Amount per Serving | % Daily Value |
|---|---|---|
| Calories | 294 kcal | N/A |
| Calories from Fat | 140 g | 48% |
| Total Fat | 15.6 g | 23% |
| Saturated Fat | 7.6 g | 38% |
| Cholesterol | 40.8 mg | 13% |
| Sodium | 119.5 mg | 4% |
| Total Carbohydrate | 38.3 g | 12% |
| Dietary Fiber | 0.5 g | 1% |
| Sugars | 17.7 g | 70% |
| Protein | 1.6 g | 3% |
Note: Nutritional information is an estimate and may vary based on specific ingredients and serving sizes.
Variations & Substitutions
- For a gluten-free version, use gluten-free graham crackers.
- You can substitute different pie fillings based on your preference, such as blueberry, apple, or peach.
- Add a layer of chocolate shavings or cocoa powder on top for a chocolate cherry version.
- For a lighter version, use light whipped cream or a whipped topping alternative (though the original recipe creator doesn’t recommend this).
- To make individual servings, layer the ingredients in small glasses or dessert cups.
FAQs (Frequently Asked Questions)
Q: Can I use a different size pan?
A: While a 9×13 inch pan is recommended, you can use a slightly smaller or larger pan. Keep in mind that using a different size pan will affect the thickness of the layers.
Q: Can I use Cool Whip instead of whipping cream?
A: The original recipe creator doesn’t recommend it, as it might not turn out the same. Whipping cream provides a superior texture and flavor.
Q: How long does it take for the Cherry Cha Cha to set in the refrigerator?
A: It’s best to refrigerate it for at least 2 hours, but overnight is ideal for the flavors to meld and the dessert to set properly.
Q: Can I add nuts to this recipe?
A: Absolutely! Chopped pecans or walnuts would be a delicious addition, either mixed into the crust or sprinkled on top.
Q: Can I make this ahead of time?
A: Yes, this is a great make-ahead dessert. It can be assembled up to 24 hours in advance and stored in the refrigerator.
Final Thoughts
Cherry Cha Cha is more than just a dessert; it’s a slice of nostalgia, a taste of simple pleasures. It’s a testament to the fact that the most memorable dishes are often the ones made with love and shared with family and friends. I encourage you to try this recipe and create your own memories. Feel free to adapt it to your liking and, most importantly, enjoy the process! Share your creations and experiences with us – we would love to hear how you make this simple dessert your own.