
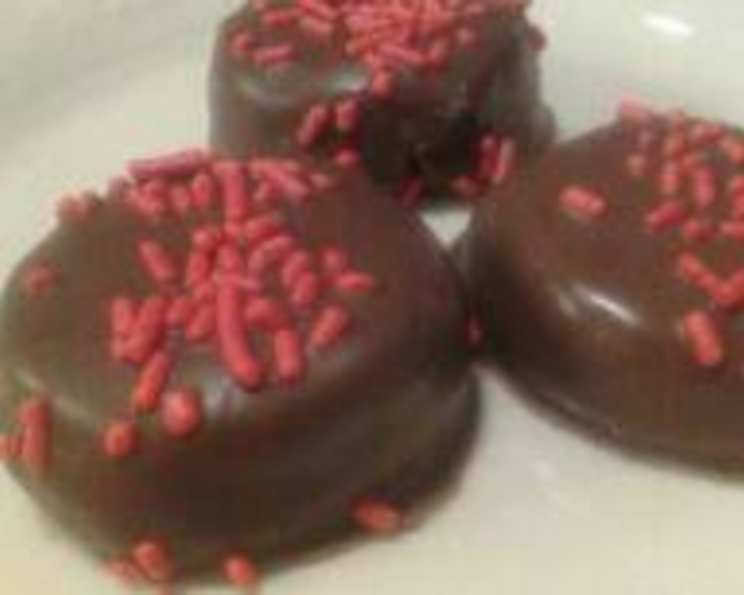
Decadent Homemade Chocolate Bordeaux: A Candy Lover’s Dream
The first time I tasted a Chocolate Bordeaux, I was a wide-eyed child visiting my grandmother. The delicate balance of the creamy, melt-in-your-mouth center and the smooth, rich chocolate coating was pure magic. It wasn’t just candy; it was an experience, a special treat reserved for cherished moments. Now, I can recreate that magic in my own kitchen, and share that nostalgic sweetness with my family.
Recipe Overview
- Prep Time: 30 minutes
- Cook Time: 5 minutes
- Total Time: 1 hour (plus chilling time)
- Yield: Approximately 2 lbs
- Dietary Type: Not specified (contains dairy)
Ingredients
- 1 cup brown sugar
- ½ cup (1 stick) butter
- ¼ cup whipping cream
- ½ teaspoon instant coffee
- 1 pinch salt
- 2 cups sifted powdered sugar
- 12 ounces chocolate (milk, dark, or semi-sweet, your preference)
- Optional: Cake sprinkles, for decoration
Equipment Needed
- Heavy-bottomed saucepan
- Mixing spoon or spatula
- Measuring cups and spoons
- Sifter
- Baking sheet lined with parchment paper or wax paper
- Double boiler or microwave-safe bowl
- Fork or dipping tools
Instructions
-
Begin by melting the butter and brown sugar together in a heavy-bottomed saucepan over medium heat. The heavy bottom will help prevent scorching.
-
Once the butter is melted and the brown sugar is dissolving, bring the mixture to a boil, stirring constantly.
-
Continue to boil the mixture for two minutes, still stirring frequently to prevent sticking. This step is crucial for developing the right caramel-like consistency.
-
After two minutes, stir in the whipping cream, instant coffee, and salt. Be careful as the mixture may bubble up when the cream is added.
-
Bring the mixture back to a boil, stirring constantly, for another 30 seconds. This short boil helps to emulsify the cream and incorporate the coffee and salt evenly.
-
Remove the saucepan from the heat and let the mixture cool for 10 minutes. This is important as adding the powdered sugar while the mixture is too hot can cause it to melt and become too soft.
-
After the cooling period, add the sifted powdered sugar to the mixture. Sifting is important to prevent lumps in the final product.
-
Stir the powdered sugar into the mixture until it is well combined. The mixture will be quite thick at this point.
-
Chill the mixture in the refrigerator until it holds the shape of a small ball when rolled. This may take several hours, or even overnight. The chilling time is crucial for making the candies easier to handle.
-
Once the mixture is sufficiently chilled, roll it into 2-inch balls. Place the balls on a baking sheet lined with parchment paper or wax paper.
-
Melt the chocolate according to package instructions. You can use a double boiler or melt it in the microwave in 30-second intervals, stirring in between, to prevent burning.
-
Dip the candy balls into the melted chocolate, using a fork or dipping tools. Ensure each ball is completely coated.
-
If desired, sprinkle the chocolate-covered candies with cake sprinkles before the chocolate sets.
-
Place the dipped candies back on the parchment-lined baking sheet. Allow the chocolate to set completely before serving or storing. You can speed up the setting process by placing the candies in the refrigerator for a short time.
Expert Tips & Tricks
- Temperature Control: Precise temperature control is key. Use a candy thermometer if you have one to ensure accuracy.
- Chocolate Tempering: For a shiny, snappy chocolate coating, temper the chocolate. There are many online tutorials available that explain this process in detail.
- Coffee Enhancement: Adjust the amount of instant coffee to your taste. If you want a stronger coffee flavor, add a little more.
- Flavor Variations: Experiment with different extracts, such as vanilla, almond, or peppermint, to add a unique twist to the center.
- Preventing Seizing: If the chocolate seizes (becomes grainy and stiff), try adding a teaspoon of vegetable oil or shortening while melting. This can sometimes help to restore a smooth consistency.
Serving & Storage Suggestions
Serve these delightful Chocolate Bordeaux candies at room temperature for the best texture. Store them in an airtight container in a cool, dry place. They will last for up to a week at room temperature, or for several weeks in the refrigerator. For longer storage, you can freeze them for up to two months. Let them thaw in the refrigerator before serving. These candies make wonderful gifts, especially during the holidays.
Nutritional Information
(Note: This is an estimate, and actual values may vary based on specific ingredients used.)
| Nutrient | Amount per Serving (approx. 1 candy) | % Daily Value* |
|---|---|---|
| Calories | 150 kcal | 8% |
| Total Fat | 8g | 12% |
| Saturated Fat | 5g | 25% |
| Cholesterol | 15mg | 5% |
| Sodium | 20mg | 1% |
| Total Carbohydrate | 18g | 6% |
| Dietary Fiber | 0.5g | 2% |
| Sugars | 15g | N/A |
| Protein | 1g | 2% |
*Percent Daily Values are based on a 2,000 calorie diet.
Variations & Substitutions
- Dark Chocolate Bordeaux: Use dark chocolate instead of milk chocolate for a richer, more intense flavor.
- Peanut Butter Bordeaux: Add a tablespoon or two of peanut butter to the center mixture for a nutty twist.
- Vegan Bordeaux: Substitute the butter with a vegan butter alternative and the whipping cream with coconut cream or another plant-based cream. Ensure the chocolate used is also vegan.
- Sugar-Free Bordeaux: Use a sugar-free brown sugar substitute and sugar-free powdered sugar. Also, use sugar-free chocolate.
- Espresso Bordeaux: Increase the amount of instant coffee for a stronger coffee flavor, or add a shot of espresso to the mixture.
FAQs (Frequently Asked Questions)
Q: Why is my center mixture too soft?
A: It likely wasn’t chilled long enough. Be patient and give it sufficient time in the refrigerator to firm up before rolling.
Q: My chocolate seized while melting. What can I do?
A: Try adding a teaspoon of vegetable oil or shortening to the chocolate and stirring gently. Sometimes this can help to bring it back to a smooth consistency. Avoid getting any water into the chocolate, as that can also cause seizing.
Q: Can I use a different type of sugar?
A: Brown sugar is crucial for the characteristic flavor. While you might experiment, it will alter the final taste and texture.
Q: How long will these candies last?
A: They will last for about a week at room temperature, several weeks in the refrigerator, and up to two months in the freezer.
Q: Can I make these ahead of time?
A: Absolutely! The centers can be made ahead of time and stored in the refrigerator for several days before dipping in chocolate.
Final Thoughts
Indulge your inner chocolatier and create these exquisite Chocolate Bordeaux candies in your own kitchen. This recipe is more than just a set of instructions; it’s an invitation to relive cherished memories and create new ones. Experiment with variations, share your creations with loved ones, and savor every delicious bite. Don’t hesitate to leave feedback and let me know how yours turn out! Consider serving these candies with a glass of port wine or a cup of strong coffee for the ultimate treat.