
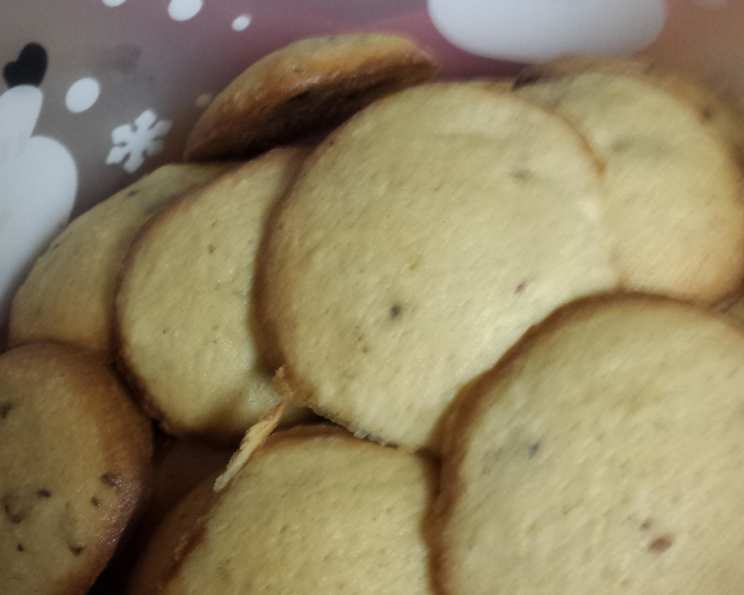
Grandma’s From-Scratch Chocolate Chip Cookies: Easy & Irresistible
There’s a scent that instantly transports me back to childhood: the warm, buttery aroma of chocolate chip cookies baking in Grandma’s kitchen. I can almost see her now, her hands dusted with flour, humming a cheerful tune as she pulled a tray of golden-brown perfection from the oven. The cookies, slightly crisp around the edges and gooey in the center, were always the perfect remedy for any scraped knee or rainy day blues. These aren’t just cookies; they’re a hug in every bite, a tradition passed down with love.
Recipe Overview
- Prep Time: 15 minutes
- Cook Time: 10 minutes
- Total Time: 25 minutes
- Yields: 30-40 cookies
- Dietary Type: Not specified
Ingredients
- ½ cup shortening
- ¼ cup white sugar
- ½ cup brown sugar
- ⅛ teaspoon salt
- ½ teaspoon vanilla
- ½ teaspoon baking soda
- 1 ¼ cups flour
- 12 ounces chocolate chips
- ½ cup nuts (optional)
- 1 egg, well beaten
Equipment Needed
- Mixing bowl
- Measuring cups and spoons
- Cookie sheet
- Greased cookie sheet
- Teaspoon
Instructions
- Preheat your oven to 350 degrees Fahrenheit (175 degrees Celsius). Make sure your oven rack is in the center position for even baking.
- In a large mixing bowl, cream together the shortening, white sugar, and brown sugar until the mixture is light and fluffy. This is a crucial step for achieving a tender cookie. Using an electric mixer will make this process much easier, but you can also do it by hand.
- Add the well-beaten egg to the creamed mixture and mix until well combined. The egg helps to bind the ingredients together and adds richness.
- In a small cup or bowl, dissolve the baking soda in one tablespoon of hot water. The hot water activates the baking soda, which will help the cookies rise.
- Add the dissolved baking soda mixture to the batter and mix well.
- Gradually add the flour and salt to the wet ingredients, mixing until just combined. Be careful not to overmix the dough, as this can develop the gluten in the flour and result in tough cookies.
- Stir in the vanilla extract. Vanilla enhances the sweetness and adds a warm flavor to the cookies.
- If using, add the nuts and chocolate chips to the dough and mix until evenly distributed. You can use any kind of nuts you like, such as walnuts, pecans, or almonds. For chocolate chips, feel free to experiment with different types, such as milk chocolate, dark chocolate, or even white chocolate.
- Drop teaspoonfuls of the cookie dough onto a greased cookie sheet, spacing them about two inches apart. Using a teaspoon ensures that the cookies are uniform in size and bake evenly. You can also use a small cookie scoop for this step.
- Bake in the preheated oven for about 10 minutes, or until the edges are golden brown and the centers are still slightly soft. Keep a close eye on the cookies as they bake, as baking times may vary depending on your oven.
- Remove the cookie sheet from the oven and let the cookies cool on the sheet for a few minutes before transferring them to a wire rack to cool completely. This prevents the cookies from sticking to the pan and allows them to firm up slightly.
- Enjoy!
Expert Tips & Tricks
- Creaming the butter and sugar properly is key: Don’t rush this step! This creates air pockets, leading to a lighter, fluffier cookie.
- Chill the dough: If you have time, chilling the dough for 30 minutes before baking will help prevent the cookies from spreading too much in the oven.
- Salted Butter: If you’re using salted butter, omit the ⅛ teaspoon of salt in the recipe.
- Baking Time: Adjust baking time based on your oven. Start checking at 8 minutes for thinner cookies, and add a minute or two if needed.
- Use parchment paper: Line your baking sheet with parchment paper for easy cleanup and to prevent the cookies from sticking.
- Spice it up: Add a pinch of cinnamon or nutmeg to the dough for a warm, comforting flavor.
Serving & Storage Suggestions
These cookies are best served warm, straight from the oven, with a cold glass of milk or a scoop of vanilla ice cream. Store leftover cookies in an airtight container at room temperature for up to 3 days. For longer storage, you can freeze the cookies for up to 2 months. To freeze, place the cookies in a single layer on a baking sheet and freeze until solid, then transfer them to a freezer-safe bag or container. Thaw at room temperature before serving. You can also reheat the cookies in a microwave for a few seconds to restore their warm, gooey texture.
Nutritional Information
| Nutrient | Amount per Serving | % Daily Value |
|---|---|---|
| Calories | 140.1 kcal | N/A |
| Calories from Fat | N/A | 73 g / 53% |
| Total Fat | 8.2 g | 12% |
| Saturated Fat | 3.1 g | 15% |
| Cholesterol | 6.2 mg | 2% |
| Sodium | 50.7 mg | 2% |
| Total Carbohydrate | 17.1 g | 5% |
| Dietary Fiber | 1 g | 4% |
| Sugars | 11.5 g | 46% |
| Protein | 1.6 g | 3% |
Note: Nutritional information is an estimate and may vary based on specific ingredients and portion sizes.
Variations & Substitutions
- Gluten-Free: Substitute the all-purpose flour with a gluten-free all-purpose flour blend. Be sure to add a binding agent like xanthan gum to help hold the cookies together.
- Vegan: Replace the butter with a vegan butter substitute and the egg with a flax egg (1 tablespoon of ground flaxseed mixed with 3 tablespoons of water, let sit for 5 minutes to thicken).
- Different Nuts: Try using macadamia nuts, pecans, or even toasted coconut flakes instead of walnuts.
- Different Chocolate: Experiment with different types of chocolate, such as dark chocolate chunks, white chocolate chips, or even peanut butter chips.
- Seasonal Flavors: Add a teaspoon of pumpkin pie spice in the fall or a few drops of peppermint extract during the holidays.
FAQs (Frequently Asked Questions)
Q: Why are my cookies flat and greasy?
A: This is often caused by using too much shortening or butter, or by not chilling the dough before baking. Try reducing the amount of shortening and chilling the dough for at least 30 minutes before baking.
Q: My cookies are too hard. What did I do wrong?
A: Overbaking is the most common cause of hard cookies. Be sure to remove the cookies from the oven while the centers are still slightly soft.
Q: Can I use butter instead of shortening?
A: Yes, you can substitute butter for shortening. However, butter will result in a flatter cookie with a slightly different texture.
Q: Can I make the dough ahead of time?
A: Absolutely! The dough can be made up to 24 hours in advance and stored in the refrigerator. Be sure to wrap it tightly to prevent it from drying out.
Q: What’s the best way to store leftover cookies?
A: Store leftover cookies in an airtight container at room temperature for up to 3 days, or freeze them for longer storage.
Final Thoughts
These chocolate chip cookies are more than just a dessert; they’re a reminder of simpler times, of warmth and love shared with family. I encourage you to try this recipe and create your own memories with these classic cookies. Don’t be afraid to experiment with different variations and make them your own. And most importantly, share them with the people you love. Whether it’s a batch for a bake sale, a treat for a friend, or simply a sweet indulgence for yourself, these cookies are sure to bring a smile to everyone’s face. So, preheat your oven, gather your ingredients, and get ready to experience the magic of Grandma’s chocolate chip cookies!