
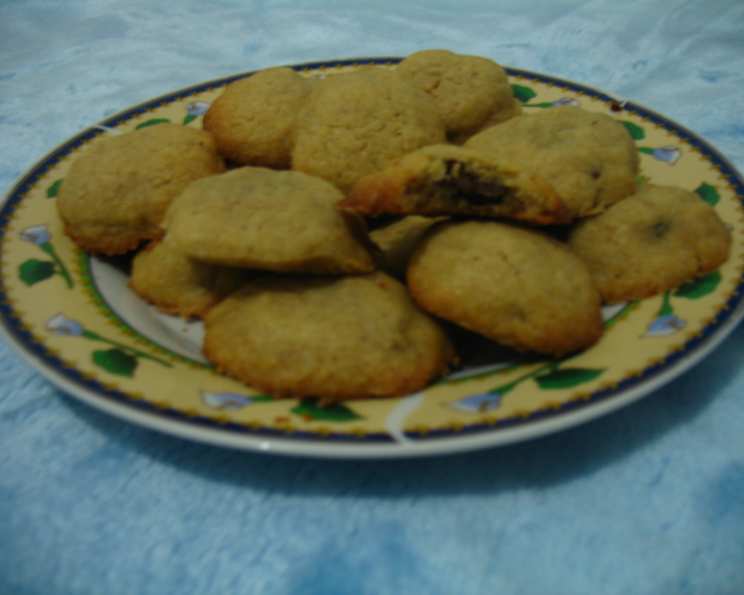
Chocolate Filled Bonbons: A Sweet Nostalgia
The scent of these bonbons instantly transports me back to my grandmother’s kitchen. I can almost feel the warmth of the oven radiating across the linoleum floor as I watched her meticulously form each little ball of dough, carefully cradling a chocolate rosebud within. It wasn’t just about the taste; it was the shared moments, the laughter, and the unspoken language of love baked into every bite. These Chocolate Filled Bonbons are more than just a recipe; they’re a cherished memory, a sweet legacy passed down through generations.
Recipe Overview
- Prep Time: 20 minutes
- Cook Time: 12 minutes
- Total Time: 32 minutes
- Servings: 48 bonbons
- Yield: 4 dozen
- Dietary Type: Not specified (contains dairy and eggs)
Ingredients
- ¾ cup lard
- ½ cup sugar
- ¼ cup brown sugar
- 1 egg
- 2 teaspoons vanilla extract
- ½ teaspoon almond extract
- 1 ¾ cups all-purpose flour
- ½ teaspoon baking powder
- ½ teaspoon salt
- ½ cup finely chopped almonds
- 3-4 dozen chocolate rosettes (rosebuds)
Equipment Needed
- Mixing bowls
- Measuring cups and spoons
- Cookie sheet
- Electric mixer (optional)
Instructions
-
Preheat your oven to 350°F (175°C). Ensure the oven rack is in the center position for even baking.
-
In a large mixing bowl, cream together the ¾ cup of lard and the ½ cup of sugar until the mixture is light and fluffy. An electric mixer makes this step easier, but you can also do it by hand with a wooden spoon.
-
Add the ¼ cup of brown sugar to the creamed mixture and beat until well combined. The brown sugar will add a depth of flavor and a slightly chewy texture to the bonbons.
-
Beat in the 1 egg, 2 teaspoons of vanilla extract, and ½ teaspoon of almond extract. The almond extract complements the chocolate beautifully, but you can omit it if you prefer a pure vanilla flavor. Ensure the egg is fully incorporated before moving on to the next step.
-
In a separate bowl, whisk together the 1 ¾ cups of flour, ½ teaspoon of baking powder, and ½ teaspoon of salt. This ensures the baking powder and salt are evenly distributed throughout the flour, resulting in a consistent texture.
-
Gradually add the dry ingredients to the wet ingredients, mixing until just combined. Be careful not to overmix the dough, as this can develop the gluten in the flour and result in a tough bonbon.
-
Stir in the ½ cup of finely chopped almonds. The almonds add a delightful crunch and nutty flavor to the bonbons.
-
Now it’s time to form the bonbons. Take a small amount of dough, about 1 inch in diameter, and roll it into a ball using your hands.
-
Gently press the ball of dough around a chocolate rosebud, encasing the chocolate completely. Ensure the chocolate is fully sealed within the dough to prevent it from melting and leaking during baking.
-
Place the formed bonbons on an ungreased cookie sheet, leaving a small amount of space between each one.
-
Bake for 12 minutes at 350°F (175°C). The bonbons are done when they are lightly golden brown on the edges and the bottoms.
-
Remove the cookie sheet from the oven and let the bonbons cool on the cookie sheet for a few minutes before transferring them to a wire rack to cool completely.
Expert Tips & Tricks
- Lard vs. Butter: While lard provides a uniquely tender and slightly crumbly texture, you can substitute with softened unsalted butter if preferred. The taste will be slightly different, but still delicious.
- Chocolate Choice: Use high-quality chocolate rosettes for the best flavor. Milk chocolate, dark chocolate, or even white chocolate variations work wonderfully.
- Preventing Cracking: If your dough seems too dry and cracks easily, add a teaspoon of milk or water at a time until it comes together smoothly.
- Even Baking: Rotate the cookie sheet halfway through baking to ensure even browning.
- Make Ahead: The dough can be made ahead of time and stored in the refrigerator for up to 2 days. Bring it to room temperature before forming the bonbons.
Serving & Storage Suggestions
These Chocolate Filled Bonbons are best served at room temperature. They make a delightful addition to any dessert platter or a sweet treat to enjoy with a cup of coffee or tea. To store, place them in an airtight container at room temperature for up to 3 days. For longer storage, freeze them in a freezer-safe container for up to 2 months. Thaw at room temperature before serving.
Nutritional Information
| Nutrient | Amount per Serving | % Daily Value (estimated) |
|---|---|---|
| Calories | 85 kcal | 4% |
| Total Fat | 5g | 6% |
| Saturated Fat | 2g | 10% |
| Cholesterol | 8mg | 3% |
| Sodium | 15mg | 1% |
| Total Carbohydrate | 8g | 3% |
| Dietary Fiber | 0.2g | 1% |
| Sugars | 4g | N/A |
| Protein | 1g | 2% |
Note: Nutritional information is an estimate and may vary based on specific ingredients used.
Variations & Substitutions
- Nut-Free: Omit the almonds entirely, or substitute with an equal amount of finely chopped sunflower seeds or pumpkin seeds.
- Spice It Up: Add a pinch of ground cinnamon or nutmeg to the dry ingredients for a warm, spiced flavor.
- Citrus Zest: Incorporate the zest of one orange or lemon into the dough for a bright, citrusy twist.
- Gluten-Free: Substitute the all-purpose flour with a gluten-free all-purpose baking blend. You may need to add a binder like xanthan gum to help with the texture.
- Different Chocolate: Try using other types of filled chocolates like miniature peanut butter cups or caramel-filled chocolates. Just be sure they’re small enough to be completely enclosed by the dough.
FAQs (Frequently Asked Questions)
Q: Can I use shortening instead of lard?
A: Yes, shortening can be used as a substitute for lard, but the texture of the bonbons may be slightly different. Lard tends to produce a more tender and flaky result.
Q: My bonbons are spreading too much during baking. What can I do?
A: This could be due to the lard or butter being too warm. Chill the dough for 30 minutes before forming the bonbons to help prevent spreading. Also, ensure your oven temperature is accurate.
Q: Can I freeze the baked bonbons?
A: Yes, baked bonbons can be frozen in an airtight container for up to 2 months. Thaw them at room temperature before serving.
Q: The chocolate is melting out of the bonbons during baking. What am I doing wrong?
A: Ensure the chocolate is completely enclosed by the dough. If the chocolate is exposed, it will melt and leak. Also, avoid overbaking, as this can cause the chocolate to melt excessively.
Q: Can I add a glaze to these bonbons?
A: Absolutely! A simple powdered sugar glaze or a drizzle of melted chocolate would be a delicious addition. Just make sure the bonbons are completely cool before glazing.
Final Thoughts
These Chocolate Filled Bonbons are a testament to the simple joys of baking. The combination of tender dough, nutty almonds, and a surprise chocolate center is simply irresistible. I encourage you to try this recipe and create your own sweet memories. Whether you’re baking for a special occasion or simply craving a comforting treat, these bonbons are sure to delight. Don’t be afraid to experiment with different flavor variations and make them your own. And most importantly, enjoy the process! Share your creations with loved ones and let the sweet aroma of these bonbons fill your home with warmth and happiness.