
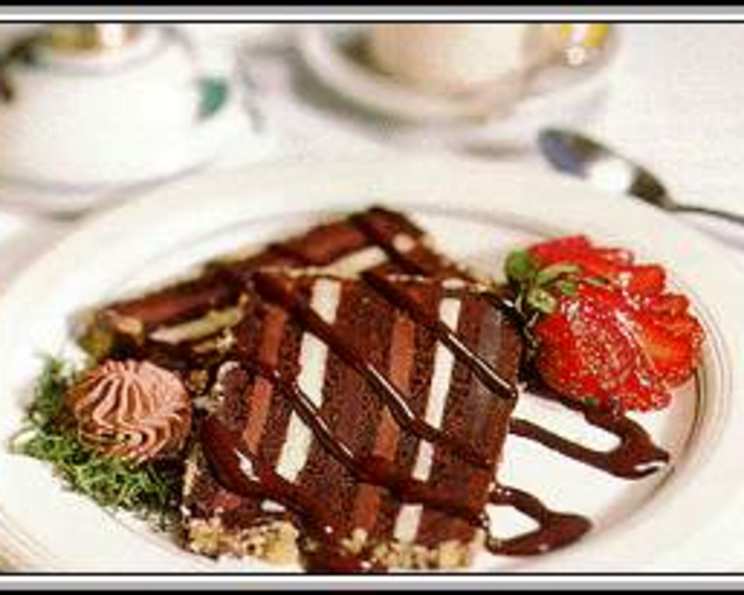
Chocolate Marble Cake: A Swirl of Nostalgia
The scent of chocolate and vanilla, mingling in the oven’s warm embrace, instantly transports me back to my grandmother’s kitchen. I can almost see her, flour dusting her apron, humming a gentle tune as she carefully swirled the batters together. That simple chocolate marble cake, a testament to her love and patience, was a constant fixture at family gatherings, each slice a sweet reminder of home. This recipe is my attempt to capture that comforting feeling, to bake a cake that’s not only delicious but also brimming with heartwarming memories.
Recipe Overview
- Prep Time: 20 minutes
- Cook Time: 30 minutes
- Total Time: 50 minutes
- Servings: 8-10
- Yield: 1 Cake
- Dietary Type: Vegetarian
Ingredients
For the Chocolate Mixture:
- 225g Sugar
- 225g Margarine
- 200g Flour
- 25g Cocoa Powder
- 4 Eggs
- 1 tablespoon Milk (optional)
For the White Mixture:
- 225g Sugar
- 225g Butter
- 200g Flour
- 4 Eggs
Equipment Needed
- Electric mixer or hand mixer
- Two mixing bowls
- 24cm x 24cm baking tray
- Butter knife
- Saucepan and heatproof bowl for melting chocolate (optional)
- Cooling rack
Instructions
-
Prepare the Chocolate Mixture: Begin by creaming together 225g of sugar and 225g of margarine in a mixing bowl until the mixture is light and fluffy. This step is crucial for achieving a tender crumb, so take your time and ensure the sugar is well incorporated into the margarine.
-
Combine Dry Ingredients (Chocolate): In a separate bowl, mix together 200g of flour and 25g of cocoa powder. This will create a rich, chocolatey base for your cake.
-
Incorporate Chocolate Ingredients: Gradually add the flour and cocoa powder mixture to the creamed margarine and sugar. Add a few spoonfuls at a time, mixing well after each addition. Then, beat in an egg. Continue this process, alternating between the flour mixture and the eggs, until all the eggs and flour mixture have been incorporated.
-
Adjust Consistency (Chocolate): If the chocolate mixture appears too dry, add 1 tablespoon of milk to loosen it up. The batter should be smooth and easily spreadable.
-
Prepare the White Mixture: In another mixing bowl, cream together 225g of butter and 225g of sugar until light and fluffy. Just like with the chocolate mixture, this step is vital for a good texture.
-
Incorporate Dry Ingredients (White): Gradually add 200g of flour to the creamed butter and sugar. Add some flour, then beat in an egg. Continue this pattern until all the eggs and flour have been fully incorporated.
-
Prepare the Baking Tray: Thoroughly butter and flour a 24cm x 24cm baking tray. This will prevent the cake from sticking and ensure easy removal after baking.
-
Layer the Batters: Drop spoonfuls or blobs of the chocolate mixture randomly into the prepared baking tray. Then, repeat the process with the white mixture, filling in the gaps and distributing the batter evenly.
-
Create the Marble Effect: Using a butter knife, gently mix the chocolate and white mixtures together in the tray. Be careful not to overmix, as this will result in a uniform brown color instead of the desired marble effect. Aim for a swirling pattern of white and brown.
-
Bake the Cake: Place the baking tray in a preheated oven at gas mark 6 (approximately 200°C/400°F). Bake for approximately 30 minutes, or until a wooden skewer inserted into the center comes out clean.
-
Prepare the Chocolate Ganache (Optional): While the cake is baking, you can prepare a simple chocolate ganache (optional). Melt some plain chocolate over a pan of boiling water (or in the microwave in 30-second intervals, stirring in between) until smooth.
-
Cool and Decorate: Once the cake is baked, remove it from the oven and let it cool completely in the baking tray.
-
Frost the Cake (Optional): Once cooled, spread the melted chocolate (if using) evenly over the top of the cake. Then, sprinkle with coconut powder for added flavor and visual appeal.
Expert Tips & Tricks
- Room Temperature Ingredients: Using room temperature butter and eggs makes it easier to cream the mixtures and helps the cake bake more evenly.
- Don’t Overmix: Overmixing the batter can develop the gluten in the flour, resulting in a tough cake. Mix just until the ingredients are combined.
- Oven Calibration: Ovens can vary in temperature, so keep an eye on the cake while it’s baking. If it starts to brown too quickly, lower the oven temperature slightly.
- Customize the Swirl: Experiment with different swirling techniques to create unique marble patterns. You can use a skewer, chopstick, or even a toothpick.
- Enhance the Chocolate Flavor: Add a teaspoon of instant coffee powder to the chocolate mixture to deepen the chocolate flavor.
Serving & Storage Suggestions
Serve the chocolate marble cake at room temperature. It’s delicious on its own or with a scoop of vanilla ice cream or a dollop of whipped cream.
Store leftover cake in an airtight container at room temperature for up to 3 days, or in the refrigerator for up to 5 days. You can also freeze the cake for up to 2 months. To freeze, wrap the cake tightly in plastic wrap and then in foil. Thaw overnight in the refrigerator before serving.
Nutritional Information
| Nutrient | Amount per Serving | % Daily Value |
|---|---|---|
| Calories | 400 kcal | 20% |
| Total Fat | 20g | 31% |
| Saturated Fat | 10g | 50% |
| Cholesterol | 70mg | 23% |
| Sodium | 200mg | 8% |
| Total Carbohydrate | 50g | 17% |
| Dietary Fiber | 1g | 4% |
| Sugars | 30g | – |
| Protein | 4g | 8% |
Variations & Substitutions
- Gluten-Free Marble Cake: Substitute the all-purpose flour with a gluten-free blend. You may need to add a binder like xanthan gum to improve the texture.
- Dairy-Free Marble Cake: Use a dairy-free margarine or butter alternative for both the chocolate and white mixtures. Also, use a non-dairy milk like almond or soy milk if the chocolate mixture needs thinning.
- Nutty Marble Cake: Add chopped nuts, such as walnuts or pecans, to either the chocolate or white mixture for added texture and flavor.
- Citrus Zest: Incorporate the zest of an orange or lemon into the white mixture for a bright, citrusy twist.
FAQs (Frequently Asked Questions)
Q: Can I use oil instead of margarine or butter?
A: While you can use oil, the cake’s texture and flavor will be slightly different. Butter and margarine contribute to a richer flavor and a more tender crumb.
Q: How do I prevent the cake from sinking in the middle?
A: Avoid overmixing the batter and ensure your oven temperature is accurate. Also, let the cake cool completely in the pan before removing it.
Q: Can I make this cake in a different size baking pan?
A: Yes, but you may need to adjust the baking time accordingly. A smaller pan will require a longer baking time, while a larger pan will require a shorter baking time.
Q: What if I don’t have cocoa powder?
A: You can substitute it with melted unsweetened chocolate. Use about 1 ounce of melted chocolate for every 2 tablespoons of cocoa powder.
Q: How do I know when the cake is done?
A: Insert a wooden skewer or toothpick into the center of the cake. If it comes out clean or with a few moist crumbs attached, the cake is done.
Final Thoughts
This Chocolate Marble Cake isn’t just a recipe; it’s an invitation to create your own sweet memories. Gather your ingredients, preheat your oven, and let the comforting aroma fill your kitchen. Whether you bake it for a special occasion or simply to brighten a weekday, I hope this cake brings as much joy to your table as it has to mine. Don’t hesitate to experiment with variations and make it your own. I’d love to hear your baking adventures and see your beautiful marble creations. Happy baking!