
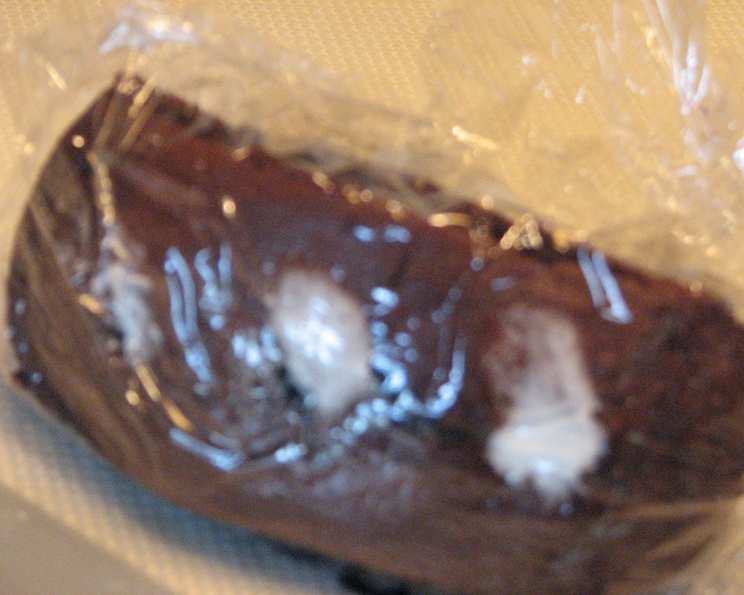
Chocolate Twinkies With Homemade Filling
I’ll never forget the first time I bit into a Twinkie. It was at my grandmother’s house, a rare treat hidden away in the pantry. The golden sponge cake, the creamy, mysterious filling… it was pure, unadulterated childhood joy. I’ve always had a soft spot for those iconic treats, but these homemade Chocolate Twinkies take that nostalgic experience to a whole new level. The rich chocolate flavor combined with the homemade filling creates a dessert that’s both familiar and utterly decadent.
Recipe Overview
- Prep Time: 30 minutes
- Cook Time: 15-20 minutes
- Total Time: 1 hour (plus cooling time)
- Servings: 8
- Yield: 8 Twinkies
- Dietary Type: Not specified
Ingredients
Cake:
- 1 (18 ounce) box chocolate cake mix
- 2 eggs
- 2 cups milk
- 3 1/2 ounces instant chocolate pudding mix
Cream Filling:
- 2 tablespoons unbleached all-purpose flour
- 1/2 cup milk
- 1/2 teaspoon vanilla
- 4 tablespoons salted butter
- 4 tablespoons shortening
- 1/2 cup granulated sugar
- 1 dash salt (optional)
Equipment Needed
- Canoe pan or cupcake pan
- Mixing bowls
- Electric mixer
- Small saucepan
- Whisk
- Flexible spatula
- Cooling rack
- Plastic wrap
- Pastry bag with round pastry tip
Instructions
-
Preheat your oven according to the cupcake directions on the chocolate cake mix box (usually around 350°F or 175°C). Prepare your canoe pan or cupcake pan by greasing and flouring each well to prevent sticking.
-
In a large mixing bowl, combine the entire chocolate cake mix, eggs, milk, and instant chocolate pudding mix.
-
Using an electric mixer, beat all ingredients together until well combined, smooth and creamy.
-
Carefully fill each well of the canoe pan or cupcake pan with the cake batter, about two-thirds full. If using a cupcake pan, use cupcake liners for easier removal.
-
Bake according to the cupcake directions on the cake mix box. Baking times can vary, so start checking for doneness around 15 minutes for canoe pans, and 18-20 minutes for cupcakes. A toothpick inserted into the center should come out clean.
-
Once baked, remove the pan from the oven and let it cool for 5 minutes.
-
Using a flexible spatula, gently remove each cake from the pan and place them flat-side down on a cooling rack. Allow them to cool completely. This is crucial for preventing the filling from melting.
-
While the cakes are cooling, prepare the cream filling. In a small saucepan, combine the flour and milk.
-
Cook the flour and milk mixture over medium heat, stirring constantly, until a thick paste forms. Be careful not to let the mixture brown.
-
Remove the saucepan from the heat and let the mixture cool for 1 minute.
-
Add the vanilla to the warm paste and stir until smooth.
-
Press a piece of plastic wrap directly onto the surface of the paste to prevent a skin from forming. Set aside and allow the paste to cool completely.
-
In the bowl of an electric mixer, beat the butter, shortening, sugar, and optional salt until light and fluffy. Be sure to scrape down the sides of the bowl to fully incorporate all ingredients.
-
Once the flour/milk paste is completely cooled, add it to the butter mixture.
-
Continue to beat on medium-high speed for 5 minutes, until the filling is smooth, creamy, and well combined. The longer you beat it, the lighter and fluffier it will become.
-
Place about 1 cup of the filling into a clean pastry bag fitted with a round pastry tube.
-
Gently insert the pastry tip into the underside of one of the cooled cakes, about halfway through the cake.
-
Using gentle pressure, squeeze a small amount of filling into the cake. You’ll feel the cake expand slightly under your fingers.
-
Repeat the filling process for a total of 3 times in different areas of each cake. This ensures even distribution of the filling.
-
Be careful not to overfill the cakes, or they will burst.
-
Repeat steps 17-20 for each cake.
-
Store the filled cakes well-covered at room temperature.
Expert Tips & Tricks
- Don’t overmix the cake batter. Overmixing can result in a tougher cake. Mix until just combined.
- Cooling the flour/milk paste completely is essential. If it’s even slightly warm, it will melt the butter and shortening in the filling, resulting in a soupy mess. Patience is key here!
- If your filling seems too thick, add a tablespoon of milk or cream until it reaches your desired consistency.
- For a richer chocolate flavor, consider adding a tablespoon of unsweetened cocoa powder to the cake batter.
- To make the filling even more stable, you can add a teaspoon of cornstarch to the flour and milk mixture before cooking.
- You can use a decorating tip other than a round one for a fancier look when filling. A star tip could be fun!
Serving & Storage Suggestions
These Chocolate Twinkies are best enjoyed at room temperature. Serve them as a delightful afternoon snack, a sweet ending to a meal, or pack them in lunchboxes for a special treat. They are delicious on their own but can also be served alongside a scoop of vanilla ice cream or a glass of cold milk.
Store the Chocolate Twinkies in an airtight container at room temperature for up to 3 days. You can also refrigerate them for up to 5 days. However, the texture of the cake may change slightly in the refrigerator. Freezing is not recommended, as the filling can become icy and the cake can become dry.
Nutritional Information
| Nutrient | Amount per Serving | % Daily Value |
|---|---|---|
| Calories | 549 kcal | N/A |
| Total Fat | 26g | 40% |
| Saturated Fat | 10g | 47% |
| Cholesterol | 72mg | 24% |
| Sodium | 810mg | 33% |
| Total Carbohydrate | 75g | 24% |
| Dietary Fiber | 2g | 8% |
| Sugars | 45g | N/A |
| Protein | 8g | 16% |
Please note that this is an estimated nutritional breakdown and may vary depending on specific ingredients used.
Variations & Substitutions
- Vanilla Twinkies: Omit the chocolate pudding mix from the cake and add 1 teaspoon of vanilla extract.
- Peanut Butter Filling: Add 2 tablespoons of peanut butter to the filling during the beating process.
- Mint Chocolate Twinkies: Add 1/2 teaspoon of peppermint extract to the cake batter and a few drops of green food coloring, if desired.
- Gluten-Free: Substitute the chocolate cake mix with a gluten-free chocolate cake mix. Be sure to check the filling ingredients to ensure they are also gluten-free.
- Dairy-Free: Use a dairy-free milk alternative (such as almond milk or soy milk) and dairy-free butter substitute in both the cake and the filling.
FAQs (Frequently Asked Questions)
Q: Can I use a different type of cake mix?
A: While a chocolate cake mix is recommended for this recipe, you can experiment with other flavors, such as devil’s food or red velvet, for a unique twist.
Q: What if I don’t have a canoe pan?
A: No problem! You can easily use a cupcake pan instead. Just adjust the baking time accordingly.
Q: Why is my filling runny?
A: The most common cause of runny filling is not cooling the flour/milk paste completely before adding it to the butter and shortening. Ensure the paste is fully cooled.
Q: Can I make the filling ahead of time?
A: Yes, you can make the filling up to 2 days in advance. Store it in an airtight container in the refrigerator. Before using, bring it to room temperature and beat it again to restore its creamy texture.
Q: How can I prevent the cakes from sticking to the pan?
A: Greasing and flouring the pan thoroughly is crucial. You can also use a baking spray with flour in it for added insurance.
Final Thoughts
These homemade Chocolate Twinkies are a delightful trip down memory lane with a gourmet upgrade. The combination of the moist chocolate cake and the luscious homemade filling is simply irresistible. Don’t be intimidated by the multiple steps – the process is surprisingly straightforward, and the results are well worth the effort. So go ahead, bake up a batch of these decadent treats and share the joy with friends and family. I’m confident they’ll become a new favorite! I’d love to hear about your experience making these Chocolate Twinkies and any creative twists you might add, so please leave a comment and share your culinary journey with me!