
Coconut Ice: A Sweet Slice of Nostalgia
The first time I tasted Coconut Ice, I was at my grandmother’s house. The scent of vanilla and something subtly tropical hung in the air, a fragrant promise. She presented it on a vintage china plate, two layers of pastel perfection, the pink a delicate blush against the stark white. That first bite was pure bliss – a melt-in-your-mouth sweetness that transported me to a simpler time, filled with her warmth and love. It’s a taste I’ve chased ever since, a reminder of home and the magic of simple, homemade treats.
Recipe Overview
- Prep Time: 15 minutes
- Cook Time: 0 minutes (plus refrigeration time)
- Total Time: Several hours (including overnight refrigeration)
- Servings: Varies, depending on slice size
- Yield: 1 (19cm) cake pan
- Dietary Type: Vegetarian
Ingredients
- 4 3/4 cups icing sugar, sifted
- 2 3/4 cups desiccated coconut
- 1 (375g) can sweetened condensed milk
- 1 egg white, lightly beaten
- Pink food coloring
Equipment Needed
- 19cm (7.5 inch) square or round cake pan
- Aluminum foil
- Large mixing bowl
- Sifter
- Spatula
- Measuring cups and spoons
Instructions
-
Begin by lining a 19cm (7.5 inch) cake pan with aluminum foil. Make sure the foil covers the bottom and sides of the pan, leaving some overhang to easily lift the Coconut Ice out later.
-
Sift the icing sugar into a large mixing bowl. Sifting ensures there are no lumps, resulting in a smoother final product.
-
Add the desiccated coconut to the sifted icing sugar. Stir well to combine, ensuring the coconut is evenly distributed throughout the sugar.
-
Pour in the sweetened condensed milk and the lightly beaten egg white. The egg white helps bind the mixture and contributes to the firm texture of the Coconut Ice.
-
Stir the mixture thoroughly until it is well combined. You should have a thick, slightly sticky consistency.
-
Divide the mixture in half.
-
Press one half of the mixture firmly into the prepared pan, creating an even layer. Use the back of a spoon or a spatula to smooth the surface.
-
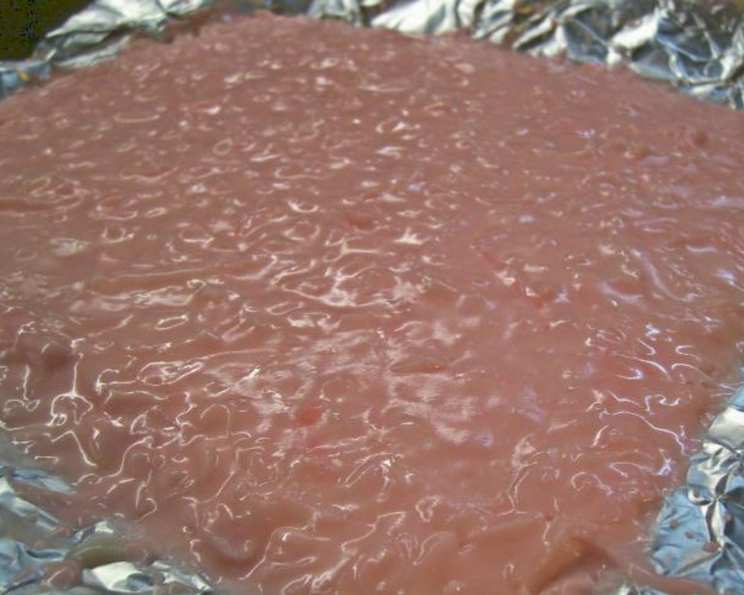
Add a few drops of pink food coloring to the remaining half of the mixture. Stir until the color is evenly distributed, achieving your desired shade of pink. Start with a small amount of food coloring and add more gradually until you achieve the desired color.
-
Carefully spread the pink coconut mixture over the first, white layer in the pan. Again, use a spatula or the back of a spoon to create an even and smooth surface.
-
Refrigerate the Coconut Ice for several hours, preferably overnight. This allows the mixture to set completely and become firm enough to slice.
-
Once the Coconut Ice has fully set, lift it out of the pan using the foil overhang.
-
Cut the Coconut Ice into squares or any other shapes you desire using a sharp knife. Wipe the knife clean between each cut for neat slices.
-
Serve and enjoy your homemade Coconut Ice!
Expert Tips & Tricks
- Sifting the icing sugar is crucial. It prevents lumps and ensures a smooth, melt-in-your-mouth texture. Don’t skip this step!
- Don’t overmix the mixture. Overmixing can make the Coconut Ice tough. Mix just until the ingredients are combined.
- Use good quality desiccated coconut. The finer the coconut, the smoother the final product will be.
- Press the mixture firmly into the pan. This creates a dense, even layer.
- For a more intense flavor, add a few drops of vanilla extract or coconut extract to the white layer.
- If your mixture seems too dry, add a tablespoon of sweetened condensed milk at a time until it reaches the desired consistency. If it’s too wet, add a little more sifted icing sugar.
- To prevent the Coconut Ice from sticking to the knife when cutting, dip the knife in hot water and wipe it dry between each cut.
- For a festive touch, sprinkle the top with edible glitter before refrigerating.
Serving & Storage Suggestions
Serve the Coconut Ice chilled or at room temperature. It makes a delightful treat on its own or as part of a dessert platter. It also pairs well with a cup of tea or coffee.
Store the Coconut Ice in an airtight container in the refrigerator. It will keep for up to a week. You can also freeze Coconut Ice for longer storage, up to 2 months. Thaw it in the refrigerator before serving. Note that the texture may change slightly after freezing.
Nutritional Information
(Estimated values per serving – values will vary depending on serving size)
| Nutrient | Amount per Serving | % Daily Value |
|---|---|---|
| Calories | 380 kcal | 19% |
| Total Fat | 18g | 28% |
| Saturated Fat | 16g | 80% |
| Cholesterol | 5mg | 2% |
| Sodium | 30mg | 1% |
| Total Carbohydrate | 55g | 18% |
| Dietary Fiber | 2g | 8% |
| Sugars | 50g | N/A |
| Protein | 3g | 6% |
Variations & Substitutions
- Vegan Coconut Ice: Substitute the sweetened condensed milk with a vegan condensed milk alternative (made from coconut or oats). Omit the egg white. You may need to add a tablespoon of coconut oil to help bind the mixture.
- Different Colors: Experiment with different food colorings to create a rainbow effect or match a specific theme. Natural food colorings can also be used.
- Flavor Variations: Add a few drops of peppermint extract to the white layer for a refreshing twist. Or, add lemon zest to both layers for a citrusy flavor.
- Nutty Coconut Ice: Add chopped almonds, walnuts, or pecans to the mixture for added texture and flavor.
- Chocolate Coconut Ice: Add cocoa powder to half of the mixture for a chocolate layer.
FAQs (Frequently Asked Questions)
Q: Why is my Coconut Ice crumbly and not holding together?
A: This is usually due to not enough moisture. Try adding a tablespoon of sweetened condensed milk at a time until the mixture binds together.
Q: Can I use regular sugar instead of icing sugar?
A: No, icing sugar is essential for the smooth, melt-in-your-mouth texture of Coconut Ice. Regular sugar will result in a grainy texture.
Q: How can I make sure the layers don’t mix when I spread the pink layer on top?
A: Make sure the first layer is firmly pressed and slightly chilled before adding the pink layer. Gently spread the pink mixture without applying too much pressure.
Q: Can I freeze Coconut Ice?
A: Yes, you can freeze Coconut Ice for up to 2 months. Thaw it in the refrigerator before serving, but be aware the texture may change slightly.
Q: Does the egg white need to be cooked?
A: No, the egg white is not cooked in this recipe. If you are concerned about consuming raw egg whites, you can use pasteurized egg whites or omit the egg white altogether (see the Vegan Coconut Ice variation).
Final Thoughts
Coconut Ice is more than just a sweet treat; it’s a connection to simpler times, a taste of nostalgia, and a reminder of the joy of homemade goodies. Don’t be intimidated by the simplicity of the recipe – it’s precisely this simplicity that makes it so delightful. I urge you to try this recipe and experience the magic of Coconut Ice for yourself. Feel free to experiment with variations and make it your own! Share your creations and feedback – I’d love to hear about your Coconut Ice adventures!