
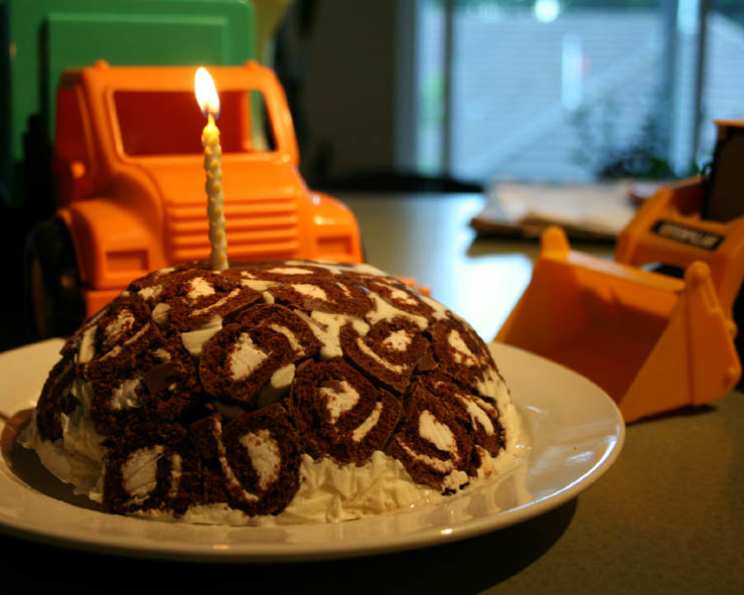
Coffee-Flavored Swiss Roll Sponge Cake: A Taste of Home
The aroma of coffee always transports me back to my grandmother’s kitchen. She wasn’t a fancy baker, but her simple coffee cake was legendary. The soft, tender crumb, the subtle bitterness of the coffee, and the sweet, creamy frosting—it was pure comfort. This coffee-flavored Swiss roll is an homage to those memories, a slightly more refined take on a classic that brings that same feeling of warmth and nostalgia to every slice.
Recipe Overview
- Prep Time: 30 minutes
- Cook Time: 20 minutes
- Total Time: 1 hour 30 minutes (including cooling time)
- Servings: 6-8
- Yield: 1 Swiss roll
- Dietary Type: Not specified, contains dairy, gluten, and eggs
Ingredients
For the Batter:
- 1 ½ cups flour
- 4 eggs, separated
- 1 cup caster sugar
- 2 cups butter, softened
- 1 teaspoon coffee, finely ground
For the Topping:
- 1 ¼ cups cream
- ¾ teaspoon coffee, finely ground
- ½ cup caster sugar
- Walnuts, chopped, for garnish (optional)
Equipment Needed
- Mixing bowls
- Electric mixer (handheld or stand mixer)
- Sifter
- Rubber spatula
- Rectangular baking tray (approximately 9×13 inches)
- Parchment paper
- Clean kitchen towel
- Offset spatula or knife
Instructions
-
Preheat your oven to 350°F (175°C). Line a rectangular baking tray with parchment paper, ensuring the paper overhangs the sides for easy removal of the baked sponge.
-
Sift the flour and 1 teaspoon of finely ground coffee together at least five times. This step is crucial for creating a light and airy sponge. After sifting, avoid touching the flour mixture with your hands as this can develop the gluten and result in a tougher cake.
-
Separate the eggs, placing the whites in one bowl and the yolks in another.
-
Using a clean, dry bowl and beaters, beat the egg whites until they form soft peaks. This means the peaks should hold their shape but gently droop at the tip.
-
Gradually add the 1 cup of caster sugar to the beaten egg whites, continuing to beat until stiff, glossy peaks form. The meringue should be firm and hold its shape well.
-
Cream one cup of the softened butter in a separate bowl until light and fluffy.
-
Add the remaining cup of softened butter to the creamed butter and continue to mix until well combined.
-
Add the egg yolks to the butter mixture one at a time, mixing well after each addition. Ensure each yolk is fully incorporated before adding the next.
-
Gently fold the sifted flour and coffee mixture into the butter and egg yolk mixture. Use a rubber spatula and a light hand to avoid overmixing, which can deflate the batter. Fold until just combined; a few streaks of flour are okay.
-
Gently fold the meringue (beaten egg whites and sugar) into the batter in three additions. Again, be careful not to overmix. The goal is to incorporate the meringue while maintaining as much air as possible.
-
Pour the batter into the prepared rectangular baking tray and spread it evenly with an offset spatula or the back of a spoon.
-
Bake in the preheated oven for 15-20 minutes, or until the sponge is golden brown and springs back lightly when gently pressed. A toothpick inserted into the center should come out clean.
-
Once baked, immediately remove the cake from the oven.
-
Soak a clean kitchen towel in cold water and wring it out well. Lay the damp towel on a flat surface and carefully invert the baked sponge onto the towel.
-
Gently peel off the parchment paper from the back of the sponge.
-
Wrap the sponge cake tightly in the damp towel and let it cool completely for at least one hour. This step is essential for preventing the cake from cracking when rolled.
-
While the cake is cooling, prepare the coffee cream topping. In a bowl, combine the cream, ¾ teaspoon of finely ground coffee, and ½ cup of caster sugar.
-
Whip the mixture until soft peaks form. Be careful not to overwhip, as this can cause the cream to become grainy.
-
Once the cake is completely cooled, unwrap it from the damp towel.
-
Spread the coffee cream topping evenly over the surface of the sponge cake.
-
Carefully roll the cake up tightly, starting from one of the short ends. Use the parchment paper underneath to help guide the rolling process.
-
Once rolled, place the Swiss roll seam-side down on a serving platter.
-
Spread any remaining coffee cream topping over the outside of the roll.
-
Garnish with chopped walnuts, if desired.
-
Refrigerate for at least 30 minutes to allow the filling to set before slicing and serving.
Expert Tips & Tricks
- Sifting is key: Don’t skip the multiple sifting of the flour and coffee. This ensures an incredibly light and airy sponge, essential for a good Swiss roll.
- Don’t overmix: Overmixing develops gluten, leading to a tough cake. Be gentle when folding in the flour and meringue.
- The damp towel trick: Wrapping the warm cake in a damp towel is crucial for preventing cracks when rolling. The moisture keeps the sponge pliable.
- Coffee intensity: Adjust the amount of coffee in the batter and topping to your preference. Use instant espresso powder for a more intense coffee flavor.
- Rolling technique: Start rolling tightly and evenly, using the parchment paper as a guide. This will ensure a neat and uniform Swiss roll.
- Chill time: Refrigerating the finished roll allows the cream filling to firm up, making it easier to slice and serve.
Serving & Storage Suggestions
Serve the coffee-flavored Swiss roll chilled. It pairs perfectly with a cup of hot coffee or tea. Sliced portions can be attractively arranged on a plate or platter. Leftovers should be stored in an airtight container in the refrigerator for up to 3 days. The Swiss roll can also be frozen for longer storage (up to 1 month). Thaw in the refrigerator overnight before serving.
Nutritional Information
| Nutrient | Amount per Serving | % Daily Value (approximate) |
|---|---|---|
| Calories | 450 kcal | 23% |
| Total Fat | 30g | 46% |
| Saturated Fat | 19g | 95% |
| Cholesterol | 145mg | 48% |
| Sodium | 200mg | 8% |
| Total Carbohydrate | 45g | 15% |
| Dietary Fiber | 1g | 4% |
| Sugars | 30g | N/A |
| Protein | 5g | 10% |
Note: Nutritional information is an estimate and may vary based on specific ingredients and portion sizes.
Variations & Substitutions
- Chocolate Coffee Swiss Roll: Add 2 tablespoons of cocoa powder to the flour mixture for a chocolate twist.
- Mocha Swiss Roll: Combine chocolate and coffee by adding cocoa powder to the batter and using chocolate shavings to garnish.
- Dairy-Free: Substitute the butter with a vegan butter alternative and the cream with a coconut cream that whips well.
- Gluten-Free: Use a gluten-free flour blend designed for baking cakes. You may need to adjust the liquid content slightly.
- Nut-Free: Omit the walnut garnish or substitute with chocolate sprinkles.
- Espresso Boost: Incorporate a shot of cooled espresso into the batter for a deeper coffee flavor.
FAQs (Frequently Asked Questions)
Q: Why is my sponge cake flat and dense?
A: This is likely due to overmixing the batter or not sifting the flour properly. Be gentle when folding in the flour and meringue, and ensure the flour is well-aerated.
Q: My Swiss roll cracked when I rolled it. What did I do wrong?
A: Cracking is usually caused by the cake drying out too much during baking or cooling. Wrapping the warm cake in a damp towel helps to keep it pliable and prevent cracking.
Q: Can I use instant coffee instead of ground coffee?
A: Yes, you can use instant coffee or espresso powder. Dissolve it in a small amount of hot water before adding it to the batter or cream.
Q: How do I get a perfect spiral in my Swiss roll?
A: Roll the cake tightly and evenly, using the parchment paper as a guide. Start from one of the short ends and maintain consistent pressure as you roll.
Q: Can I make the Swiss roll ahead of time?
A: Yes, you can make the Swiss roll a day ahead of time. Store it covered in the refrigerator.
Final Thoughts
This coffee-flavored Swiss roll sponge cake is more than just a dessert; it’s a slice of comfort, a taste of nostalgia, and a testament to the simple joys of baking. Don’t be intimidated by the steps – each one is designed to create a light, tender, and flavorful cake that will impress your family and friends. I encourage you to give this recipe a try, experiment with variations, and most importantly, enjoy the process of creating something delicious. And please, let me know how it turns out!