
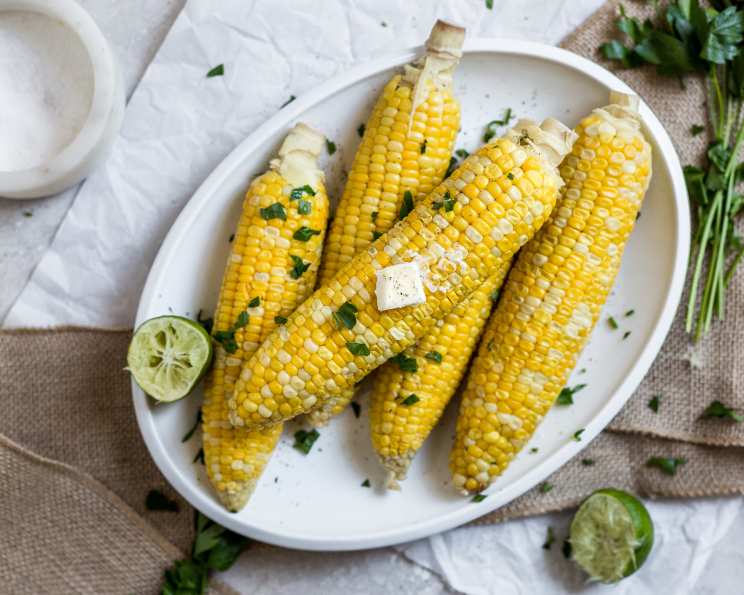
Perfectly Boiled Corn on the Cob: A Simple Summer Delight
The smell of summer always brings me back to my grandmother’s garden. Tucked behind her cozy cottage was a sprawling patch of sweet corn, each stalk reaching for the sun. Every summer, we’d harvest the plump, juicy ears, shuck them right there in the garden, and rush them inside for a simple, satisfying boil. The sweetness of the fresh corn, enhanced only by a pat of butter and a sprinkle of salt, is a flavor memory I cherish. It’s amazing how something so simple can evoke such powerful feelings of warmth and happiness.
Recipe Overview
- Prep Time: 1 minute
- Cook Time: 10-15 minutes
- Total Time: 11-16 minutes
- Servings: 1
- Yield: 1 ear of corn
- Dietary Type: Vegetarian, Gluten-Free
Ingredients
- 1 ear of corn on the cob, husks removed
- Water, enough to cover the corn
- Optional Topping:
- 1 tablespoon butter (optional) or 1 tablespoon margarine (optional)
- Salt, to taste (optional)
- Ground black pepper, to taste (optional)
Equipment Needed
- Large pot
- Tongs or slotted spoon
Instructions
- In a large pot, large enough to completely hold the corn, fill with enough water to cover the corn. The corn should float freely.
- Place the pot on the stove and bring the water to a boil over medium heat.
- Once the water is boiling rapidly, gently add the corn to the pot.
- Cover the pot and cook for 10-15 minutes, depending on how soft you prefer your corn. For a crisper bite, aim for the shorter end of the cooking time; for very tender corn, cook closer to 15 minutes.
- Carefully drain the water from the pot.
- Using tongs or a slotted spoon, remove the cooked corn on the cob. Be extremely cautious, as the corn and the pot will be very hot.
- Top the hot corn with your preferred seasonings, herbs, and spices. A classic combination is butter, salt, and pepper, but feel free to experiment!
- Enjoy your freshly boiled corn on the cob immediately!
Expert Tips & Tricks
- Freshness is key: The fresher the corn, the sweeter and more flavorful it will be. Look for ears with plump, milky kernels and bright green husks.
- Don’t overcook: Overcooked corn can become mushy and lose its sweetness. Keep a close eye on the cooking time and test for doneness by piercing a kernel with a fork. It should be tender but still have a bit of snap.
- Salt the water (or don’t!): There’s debate about whether salting the water affects the corn. Some believe it toughens the kernels, while others find it enhances the flavor. Experiment to see what you prefer. I usually skip it.
- Shuck carefully: When removing the husks and silk, pull them down towards the base of the corn rather than tearing them off. This helps keep the kernels intact.
- Even Cooking: Ensure all the corn is submerged in the water for even cooking. If necessary, use a smaller pot and cook in batches.
Serving & Storage Suggestions
Serve boiled corn on the cob immediately for the best flavor and texture. It’s delicious on its own or as a side dish to grilled meats, salads, or any summer meal.
Leftover corn can be stored in the refrigerator for up to 3 days. Wrap each ear tightly in plastic wrap or store them in an airtight container to prevent them from drying out.
To reheat, you can either boil the corn again for a minute or two, microwave it for a short period, or grill it for a smoky flavor. Reheating may slightly affect the texture, but the corn will still be enjoyable.
Corn on the cob is generally not recommended for freezing after boiling, as the texture can become quite soft upon thawing.
Nutritional Information
| Nutrient | Amount per Serving | % Daily Value |
|---|---|---|
| Calories | 122.5 kcal | N/A |
| Calories from Fat | 8 g | 7% |
| Total Fat | 1 g | 1% |
| Saturated Fat | 0.1 g | 0% |
| Cholesterol | 0 mg | 0% |
| Sodium | 6.2 mg | 0% |
| Total Carbohydrate | 29.4 g | 9% |
| Dietary Fiber | 3.5 g | 14% |
| Sugars | 4.7 g | N/A |
| Protein | 4.1 g | 8% |
Note: Nutritional information is an estimate and may vary based on specific ingredients and portion sizes.
Variations & Substitutions
- Grilled Corn: After boiling, lightly grill the corn for a smoky char.
- Mexican Street Corn (Elote): Brush the boiled corn with mayonnaise, sprinkle with cotija cheese, chili powder, and lime juice.
- Herb Butter: Mix softened butter with fresh herbs like parsley, chives, or cilantro for a flavorful topping.
- Spice it Up: Add a pinch of cayenne pepper or a dash of hot sauce to your butter for a spicy kick.
- Vegan Option: Use vegan butter or margarine, or drizzle with olive oil instead of butter.
FAQs (Frequently Asked Questions)
Q: How do I know when the corn is done?
A: The kernels should be tender when pierced with a fork, but still have a slight snap. Don’t overcook, or the corn will become mushy.
Q: Can I cook corn with the husks on?
A: Yes, you can boil corn in the husks. It will steam the corn, resulting in a slightly different flavor and texture. Just trim the silks first.
Q: Do I need to add salt to the boiling water?
A: Adding salt to the water is a matter of personal preference. Some people believe it toughens the kernels, while others find it enhances the flavor. Experiment and see what you prefer.
Q: Can I use frozen corn on the cob?
A: Yes, you can boil frozen corn on the cob, but it may require a slightly longer cooking time.
Q: How can I prevent the corn from floating in the pot?
A: Use a smaller pot or weigh the corn down with a heat-safe plate or lid. The corn needs to be fully submerged for even cooking.
Final Thoughts
Boiled corn on the cob is one of those simple pleasures that truly captures the essence of summer. It’s a dish that’s easy to make, incredibly versatile, and always a crowd-pleaser. Whether you’re enjoying it on its own or as part of a larger meal, I encourage you to give this recipe a try and experience the pure, sweet flavor of fresh corn. Don’t be afraid to experiment with different toppings and seasonings to find your perfect combination! And please, share your creations and feedback – I’d love to hear how you made this classic dish your own!