
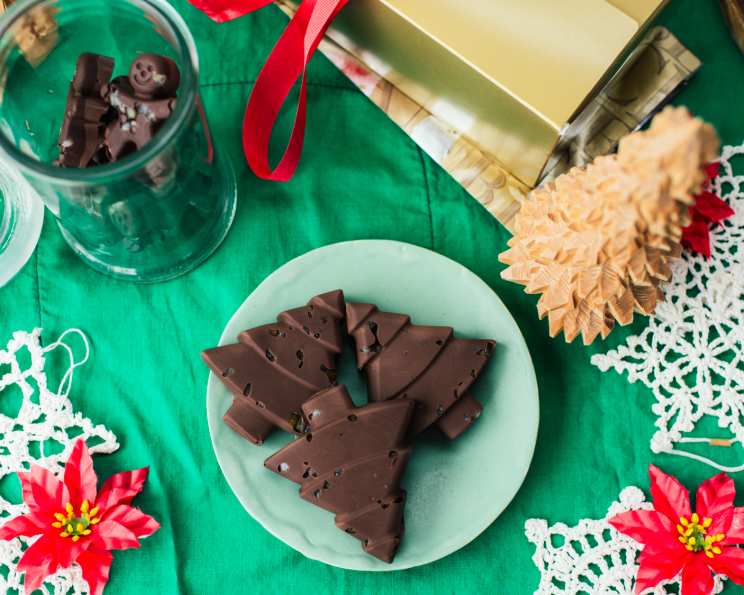
Dark Chocolate Caramel & Orange Candies: A Symphony of Sweetness
The scent of candied orange always transports me back to my grandmother’s kitchen. Every Christmas, she’d painstakingly candy orange peels, their vibrant aroma filling the house with holiday cheer. While she used them for elaborate fruitcakes, I always snuck a few, savoring their bittersweet, citrusy bite. These Dark Chocolate Caramel & Orange Candies are my homage to those memories, a perfect marriage of my grandmother’s candied orange with the richness of dark chocolate and the indulgence of salted caramel. They’re surprisingly simple to make, yet deliver a sophisticated flavor profile that’s sure to impress.
Recipe Overview
- Prep Time: 15 minutes
- Cook Time: 5 minutes
- Total Time: 1 hour 20 minutes
- Servings: Varies, depends on ice cube tray size
- Yields: 1 tray
- Dietary Type: Vegetarian
Ingredients
- Cooking spray
- 2 cups dark chocolate candy melts
- 12 salted caramels (soft)
- 6 teaspoons candied orange peel, chopped into small cubes
Equipment Needed
- Ice cube tray
- Microwave-safe bowl
- Spoon
Instructions
- Begin by preparing your ice cube tray. Generously spray the entire surface of the ice cube tray with cooking spray. This will ensure that the candies release easily once they’ve set.
- Next, prepare the base for each candy. Place about ½ teaspoon of the chopped candied orange peel into the bottom of each individual compartment of the ice cube tray. This creates a delightful burst of citrus with every bite.
- Now, it’s time to melt the dark chocolate. Pour the 2 cups of dark chocolate candy melts into a microwave-safe bowl. Melt the chocolate in 30-second intervals, stirring between each interval to prevent burning. Continue until the chocolate is completely smooth and melted.
- Carefully pour approximately 2 tablespoons of the melted dark chocolate into each compartment of the ice cube tray, covering the candied orange peel.
- Tilt the entire ice cube tray in all directions to ensure that the sides of each compartment are completely coated with the melted chocolate. This will create a beautiful chocolate shell.
- Place the ice cube tray in the freezer to set the chocolate shell. This should take about 10-15 minutes. The chocolate should be firm to the touch.
- Once the chocolate shells are firm, remove the ice cube tray from the freezer. Place one salted caramel into each compartment, nestled inside the chocolate shell.
- Cover the caramels with the remaining melted dark chocolate, ensuring that each compartment is completely filled.
- Place the ice cube tray in the refrigerator for about 1 hour to allow the candies to set completely.
- After an hour, gently remove the Dark Chocolate Caramel & Orange Candies from the ice cube tray. They are now ready to serve!
Expert Tips & Tricks
- Tempering the Chocolate (Optional): For a truly professional finish, consider tempering the chocolate. This process ensures a glossy shine and a satisfying snap. You can find detailed instructions online for tempering chocolate using various methods. However, using candy melts simplifies the process greatly and yields good results without tempering.
- Soft Caramels are Key: Make sure your caramels are soft and pliable. If they’re too hard, they won’t melt properly in your mouth. If your caramels are a bit firm, you can soften them slightly by placing them in a warm oven for a few minutes before using them.
- Don’t Overheat the Chocolate: Overheating the chocolate can cause it to seize and become grainy. Melt the chocolate slowly and stir frequently to prevent burning.
- Experiment with Flavors: Feel free to experiment with different flavors. Try adding a pinch of sea salt to the melted chocolate, or substituting the candied orange peel with chopped nuts or dried fruit.
- Troubleshooting: If the chocolate cracks when you remove the candies from the tray, it may be because the chocolate was too cold when you poured it into the tray, or because the freezer was too cold. To prevent this, make sure the chocolate is warm and fluid, and don’t leave the tray in the freezer for too long.
Serving & Storage Suggestions
These Dark Chocolate Caramel & Orange Candies are perfect as a sweet treat after dinner, as a party favor, or as a homemade gift. Serve them chilled or at room temperature.
Storage: Store the candies in an airtight container in the refrigerator for up to 2 weeks. They can also be stored in the freezer for up to 1 month. If freezing, wrap each candy individually in plastic wrap to prevent freezer burn. Let them thaw in the refrigerator before serving. They are best enjoyed within a few days, as the caramel may soften slightly over time.
Nutritional Information
(Estimates will vary based on specific ingredients and serving size)
| Nutrient | Amount per Serving (Estimate) | % Daily Value (Estimate) |
|---|---|---|
| Calories | 250 kcal | 13% |
| Total Fat | 15g | 23% |
| Saturated Fat | 9g | 45% |
| Cholesterol | 5mg | 2% |
| Sodium | 150mg | 7% |
| Total Carbohydrate | 30g | 10% |
| Dietary Fiber | 1g | 4% |
| Sugars | 25g | N/A |
| Protein | 2g | 4% |
Variations & Substitutions
- Different Chocolate: Use milk chocolate or white chocolate candy melts instead of dark chocolate for a sweeter treat.
- Nutty Delight: Add chopped almonds, pecans, or walnuts to the candied orange peel for a nutty crunch.
- Spiced Caramel: Sprinkle a pinch of cinnamon or cardamom on top of the caramels before covering them with chocolate.
- Vegan Version: Substitute the salted caramels with vegan caramel candies. Ensure the candy melts are also vegan-friendly.
FAQs (Frequently Asked Questions)
Q: Can I use regular chocolate instead of candy melts?
A: Yes, but candy melts are easier to work with as they melt smoothly and set without needing tempering. If using regular chocolate, you may want to temper it for a better shine and snap.
Q: What if I don’t have an ice cube tray?
A: You can use mini muffin liners or silicone molds instead.
Q: Can I make these ahead of time?
A: Absolutely! These candies are perfect for making ahead of time. Store them in the refrigerator or freezer until ready to serve.
Q: My chocolate is seizing up. What do I do?
A: This usually happens when water gets into the chocolate. Try adding a teaspoon of vegetable oil or shortening to the chocolate and stir until smooth.
Q: The caramel is leaking out of the chocolate. What did I do wrong?
A: Ensure the chocolate shell is completely sealed before adding the caramel. Also, avoid storing the candies at room temperature for extended periods, as this can cause the caramel to soften and leak.
Final Thoughts
I hope you enjoy making these Dark Chocolate Caramel & Orange Candies as much as I do. They’re a delightful treat that’s sure to impress your friends and family. Don’t be afraid to experiment with different flavors and variations to create your own signature candy. I’d love to hear about your creations and any tips you discover along the way! These candies pair perfectly with a cup of strong coffee or a glass of dessert wine, adding a touch of elegance to any occasion. So, go ahead, indulge your sweet tooth and create some delicious memories!