
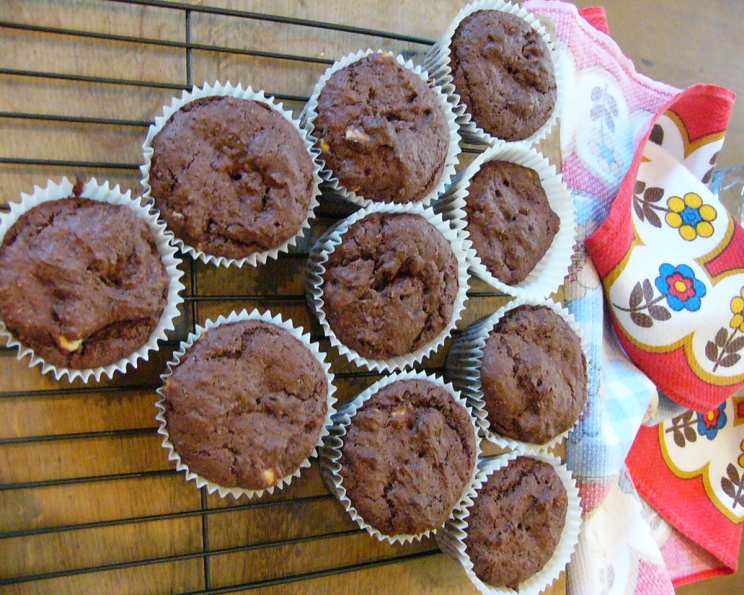
Single-Serving Diet Cake: Guilt-Free Indulgence
My grandmother, bless her heart, always had a cake on the counter. It was her way of showing love, a sweet invitation to slow down and savor the moment. But with my own busy schedule and a constant awareness of portion sizes, whole cakes feel like an impossible temptation. This single-serving diet cake brings back that comforting feeling of home baking, but in a manageable, mindful way. It’s the perfect little treat when a craving hits, and I don’t have to worry about leftover slices calling my name from the kitchen.
Recipe Overview: Single-Serving Diet Cake
- Prep Time: 5 minutes
- Cook Time: 12-15 minutes
- Total Time: 20 minutes
- Servings: 1
- Yield: 1 small cake
- Dietary Type: Vegetarian (can be adapted to vegan, see substitutions)
Ingredients
- 1 cup cake mix, any flavor
- 1 egg (or flax egg for vegan option – see substitutions)
- 2 teaspoons vegetable oil
- 1-4 tablespoons water
- Pam cooking spray (or any non-stick spray)
- ¼ (1 lb) can frosting, any flavor
Equipment Needed
- Measuring cups and spoons
- Mixing bowl
- Whisk or fork
- 8-10 inch pie pan
- Oven
Instructions
-
Preheat your oven to 350°F (175°C). This is a crucial step to ensure even baking and a perfectly textured cake.
-
Measure out one cup of cake mix. For best results, lightly spoon the cake mix into the measuring cup and level it off with a knife, rather than scooping directly from the container. This prevents the mix from becoming too compacted, which can lead to a denser cake.
-
Carefully pour the remaining cake mix into a zip-top bag and store it in the refrigerator. This keeps the mix fresh for future single-serving cakes!
-
In your mixing bowl, combine the one cup of cake mix with the egg and vegetable oil. Whisk or use a fork to thoroughly combine these ingredients until a thick batter begins to form.
-
Grab your water and pour it into a ¼ cup measuring cup. This precise measurement will help achieve the correct consistency for your batter.
-
Pour the water into the mix, stirring a tablespoon or so at a time. (Note: If you live at high altitude, you may need to use closer to ¼ cup of water.) Begin with just a tablespoon, stir well, and then add more gradually until the batter reaches a smooth, pourable consistency. Be cautious not to over-water the batter, as this can result in a soggy cake.
-
Continue to stir until all lumps disappear, ensuring a smooth and even batter. A few small lumps are fine, but large lumps can affect the cake’s texture.
-
Spray an 8-10 inch pie pan with Pam cooking spray (or your preferred non-stick spray). Be sure to coat the entire surface of the pan, including the sides, to prevent sticking and ensure easy removal of the cake after baking.
-
Pour the cake mix into the prepared pie pan, spreading it evenly across the surface.
-
Bake at 350°F (175°C) for 12-15 minutes, or until the cake begins to pull away from the side of the pan and a toothpick inserted into the center comes out clean. Start checking for doneness around the 12-minute mark to prevent overbaking. Ovens can vary, so keep a close eye on your cake!
-
Remove the cake from the oven and let it cool completely before frosting. Frosting a warm cake can cause the frosting to melt and slide off. Patience is key!
-
Once the cake is completely cool, frost with your favorite frosting. Since we’re using a small amount, feel free to get creative with different flavors and toppings.
Expert Tips & Tricks
- Don’t overmix the batter: Overmixing can develop the gluten in the cake mix, resulting in a tough cake. Mix only until the ingredients are just combined.
- For a moister cake: Add a tablespoon of sour cream or plain yogurt to the batter.
- Check for doneness accurately: Insert a toothpick into the center of the cake. If it comes out with a few moist crumbs attached, the cake is done. If it comes out with wet batter, bake for a few more minutes.
- Prevent sticking: If you don’t have non-stick spray, grease the pie pan with butter or shortening and dust it with flour.
- Cool completely: Resist the urge to frost the cake while it’s still warm. Warmth will melt the frosting and make it difficult to spread evenly.
- Add Ins: Enhance your cake with a handful of chocolate chips, chopped nuts, or sprinkles before baking.
Serving & Storage Suggestions
Serve your single-serving diet cake immediately after frosting for the best flavor and texture. If you have any leftover frosting, store it in an airtight container in the refrigerator.
If, by some miracle, you don’t finish your single-serving cake (though let’s be honest, who wouldn’t?), you can store it in an airtight container at room temperature for up to 2 days, or in the refrigerator for up to 4 days. The cake may become slightly drier over time, but it will still be delicious. To reheat, microwave a slice for a few seconds until warmed through.
Nutritional Information
Please note that this is an estimate and will vary based on the specific cake mix and frosting used.
| Nutrient | Amount per Serving | % Daily Value |
|---|---|---|
| Calories | 450 kcal | 23% |
| Total Fat | 20g | 31% |
| Saturated Fat | 8g | 40% |
| Cholesterol | 75mg | 25% |
| Sodium | 300mg | 13% |
| Total Carbohydrate | 60g | 20% |
| Dietary Fiber | 1g | 4% |
| Sugars | 40g | |
| Protein | 5g | 10% |
Variations & Substitutions
- Vegan Cake: Substitute the egg with a “flax egg” (1 tablespoon ground flaxseed mixed with 3 tablespoons of water, let sit for 5 minutes to thicken). Be sure to use a vegan cake mix and vegan frosting.
- Gluten-Free: Use a gluten-free cake mix. The baking time might need to be adjusted, so keep a close eye on it.
- Flavor Variations: Experiment with different cake mix flavors and complementary frostings. Chocolate cake with peanut butter frosting, vanilla cake with raspberry frosting, or spice cake with cream cheese frosting are all delicious options.
- Fruit Additions: As my grandmother would say, add up to a cup of blueberries to this batter. Just be sure to let the cake cool a bit before eating because those berries get very hot inside! You could also try chopped strawberries, raspberries, or even mashed banana for added moisture and flavor.
- Lower Sugar: Look for sugar-free cake mixes and frostings, or use a lighter frosting recipe made with Greek yogurt or whipped cream.
FAQs (Frequently Asked Questions)
Q: Can I use a different size pan?
A: Yes, but you may need to adjust the baking time. Smaller pans will require a shorter baking time, while larger pans may need a bit longer. Keep a close eye on the cake and check for doneness frequently.
Q: Can I make this cake ahead of time?
A: Yes, you can bake the cake ahead of time and store it, unfrosted, in an airtight container at room temperature for up to 2 days or in the refrigerator for up to 4 days. Frost it just before serving.
Q: My cake is dry. What did I do wrong?
A: Overbaking is the most common cause of dry cake. Be sure to check for doneness frequently and remove the cake from the oven as soon as a toothpick inserted into the center comes out clean.
Q: Can I use a sugar substitute in the frosting?
A: Yes, you can use a sugar substitute in the frosting, but be aware that it may affect the texture and flavor. Some sugar substitutes can have a slightly bitter aftertaste.
Q: How can I make this cake even healthier?
A: Use a whole-wheat cake mix, reduce the amount of frosting, and add some fruit to the batter. You can also substitute unsweetened applesauce for some of the oil.
Final Thoughts
This single-serving diet cake is a testament to the fact that you can enjoy your favorite treats without sacrificing your health goals. It’s a simple, satisfying recipe that’s perfect for those moments when you need a little something sweet. Don’t be afraid to get creative with different flavors and toppings, and most importantly, enjoy the process! I’d love to hear about your variations and experiences with this recipe. Happy baking!