
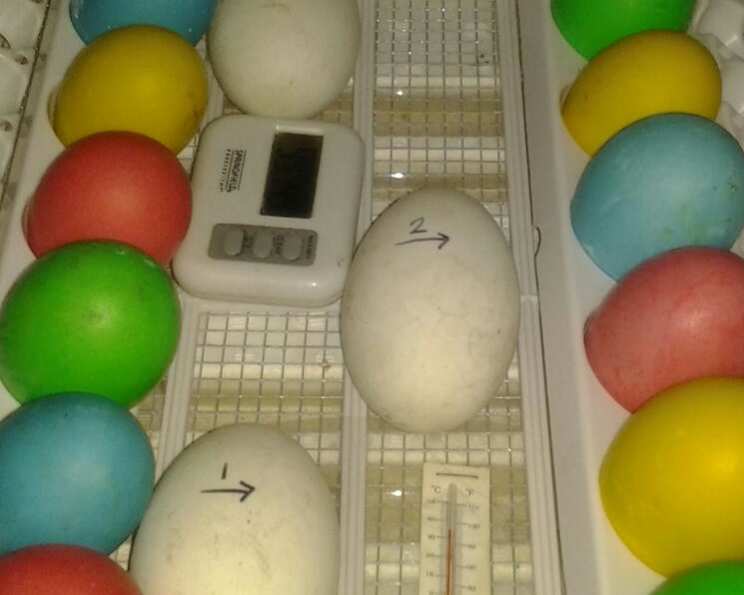
Easter Egg Decorating and Dyeing: Unleash Your Inner Artist!
I remember one Easter, when I was knee-high to a grasshopper, my grandmother decided we were going to make Easter eggs that rivaled Faberge. The results were… abstract, let’s say. Picture a riot of neon food coloring, haphazardly glued-on sequins, and bits of torn construction paper clinging precariously to the shells. While they certainly weren’t elegant, they were brimming with love and laughter – and that’s what Easter is all about. This year, let’s create some egg-cellent memories with these fun and creative egg decorating ideas!
Recipe Overview
- Prep Time: 30 minutes
- Cook Time: 10 minutes
- Total Time: 40 minutes
- Yields: 1 batch
- Dietary Type: Vegetarian
Ingredients
- Hard-boiled eggs (boil for 10 minutes)
To dye (for each color):
- 1 cup hot water
- 1 teaspoon vinegar
- 20 drops food coloring (1 color or mix colors, example: red and yellow for orange, blue and red for purple, etc.)
For Decorating:
- Elastic bands (various sizes)
- String
- White crayon
- Tape
- Shaped stickers (shapes, letters, numbers, etc.)
Equipment Needed
- Saucepan (for boiling eggs)
- Heat-proof, narrow, deep dishes (such as canning jars)
- Tongs
- Wax paper
- Thick piece of cardboard or foam board
- Flat head pins
Instructions
-
Prepare the Eggs: Begin by gently placing your eggs in a saucepan and covering them with cold water. Bring the water to a rolling boil, then immediately remove the pan from the heat. Cover and let the eggs sit in the hot water for 10 minutes. This method yields perfectly cooked yolks without the dreaded green ring. After 10 minutes, drain the hot water and run cold water over the eggs until they are cool enough to handle.
-
Decorating the Eggs (Before Dyeing): Now for the fun part! Choose your decorating method:
- Elastic Band Designs: Wrap different sized elastic bands around the eggs. Make sure they are snug, but not so tight that they crack the delicate shells.
- String Patterns: Tie string around the eggs in random or set patterns, creating interesting resist designs.
- Crayon Creations: Use a white crayon to write words, draw designs, or create patterns on your eggs. The crayon will resist the dye, leaving a white imprint.
- Tape Art: Place tape on the eggs to create patterns or stripes. Masking tape, painter’s tape, or even decorative washi tape can be used.
- Sticker Fun: Place shaped stickers (shapes, letters, numbers, etc.) on the eggs. These will also resist the dye, leaving behind the sticker shape.
-
Preparing the Dye: For each color you want to create, mix 1 cup of hot water, 1 teaspoon of vinegar, and 20 drops of food coloring in a heat-proof, narrow, deep dish, such as a canning jar.
- Color Mixing: Don’t be afraid to experiment! Use 20 drops of just one color for a classic hue, or combine colors to create many different shades and hues. Remember: red and yellow make orange, blue and red make purple, and blue and yellow make green. Add a drop or two of black for a more muted, sophisticated tone.
-
Dyeing the Eggs: Using tongs, carefully submerge the prepared eggs into the dye.
- Color Intensity: Submerge the eggs for 3-5 minutes for a lighter shade, or up to 10 minutes for a deeper, more vibrant shade. The longer the egg sits in the dye, the more intense the color will be.
-
Drying the Eggs: Remove the eggs from the dye with tongs.
- Wax Paper Drying: If you can set the eggs on the elastics, tape, or stickers, you can carefully place the wet eggs on wax paper. This will prevent smudging while they dry.
- Pin Drying: For a more even drying process, poke many flat head pins into a thick piece of cardboard or foam board. Set the eggs on top of the pins. This allows air to circulate around the entire egg, preventing pooling of the dye and ensuring a more uniform color.
-
Drying Time: Let the eggs dry for 1 to 2 hours. Once dry, refrigerate them until you are ready to display or eat them.
-
Revealing the Designs: Once the eggs are completely dry, carefully remove whatever decorating items you used – elastic bands, string, tape, or stickers. This will reveal the beautiful, dyed patterns underneath.
-
Refrigerate: Refrigerate the decorated and dyed eggs until ready to use.
Expert Tips & Tricks
- Perfectly Hard-Boiled Eggs: Adding a pinch of salt and a tablespoon of vinegar to the water when boiling the eggs can help prevent cracking.
- Uniform Color: For a more uniform dye color, gently rotate the egg in the dye bath every minute or so.
- Marbleized Effect: Lightly crack the eggshell after boiling, then submerge in the dye. The dye will seep into the cracks, creating a beautiful marbleized effect.
- Natural Dyes: Explore natural dyeing options using ingredients like beetroot (for pink), red cabbage (for blue), turmeric (for yellow), and spinach (for green).
- Protect Your Hands: Wear gloves when dyeing eggs to prevent your hands from staining.
- Egg Temperature: For best results, use eggs that are at room temperature. This helps the dye adhere more evenly.
- Shiny Eggs: After the eggs are completely dry, lightly rub them with a bit of vegetable oil or shortening to give them a shiny finish.
Serving & Storage Suggestions
Serve your beautifully decorated Easter eggs as part of your Easter brunch or as a festive centerpiece. Decorated hard-boiled eggs can be stored in the refrigerator for up to a week. To prevent them from rolling around and cracking, store them in an egg carton or a container lined with paper towels. Hard-boiled eggs should not be left at room temperature for more than two hours.
Nutritional Information
(Note: This is a rough estimate and can vary based on specific ingredients and quantities used.)
| Nutrient | Amount per Serving | % Daily Value |
|---|---|---|
| Calories | 70 kcal | 4% |
| Total Fat | 5g | 8% |
| Saturated Fat | 2g | 10% |
| Cholesterol | 185mg | 62% |
| Sodium | 70mg | 3% |
| Total Carbohydrate | 1g | 0% |
| Dietary Fiber | 0g | 0% |
| Sugars | 0g | 0% |
| Protein | 6g | 12% |
Variations & Substitutions
- Natural Dyes: Instead of food coloring, use natural dyes derived from fruits, vegetables, and spices.
- Brown Eggs: Use brown eggs instead of white eggs for a more rustic, natural look. The dye colors will appear deeper and richer on brown eggs.
- Shaving Cream Dye: For a fun and easy dyeing technique, swirl food coloring into a can of shaving cream and roll the eggs in the mixture.
- Whipped Cream Dye: Similar to shaving cream, you can also use whipped cream to create colorful, marbled eggs.
- Glitter Eggs: Before the dye dries completely, sprinkle glitter on the eggs for a sparkly effect.
- Decoupage Eggs: Use Mod Podge to glue small pieces of paper, fabric, or dried flowers onto the eggs for a unique decoupage effect.
FAQs (Frequently Asked Questions)
Q: How long can I store decorated Easter eggs?
A: Hard-boiled eggs, whether decorated or not, can be stored in the refrigerator for up to a week.
Q: Can I use vinegar substitutes in the dye?
A: While vinegar helps the dye adhere to the eggshell, you can try using lemon juice as a substitute, but the results may vary slightly.
Q: How do I prevent the eggs from cracking while boiling?
A: Add a pinch of salt and a tablespoon of vinegar to the water, and don’t boil the eggs too vigorously.
Q: Can I eat the eggs after they have been dyed?
A: Yes, as long as you use food-safe dyes and store the eggs properly in the refrigerator.
Q: What can I do with leftover hard-boiled eggs after Easter?
A: Use them in egg salad sandwiches, deviled eggs, or chop them up and add them to salads.
Final Thoughts
So, grab your eggs, your dyes, and your creativity, and get ready to make some Easter magic! Whether you’re aiming for elegant simplicity or a vibrant explosion of color, these decorating ideas are sure to bring joy and a touch of artistic flair to your Easter celebrations. Don’t be afraid to experiment and have fun – and most importantly, share your creations with loved ones. Happy Easter!