
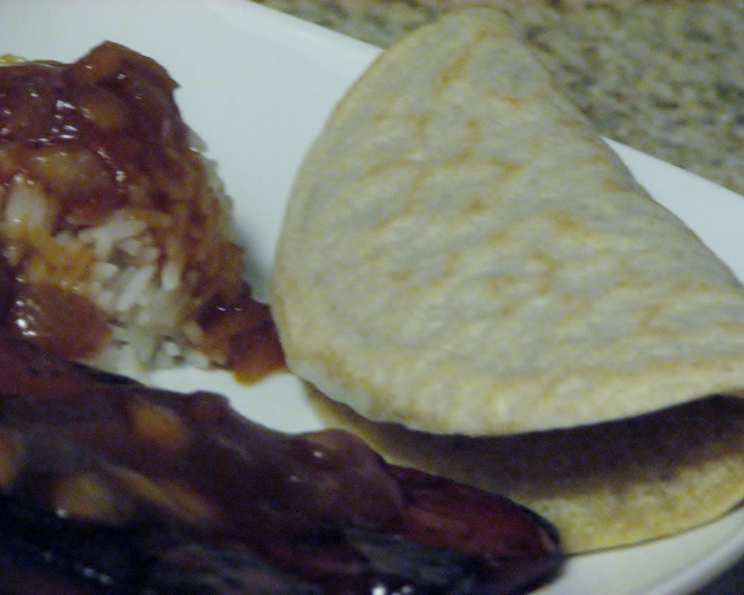
Making Injera: A Culinary Journey Without Teff
My earliest memory of injera isn’t from a restaurant, but from a lively community potluck. The aroma of spiced stews mingling with the slightly tangy scent of the bread was intoxicating. I remember being fascinated by its unique texture, almost spongy, and how it acted as both plate and utensil. While traditionally made with teff, the reality is that this ancient grain can be difficult to source. This recipe is my ode to that vibrant memory, a way to enjoy the essence of Ethiopian cuisine even when teff is elusive.
Recipe Overview
- Prep Time: 15 minutes
- Cook Time: 1 hour 25 minutes
- Total Time: 1 hour 40 minutes
- Servings: 15-20
- Yield: Variable, depending on pan size, approximately 15-20 injera
- Dietary Type: Vegan
Ingredients
- 3 cups self-rising flour
- ½ cup whole wheat flour
- ½ cup cornmeal
- 1 tablespoon active dry yeast
- 3 ½ cups warm water
Equipment Needed
- Large bowl
- Blender
- Non-stick frying pan (10-inch or 12-inch)
- Clean kitchen towels
- Covered dish
Instructions
-
In a large bowl, combine the self-rising flour, whole wheat flour, cornmeal, and active dry yeast.
-
Gradually add the warm water to the dry ingredients, mixing continuously until a smooth batter forms. Ensure there are no lumps.
-
Cover the bowl with a lid or plastic wrap and let it sit in a warm place for at least one hour, or up to 3-6 hours. The batter should rise and become noticeably stretchy. This fermentation period is crucial for developing the characteristic tang and texture of injera. The longer it sits, the more pronounced the flavor will be.
-
When ready to cook, check the batter. If any liquid has settled on the bottom, gently stir it back in.
-
Pour approximately 2 cups of the batter into a blender. Add ½ to ¾ cup of water to thin it out. The batter should be quite thin, almost like a crepe batter. Blend until smooth.
-
Heat a non-stick frying pan over medium or medium-high heat. It’s essential that the pan is truly non-stick, as you will not be using any oil. This is a key element of making injera.
-
For a 12-inch pan, use ½ cup of batter per injera. For a 10-inch pan, use ⅓ cup of batter.
-
Pour the batter into the heated pan and quickly swirl the pan to spread the batter as thinly as possible. The batter should be no thicker than ⅛ inch. Aim for even coverage to ensure uniform cooking.
-
Do not turn the injera over. It should cook on one side only. Injera doesn’t easily stick or burn, thanks to the non-stick pan and the batter’s composition.
-
The injera is cooked through when bubbles appear all over the top surface, similar to making pancakes. The surface will also appear set and slightly matte.
-
Gently remove the cooked injera from the pan and lay it on a clean kitchen towel for a minute or two. This helps to prevent it from becoming soggy.
-
Stack the injera in a covered dish to keep warm until serving. The finished injera will be thicker than a crepe, but thinner than a pancake, and have a slightly spongy texture.
Expert Tips & Tricks
- Fermentation Time: The longer the batter ferments, the tangier the injera will be. If you prefer a milder flavor, stick to the shorter end of the fermentation time (1 hour). For a more authentic sour taste, let it ferment for up to 6 hours.
- Batter Consistency: Achieving the right batter consistency is crucial. If the batter is too thick, the injera will be dense and heavy. If it’s too thin, it will be delicate and may tear easily. Adjust the amount of water in the blender accordingly.
- Pan Temperature: Finding the right pan temperature is key. If the pan is too hot, the injera will burn before it’s cooked through. If it’s too cold, it will take too long to cook and may become sticky. Start with medium heat and adjust as needed.
- Preventing Sticking: Even with a non-stick pan, injera can sometimes stick. Make sure your pan is thoroughly clean and completely dry before pouring in the batter. A well-seasoned non-stick pan will yield the best results.
- Make-Ahead Tip: The batter can be made ahead of time and stored in the refrigerator for up to 24 hours. This allows the flavors to develop even further. Bring the batter to room temperature before cooking.
Serving & Storage Suggestions
Injera is traditionally served as the base for Ethiopian stews (wats) and vegetable dishes. It’s used both as a plate and as an eating utensil, torn into pieces to scoop up the food.
Store leftover injera in an airtight container at room temperature for up to 2 days, or in the refrigerator for up to 5 days. To reheat, you can lightly steam the injera or warm it in a dry skillet over low heat. Freezing is not recommended as it can alter the texture.
Nutritional Information
Note: Nutritional information is an estimate and may vary based on specific ingredients and portion sizes.
| Nutrient | Amount per Serving | % Daily Value |
|---|---|---|
| Calories | 120 kcal | 6% |
| Total Fat | 1g | 1% |
| Saturated Fat | 0g | 0% |
| Cholesterol | 0mg | 0% |
| Sodium | 320mg | 13% |
| Total Carbohydrate | 25g | 8% |
| Dietary Fiber | 2g | 6% |
| Sugars | 0g | 0% |
| Protein | 4g | 8% |
Variations & Substitutions
- Gluten-Free Injera: Substitute the self-rising flour and whole wheat flour with a gluten-free all-purpose flour blend. You may need to adjust the amount of water to achieve the correct batter consistency.
- Spiced Injera: Add a pinch of spices like cardamom, cumin, or coriander to the batter for a more aromatic flavor.
- Herbaceous Injera: Incorporate finely chopped fresh herbs, such as cilantro or parsley, into the batter for added flavor and visual appeal.
- Sweet Injera: For a unique twist, add a tablespoon of sugar or honey to the batter for a slightly sweet injera that can be served with fruit or yogurt.
FAQs (Frequently Asked Questions)
Q: Can I use regular all-purpose flour instead of self-rising flour?
A: While self-rising flour provides a lighter texture, you can substitute it with all-purpose flour. Add 1 ½ teaspoons of baking powder and ½ teaspoon of salt per cup of all-purpose flour.
Q: Why is my injera sticking to the pan even though it’s non-stick?
A: Make sure the pan is thoroughly clean and completely dry before pouring in the batter. Overheating the pan can also cause sticking. Reduce the heat slightly if needed.
Q: My injera is too thick/thin. How can I fix it?
A: If the injera is too thick, add a little more water to the batter to thin it out. If it’s too thin, add a tablespoon of flour at a time until you reach the desired consistency.
Q: Can I make injera ahead of time?
A: Yes, you can make the batter ahead of time and store it in the refrigerator for up to 24 hours. Let it come to room temperature before cooking. Cooked injera can be stored for a couple of days.
Q: What is the best way to reheat injera?
A: The best way to reheat injera is to lightly steam it or warm it in a dry skillet over low heat. Avoid microwaving, as it can make the injera tough and rubbery.
Final Thoughts
Embracing the flavors of Ethiopian cuisine doesn’t require unattainable ingredients. This injera recipe, adapted for readily available pantry staples, opens a gateway to a world of rich stews and flavorful vegetarian dishes. Don’t be afraid to experiment with the fermentation time and batter consistency to find what works best for you. Gather your favorite wats, call your friends, and enjoy the communal spirit of Ethiopian dining, one delicious bite at a time. Share your creations and feedback – I’d love to hear how your injera journey unfolds!