
Fall-Apart Tender Pork Butt Roast (Pulled Pork)
The aroma of slow-cooked pork butt, subtly sweet and smoky, instantly transports me back to my grandmother’s kitchen. I remember standing on a stool, barely tall enough to see over the counter, watching her expertly pull the tender meat apart with two forks. The air was thick with anticipation, and the taste of that pulled pork, piled high on soft buns, remains one of my most cherished food memories. It’s a dish that speaks of comfort, family, and the simple joy of sharing a delicious meal.
Recipe Overview
- Prep Time: 15 minutes
- Cook Time: 5 hours
- Total Time: 5 hours 15 minutes
- Servings: 12
- Yields: 1 roast
- Dietary Type: Gluten-Free (naturally, but check your Worcestershire sauce)
Ingredients
- 1 pork butt (about 4 pounds)
- ¼ – ⅓ cup Worcestershire sauce
- ¾ cup light brown sugar
- 1 cup apple juice
- ½ teaspoon salt
Equipment Needed
- Large casserole dish with lid (or Dutch oven)
Instructions
-
Preheat the oven to 400°F (200°C). Position the oven rack slightly below the center.
-
Place the pork butt in a casserole dish that is just large enough to hold it comfortably and has a lid. A Dutch oven works perfectly for this.
-
Drizzle the Worcestershire sauce generously over all sides of the pork roast, ensuring it’s well coated. The Worcestershire sauce acts as a flavor base and helps the brown sugar adhere.
-
Firmly press the light brown sugar onto all sides of the pork, creating a sweet and savory crust. Pack it on!
-
Carefully pour the apple juice down the side of the casserole dish, avoiding direct contact with the sugar-crusted meat. The goal is to create steam and moisture in the bottom of the dish without washing away the flavorful crust.
-
Cover the casserole dish tightly with the lid. This is crucial for trapping moisture and ensuring the pork becomes incredibly tender. If your lid doesn’t fit snugly, you can use a double layer of heavy-duty aluminum foil before placing the lid on top.
-
Place the roast in the preheated oven and immediately reduce the heat to 200°F (95°C). This low and slow cooking method is the key to achieving that fall-apart tenderness.
-
Roast the pork butt, undisturbed, for approximately 5 hours, without opening the oven door. Resisting the urge to peek is essential for maintaining a consistent temperature and preventing moisture loss.
-
After 5 hours, check the tenderness of the meat. It should pull apart easily with two forks. If the meat is not yet tender enough, cover the dish and return it to the oven for another 30 minutes. Check again and continue roasting in 30-minute intervals as needed, until the pork is easily shreddable. Larger roasts may require additional cooking time.
-
Once the pork is incredibly tender, remove it from the oven and let it rest for about 15 minutes before shredding. This allows the juices to redistribute, resulting in a more flavorful and moist pulled pork.
-
Pull the pork apart using two forks, discarding any excess fat or connective tissue. Remove the bone; it should slide out effortlessly at this point.
-
Stir the salt into the juices at the bottom of the pan. These flavorful juices are liquid gold, so don’t discard them!
-
Serve the pulled pork hot or at room temperature, generously spooning the pan juices over the shredded meat.
Note: This recipe can also be easily adapted for a slow cooker. Set the slow cooker to high for 30 minutes, then reduce the heat to low and cook for 8-10 hours, or until the pork is easily shredded.
Optional: For a barbecue-style pulled pork, pour off most of the pan juices after shredding and stir in your favorite BBQ sauce. Heat through in a pot on the stove over medium-low heat before serving.
This recipe should yield enough pulled pork for approximately 12 sandwiches.
Expert Tips & Tricks
- Don’t skip the resting period. Allowing the pork to rest after cooking is crucial for optimal tenderness and flavor.
- Use a meat thermometer. While the fork test is a good indicator, a meat thermometer inserted into the thickest part of the roast should register around 203°F (95°C) for maximum tenderness.
- Adjust the sweetness. If you prefer a less sweet pulled pork, reduce the amount of brown sugar.
- Experiment with spices. For a spicier flavor profile, add a pinch of cayenne pepper or a dash of your favorite hot sauce to the brown sugar mixture.
- Shredding Technique: Use two forks, but bear claws also make quick work of shredding a large roast.
Serving & Storage Suggestions
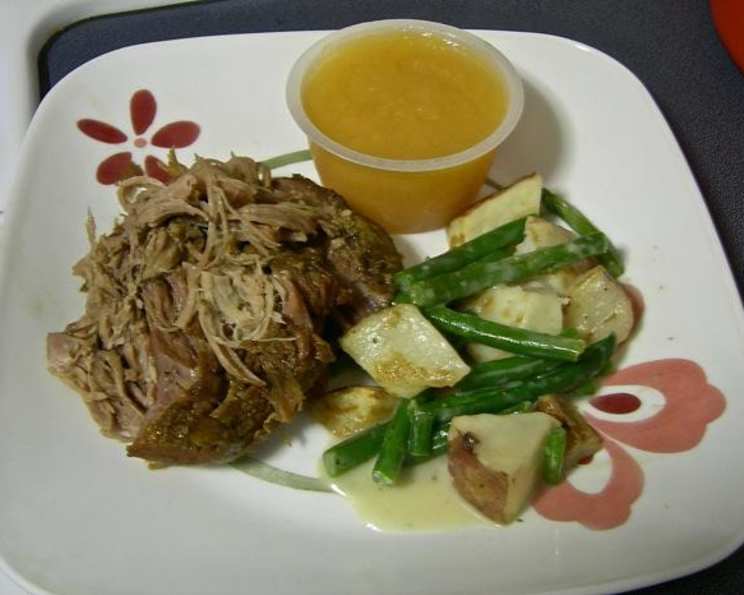
Serve the pulled pork on soft buns with your favorite toppings, such as coleslaw, pickles, or onions. It’s also delicious served over rice or grits, or even as a topping for nachos.
Leftover pulled pork can be stored in an airtight container in the refrigerator for up to 3-4 days. For longer storage, freeze the pulled pork in freezer-safe bags or containers for up to 2-3 months. Thaw overnight in the refrigerator before reheating.
To reheat, gently warm the pulled pork in a saucepan over medium-low heat, adding a splash of apple juice or broth to keep it moist. You can also reheat it in the microwave, but be careful not to overcook it.
Nutritional Information
| Nutrient | Amount per Serving | % Daily Value |
|---|---|---|
| Calories | 266 kcal | 13% |
| Total Fat | 12g | 18% |
| Saturated Fat | 4g | 20% |
| Cholesterol | 75mg | 25% |
| Sodium | 320mg | 13% |
| Total Carbohydrate | 15g | 5% |
| Dietary Fiber | 0g | 0% |
| Sugars | 14g | – |
| Protein | 20g | 40% |
Note: Nutritional information is an estimate and may vary based on specific ingredients and portion sizes.
Variations & Substitutions
- Spicy Pulled Pork: Add 1-2 teaspoons of chili powder, 1/2 teaspoon of smoked paprika, and a pinch of cayenne pepper to the brown sugar mixture.
- Apple Cider Vinegar: Substitute half of the apple juice with apple cider vinegar for a tangier flavor.
- Dr. Pepper Pulled Pork: Replace the apple juice with Dr. Pepper for a unique and slightly sweet flavor.
- Root Beer Pulled Pork: Similar to Dr. Pepper, root beer can add a distinctive sweetness.
- Mustard Pulled Pork: Rub the pork butt with yellow mustard before adding the brown sugar. This adds a subtle tang and helps create a flavorful crust.
- Hawaiian Pulled Pork: Add a can of crushed pineapple (drained) to the casserole dish along with the apple juice for a tropical twist.
FAQs (Frequently Asked Questions)
Q: Can I use a different cut of pork?
A: While pork butt is ideal due to its marbling and tenderness when slow-cooked, you could use a pork shoulder as a substitute. The cooking time may need to be adjusted slightly.
Q: Do I need to sear the pork butt before roasting?
A: Searing is not necessary for this recipe, as the low and slow cooking method will still result in a delicious and tender roast. However, searing will add an extra layer of flavor if desired.
Q: Can I make this in an Instant Pot?
A: Yes, you can adapt this recipe for an Instant Pot. Follow the same steps for preparing the pork, then cook on high pressure for 75-90 minutes, followed by a natural pressure release.
Q: What if I don’t have apple juice?
A: You can substitute apple juice with chicken broth or water, although the flavor will be slightly different. Adding a tablespoon of apple cider vinegar can help mimic the apple flavor.
Q: How can I prevent the pulled pork from drying out?
A: Be sure to cook the pork at a low temperature and ensure the casserole dish is tightly covered to trap moisture. Also, don’t overcook it!
Final Thoughts
This fall-apart tender pork butt roast is a labor of love, but the incredible flavor and melt-in-your-mouth texture are well worth the effort. It’s a versatile dish that’s perfect for feeding a crowd or simply enjoying a comforting meal with family. Don’t be afraid to experiment with different variations and seasonings to create your own signature pulled pork. And most importantly, savor every delicious bite! Consider serving it with creamy coleslaw and a side of roasted sweet potatoes for a truly unforgettable meal.