
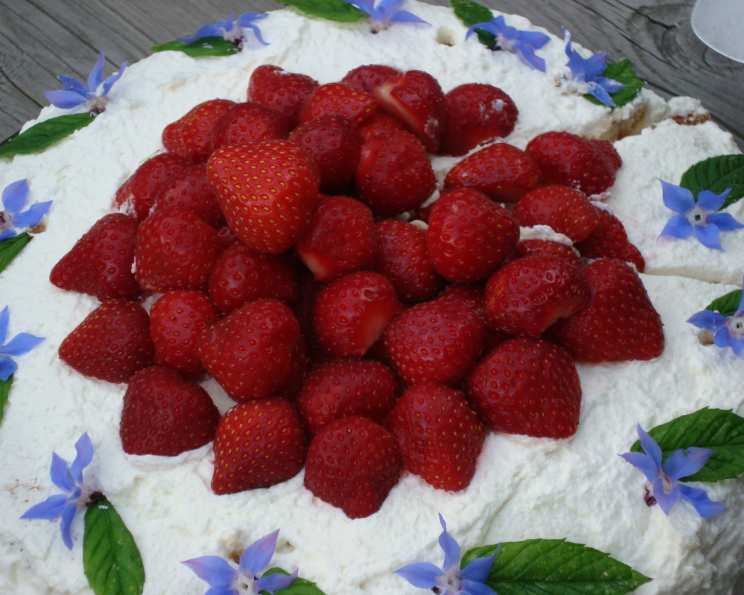
Decadent Fudgy Chocolate Layer Cake: A Slice of Nostalgia
My grandmother, bless her heart, wasn’t much of a baker, but she had one recipe in her arsenal that could stop you in your tracks: a fudgy chocolate layer cake. It wasn’t fancy, it wasn’t perfect, but every bite tasted like pure, unadulterated love. The edges were always slightly crisp, the center melt-in-your-mouth, and the frosting intensely chocolatey. Recreating that memory has been my mission, and I think this recipe comes pretty darn close.
Recipe Overview
- Prep Time: 30 minutes
- Cook Time: 25-30 minutes
- Total Time: 1 hour 15 minutes
- Servings: 12
- Yield: 1 double-layer cake
- Dietary Type: Vegetarian
Ingredients
For the Cake:
- 1 ¾ cups flour
- 1 cup minus 1 tablespoon unsweetened cocoa powder
- 1 ¼ teaspoons baking soda
- ⅛ teaspoon salt
- ¾ cup butter (or 1 ½ sticks), softened
- ⅔ cup sugar
- ⅔ cup firmly packed brown sugar
- 2 large eggs
- 2 teaspoons vanilla
- 1 ½ cups buttermilk
For the Frosting and Garnish:
- ½ cup butter, softened
- 1 cup powdered sugar, sifted after measuring
- 3 ounces unsweetened chocolate, melted
- 2 teaspoons vanilla
- Chocolate shavings (to garnish)
Equipment Needed
- Two 9-inch round cake pans
- Waxed paper
- Mixing bowls
- Electric mixer (stand or hand-held)
- Whisk
- Rubber spatula
- Wire rack
- Sifter (for powdered sugar)
Instructions
-
Preheat your oven to 350°F (175°C). Prepare the cake pans by lining the bottoms of two 9-inch round cake pans with waxed paper. Grease the paper and the sides of the pans thoroughly with butter or cooking spray. Then, lightly dust the pans with flour, tapping out any excess. Set the prepared pans aside. This step is crucial to prevent the cake from sticking.
-
In a medium-sized bowl, whisk together the flour, cocoa powder, baking soda, and salt until well combined. This ensures even distribution of the dry ingredients, which is vital for a consistent texture. Set aside the dry ingredients mixture.
-
In a large mixing bowl, using an electric mixer set to medium speed, beat together the softened butter, sugar, and brown sugar until the mixture is light and fluffy. This process, known as creaming, incorporates air into the batter, resulting in a tender cake. This may take 3-5 minutes.
-
Add the eggs, one at a time, to the butter and sugar mixture, beating well after each addition. Beating well after each egg ensures that the eggs are fully incorporated and contribute to the cake’s structure.
-
Stir in the vanilla extract. This enhances the overall flavor of the cake.
-
With the mixer on low speed, alternately add the flour mixture and the buttermilk to the batter, beginning and ending with the flour mixture. Beat just until blended. It is important not to overmix the batter at this stage, as overmixing can develop the gluten in the flour, resulting in a tough cake. Divide the batter evenly between the two prepared cake pans.
-
Bake in the preheated 350°F (175°C) oven for 25-30 minutes, or until a toothpick inserted into the center of the cake comes out clean. Start checking for doneness around 25 minutes. If the toothpick comes out with wet batter, continue baking for a few more minutes.
-
Once the cakes are done, cool them in the pans on a wire rack for 10 minutes. This allows the cakes to set slightly before inverting them.
-
After 10 minutes, turn the cakes out onto the wire rack. Gently remove the waxed paper from the bottoms of the cakes. Turn the cake layers top-side up and allow them to cool completely before frosting. This prevents the frosting from melting.
-
For the frosting, in a large mixing bowl, beat together the softened butter and the powdered sugar on medium speed until the mixture is light and fluffy. Be sure to sift the powdered sugar after measuring to remove any lumps.
-
Add the melted unsweetened chocolate and vanilla extract. Continue beating until the frosting is shiny and smooth. If the frosting is too thick, add a tablespoon of milk or cream to thin it out.
-
Place one cake layer onto a serving platter. Spread the top of the cake with frosting.
-
Top with the remaining cake layer. Frost the top and sides of the cake with the remaining frosting.
-
Let the frosted cake stand for at least 30 minutes before topping with chocolate shavings and slicing. This allows the frosting to set slightly.
Expert Tips & Tricks
- For an extra fudgy cake, add a tablespoon of strong brewed coffee to the batter.
- Make sure all your ingredients are at room temperature. This helps them combine more easily and creates a smoother batter.
- If you don’t have buttermilk, you can make a substitute by adding 1 1/2 tablespoons of white vinegar or lemon juice to 1 1/2 cups of milk. Let it stand for 5 minutes before using.
- To prevent the cake layers from doming, use cake strips wrapped around the outside of the pans. These help the cakes bake more evenly.
- Melt the chocolate for the frosting carefully. You can use a double boiler or microwave it in 30-second intervals, stirring in between, until melted and smooth.
Serving & Storage Suggestions
Serve the fudgy chocolate layer cake slightly chilled or at room temperature. Garnish with chocolate shavings for a beautiful presentation. Leftover cake can be stored in an airtight container at room temperature for up to 3 days or in the refrigerator for up to a week. For longer storage, you can freeze the cake for up to 2 months. Wrap it tightly in plastic wrap and then aluminum foil to prevent freezer burn. To thaw, place the cake in the refrigerator overnight.
Nutritional Information
| Nutrient | Amount per Serving | % Daily Value |
|---|---|---|
| Calories | 444 kcal | 22% |
| Total Fat | 25.2g | 39% |
| Saturated Fat | 15.5g | 78% |
| Cholesterol | 87.3mg | 29% |
| Sodium | 344mg | 14% |
| Total Carbohydrate | 54.6g | 18% |
| Dietary Fiber | 4g | 16% |
| Sugars | 34.6g | N/A |
| Protein | 6.5g | 13% |
Nutritional information is an estimate and may vary based on specific ingredients and serving sizes.
Variations & Substitutions
- Gluten-Free: Substitute the all-purpose flour with a gluten-free blend. Be sure to choose a blend that contains xanthan gum for best results.
- Dairy-Free: Use a dairy-free butter substitute and non-dairy milk (such as almond or soy milk) in place of the butter and buttermilk. Choose a dairy-free chocolate for the frosting.
- Mocha Cake: Add 2 tablespoons of instant espresso powder to the dry ingredients for a mocha flavor.
- Peanut Butter Frosting: Substitute half of the butter in the frosting with peanut butter for a delicious peanut butter chocolate combination.
- Mint Chocolate Cake: Add a teaspoon of peppermint extract to the frosting for a refreshing mint flavor.
FAQs (Frequently Asked Questions)
Q: Can I make this cake a day ahead of time?
A: Absolutely! In fact, making the cake a day in advance can actually improve its flavor and texture. Just store the cooled cake layers wrapped tightly in plastic wrap at room temperature. Frost the cake the day you plan to serve it.
Q: How do I prevent the cake from sticking to the pan?
A: The combination of greasing, lining with waxed paper, and dusting with flour is the best way to prevent sticking. Make sure to grease the pan thoroughly and use fresh waxed paper.
Q: Can I use a different size cake pan?
A: While this recipe is designed for two 9-inch pans, you can use three 8-inch pans, but you may need to adjust the baking time accordingly. Keep a close eye on the cakes.
Q: My frosting is too thin. What can I do?
A: If your frosting is too thin, add a tablespoon of powdered sugar at a time until it reaches the desired consistency.
Q: Can I freeze the frosted cake?
A: Yes, you can freeze the frosted cake. Place the cake in the freezer for about an hour to harden the frosting, then wrap it tightly in plastic wrap and aluminum foil. Freeze for up to 2 months. Thaw in the refrigerator overnight.
Final Thoughts
This fudgy chocolate layer cake is more than just a dessert; it’s a comforting reminder of simpler times. It’s a cake that begs to be shared with loved ones, a cake that creates memories. Don’t be afraid to experiment with variations to make it your own, and most importantly, enjoy the process! I hope this recipe brings as much joy to your kitchen as it has to mine. And don’t forget to serve it with a tall glass of cold milk!