
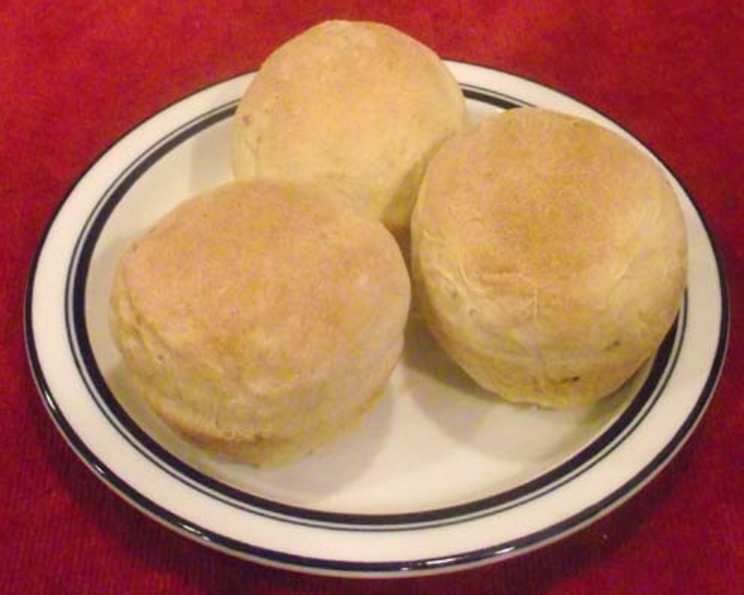
Garlic Herb Bread: A Bread Machine Dream
The aroma of garlic and herbs baking is one of my earliest and fondest kitchen memories. My grandmother, a woman who could coax magic from the simplest ingredients, always had a loaf of her signature garlic herb bread on hand. It wasn’t just food; it was a symbol of her warmth, her generosity, and the love she poured into everything she made. This recipe, adapted from my very first bread machine cookbook, brings back those cherished memories, filling my kitchen with the same comforting scent and delivering a loaf that’s perfect for sharing (or keeping all to yourself!).
Recipe Overview
- Prep Time: 10 minutes
- Cook Time: 3 hours 25 minutes
- Total Time: 3 hours 35 minutes
- Servings: 12
- Yields: 1 loaf
- Dietary Type: Vegetarian
Ingredients
- 1 1/4 cups water
- 1 tablespoon butter, softened
- 2 garlic cloves, crushed
- 3 1/4 cups bread flour
- 2 tablespoons sugar
- 1 1/2 teaspoons salt
- 1/2 teaspoon dried rosemary, crushed
- 1/4 teaspoon dried thyme leaves
- 1/4 teaspoon dried basil
- 2 1/4 teaspoons bread machine yeast (or quick acting yeast)
Equipment Needed
- Bread Machine
Instructions
-
Carefully measure all ingredients. Accuracy is key for a successful bread machine loaf.
-
Add the ingredients to your bread machine pan in the order recommended by your bread machine’s manufacturer. Generally, this means starting with the liquids (the water), followed by the softened butter, crushed garlic, then the dry ingredients: bread flour, sugar, and salt. Be sure to keep the salt and sugar separate from the yeast during loading to avoid inhibiting the yeast’s activity.
-
Create a small well in the center of the dry ingredients and add the dried rosemary, dried thyme leaves, dried basil, and finally the bread machine yeast.
-
Place the bread machine pan securely into the bread machine.
-
Select the white bread setting on your bread machine and choose the 1 1/2 lb. loaf size.
-
Start the bread machine. The machine will handle the kneading, rising, and baking.
-
The bread machine will take approximately 3 hours and 25 minutes to complete the entire process. Keep in mind that the exact time may vary depending on your specific bread machine model.
-
Once the baking cycle is complete, carefully remove the bread pan from the machine, using oven mitts as it will be hot.
-
Turn the pan upside down and gently shake to release the loaf. If the loaf is stuck, use a non-stick spatula to carefully loosen it around the edges.
-
Place the loaf on a wire rack to cool completely before slicing and serving. This allows the steam to escape, preventing a soggy loaf.
Expert Tips & Tricks
-
Garlic Intensity: Adjust the amount of crushed garlic to your personal preference. If you love a strong garlic flavor, add an extra clove or two. Roasting the garlic beforehand mellows the flavor but adds a delicious depth.
-
Herb Power: Fresh herbs can be used in place of dried herbs. Use about 1 tablespoon of chopped fresh herbs for every teaspoon of dried herbs. Be sure to add them towards the end of the kneading cycle if your machine allows, as they can sometimes interfere with the initial gluten development.
-
Flour Power: Bread flour is essential for creating a chewy, well-structured loaf. Its higher protein content develops more gluten, giving the bread its characteristic texture. If you don’t have bread flour, you can substitute all-purpose flour, but the texture may be slightly less chewy.
-
Dough Cycle Magic: If you want to make rolls or breadsticks, use the dough cycle on your bread machine. After the cycle is complete, shape the dough into rolls or breadsticks, brush with melted butter, and bake in a preheated oven at 375°F (190°C) for 12-15 minutes, or until golden brown.
-
Bread Machine Placement: Avoid placing your bread machine directly under cabinets, as the steam released during baking can damage them over time.
Serving & Storage Suggestions
This Garlic Herb Bread is delicious served warm with a pat of butter, alongside a hearty soup or stew, or as a flavorful base for sandwiches. It also makes a wonderful addition to any charcuterie board.
- Storage: Store leftover bread in an airtight container at room temperature for up to 2 days. For longer storage, wrap the loaf tightly in plastic wrap and freeze for up to 2 months.
- Reheating: To reheat, wrap the bread in foil and bake in a preheated oven at 350°F (175°C) for 10-15 minutes, or until warmed through. You can also reheat individual slices in a toaster or toaster oven.
Nutritional Information
| Nutrient | Amount per Serving | % Daily Value |
|---|---|---|
| Calories | 143.2 kcal | – |
| Calories from Fat | 12 g | 9% |
| Total Fat | 1.4 g | 2% |
| Saturated Fat | 0.7 g | 3% |
| Cholesterol | 2.5 mg | 0% |
| Sodium | 301.1 mg | 12% |
| Total Carbohydrate | 28.4 g | 9% |
| Dietary Fiber | 1.1 g | 4% |
| Sugars | 2.2 g | – |
| Protein | 3.9 g | 7% |
Note: Nutritional information is an estimate and may vary based on specific ingredients and portion sizes.
Variations & Substitutions
- Cheesy Garlic Herb Bread: Add 1/2 cup of shredded Parmesan, Asiago, or Italian blend cheese to the bread machine pan along with the dry ingredients for a cheesy twist.
- Spicy Garlic Herb Bread: Add a pinch of red pepper flakes or a dash of cayenne pepper to the dough for a touch of heat.
- Olive Oil Variation: Replace the softened butter with 1 tablespoon of olive oil for a richer flavor.
- Gluten-Free: While this recipe is formulated for bread flour, you can experiment with gluten-free bread flour blends. Note that results may vary, and you might need to adjust the liquid content.
FAQs (Frequently Asked Questions)
Q: Can I use active dry yeast instead of bread machine yeast?
A: Yes, you can use active dry yeast, but you will need to proof it first. Dissolve the yeast in 1/4 cup of warm water with a teaspoon of sugar and let it sit for 5-10 minutes until foamy before adding it to the bread machine.
Q: My bread always collapses in the center. What am I doing wrong?
A: Collapsing bread can be caused by too much yeast or too much liquid. Make sure you are using the correct amount of yeast and measuring the water accurately.
Q: Can I add sun-dried tomatoes to this bread?
A: Absolutely! Add about 1/2 cup of chopped sun-dried tomatoes (oil-packed, drained) along with the other dry ingredients for a burst of flavor.
Q: My bread is too dark on the crust. How can I prevent this?
A: Some bread machines have a crust color setting. Select a lighter crust setting. You can also tent the bread with foil during the last 15 minutes of baking to prevent it from getting too dark.
Q: Can I make this recipe without a bread machine?
A: Yes, but it requires traditional bread-making methods. Combine the ingredients, knead until smooth, let rise until doubled, shape, and bake at 375°F (190°C) for 30-35 minutes.
Final Thoughts
This Garlic Herb Bread recipe is more than just a set of instructions; it’s an invitation to create a warm, inviting atmosphere in your kitchen. The simple act of baking this bread can transform an ordinary day into something special. I encourage you to try this recipe, experiment with different herbs and cheeses, and make it your own. Share your creations with loved ones, and let the aroma of freshly baked bread fill your home with love and happiness. And don’t hesitate to share your feedback and variations – I’d love to hear about your baking adventures! This bread pairs perfectly with a simple tomato soup or a grilled chicken salad for a comforting and complete meal.