
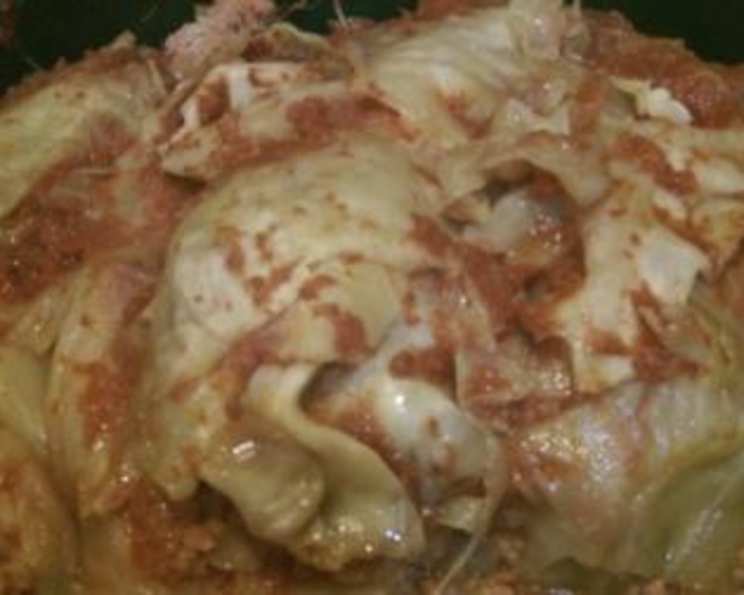
Golumpki: A Taste of Polish Comfort
The scent alone transports me back to my Busia’s (grandmother’s) kitchen, a haven of warmth and delicious smells. The low simmer of tomato juice mingling with the earthy aroma of cabbage and the savory promise of seasoned ground beef created an anticipation that would build for hours. Busia’s Golumpki were legendary. Each perfectly rolled bundle was a testament to her love and a taste of home that I carry with me always. It wasn’t just a meal; it was a tradition, a memory, and a hug on a plate.
Recipe Overview
- Prep Time: 30 minutes
- Cook Time: 1 hour 30 minutes
- Total Time: 2 hours
- Servings: 8-12
- Yields: 8-12 rolls
- Dietary Type: Varies (can be gluten-free and dairy-free)
Ingredients
- 2 cups cooked rice
- 2 lbs ground beef, raw
- 1/2 cup onion, minced
- 1 cup water
- Salt
- Pepper
- 1 teaspoon garlic powder
- 1 (10 ounce) can tomato juice
- 1 (10 ounce) can mushroom soup
- 1 cabbage
- Pam (or other cooking spray)
- Kielbasa (optional, sliced)
Equipment Needed
- Large pot
- Microwaveable bowl (optional)
- Large bowl
- Baking dish
- Whisk
- Large serving fork (optional)
- Aluminum foil
Instructions
- Begin by preparing the cabbage. There are two methods you can use: microwave or boiling.
- Microwave Method: Take as much of the core out of the head of cabbage as possible. Place the cabbage in a microwaveable bowl with 1/2 cup of water. Put the bowl in the microwave. Set the microwave for about 10 minutes. Carefully take the bowl out of the microwave, and pull off as many leaves that will come off easily. Repeat the process for more leaves, adding more water as needed. Be very careful as the cabbage and water will be hot.
- Boiling Method: Place the head of cabbage in a large pot of boiling water. Be very careful taking the head out to take a few leaves off at a time, and replacing it back into the water. I use a large serving fork to stab it in the core area to help with removal. Continue until you have enough leaves.
- While the cabbage is cooling slightly, prepare the filling. Put your ground beef in a large bowl. Add 2 cups of cooked rice, the minced onion, 1 cup of water, salt, pepper, and 1 teaspoon of garlic powder (or double if you like a stronger garlic flavor).
- Mix the filling ingredients together thoroughly with your hands.
- Now, assemble the Golumpki. Take a hefty tablespoon-sized portion of the meat mixture and place it on the stem end of a cabbage leaf.
- Bring each side of the leaf over the meat mixture, toward the middle, and roll the leaf up tightly, like a burrito.
- Place the rolled Golumpki in a baking dish that has been sprayed with PAM or another cooking spray, with the seam side down to prevent them from unrolling during baking.
- Repeat steps 4-6 until all of the meat mixture is used.
- In a separate bowl, pour in your tomato juice. Add the mushroom soup to the tomato juice, and whisk these together until smooth.
- Pour the tomato juice and mushroom soup mixture over the top of the cabbage rolls in the baking dish.
- For an added treat, place sliced kielbasa around the cabbage rolls in the baking dish if you wish.
- Cover the baking dish tightly with aluminum foil.
- Bake in a preheated oven at 350 degrees Fahrenheit for about 1 1/2 hours.
- Remove the foil during the last 15 minutes of baking to allow the top to brown slightly.
Expert Tips & Tricks
- Leaf Preparation: Don’t be afraid to use a paring knife to trim the thickest part of the cabbage leaf’s spine. This makes it easier to roll.
- Flavor Boost: Add a bay leaf or two to the sauce for extra depth of flavor. Remember to remove them before serving.
- Meat Mixture: For a richer flavor, consider using a blend of ground beef and ground pork.
- Rice: Using slightly overcooked rice is actually preferable, as it helps bind the filling together.
- Doneness Check: The cabbage rolls are done when the cabbage is tender and the filling is cooked through. You can test the filling’s temperature with a meat thermometer; it should reach 160°F (71°C).
- Make Ahead: Golumpki are fantastic for meal prepping. Assemble them a day or two in advance, and store them covered in the refrigerator until ready to bake. You may need to add 15-20 minutes to the baking time if baking straight from the fridge.
- Browning: If you want extra browning, remove the foil for the last 30 minutes and broil on low, watching closely to prevent burning.
- Soup Substitution: Cream of tomato soup can be used instead of cream of mushroom.
Serving & Storage Suggestions
Golumpki are great served with mashed potatoes and peas, just as my Busia always made them. They can also be served with a dollop of sour cream or plain yogurt.
Leftover Golumpki can be stored in an airtight container in the refrigerator for up to 3-4 days. They are even better a few days later as the flavors meld together even more.
To reheat, you can microwave individual portions or bake the whole dish covered in the oven at 350°F (175°C) until heated through.
For longer storage, you can freeze Golumpki. Let them cool completely, then wrap them individually in plastic wrap and place them in a freezer-safe bag or container. They can be frozen for up to 2-3 months. Thaw them in the refrigerator overnight before reheating.
Nutritional Information
| Nutrient | Amount per Serving | % Daily Value |
|---|---|---|
| Calories | 327.5 kcal | N/A |
| Calories from Fat | 160 g | 49% |
| Total Fat | 17.8 g | 27% |
| Saturated Fat | 6.8 g | 34% |
| Cholesterol | 77.1 mg | 25% |
| Sodium | 318.2 mg | 13% |
| Total Carbohydrate | 17.6 g | 5% |
| Dietary Fiber | 0.6 g | 2% |
| Sugars | 1.8 g | 7% |
| Protein | 22.9 g | 45% |
Note: Nutritional information is an estimate and can vary based on specific ingredients and portion sizes.
Variations & Substitutions
- Gluten-Free: Ensure your mushroom soup is gluten-free, or make your own cream sauce from scratch using gluten-free flour or cornstarch.
- Vegetarian: Substitute the ground beef with a mixture of lentils, mushrooms, and finely chopped vegetables.
- Dairy-Free: Use a dairy-free mushroom soup alternative or make your own cream sauce with plant-based milk.
- Sauce Variations: Experiment with different sauces. A simple tomato sauce or a sweet and sour sauce would also be delicious.
- Herb Variations: Add fresh herbs like dill or parsley to the filling for a brighter flavor.
FAQs (Frequently Asked Questions)
Q: Can I use brown rice instead of white rice?
A: Yes, you can use brown rice. Keep in mind that brown rice takes longer to cook, so ensure it is fully cooked before adding it to the filling. It will also impart a slightly nuttier flavor to the Golumpki.
Q: How do I prevent the cabbage leaves from tearing when I remove them?
A: Be gentle when removing the leaves. Whether you’re using the microwave or boiling method, make sure the cabbage is softened enough before attempting to pull off the leaves. If they are still stiff, continue cooking the cabbage a bit longer.
Q: Can I freeze Golumpki after they are baked?
A: Absolutely! Let them cool completely before wrapping them individually and freezing. This helps prevent freezer burn.
Q: My sauce is too thin. How can I thicken it?
A: You can thicken the sauce by simmering it uncovered on the stovetop for a few minutes to allow some of the liquid to evaporate. Alternatively, you can mix a tablespoon of cornstarch with a tablespoon of cold water to make a slurry and then whisk it into the sauce while it simmers.
Q: Is it necessary to use mushroom soup?
A: No, it’s not essential. The mushroom soup adds a creamy richness to the sauce, but you can replace it with more tomato juice or a homemade tomato sauce. Add a little bit of cream or sour cream at the end for a similar creamy texture.
Final Thoughts
I hope this recipe brings you as much joy and comfort as it has brought me over the years. Making Golumpki is more than just cooking; it’s about connecting with tradition, sharing love through food, and creating lasting memories. Don’t be afraid to experiment and make it your own. I encourage you to try this recipe and share your feedback. Consider pairing it with a crisp, dry white wine or a traditional Polish beer for a complete culinary experience. Smacznego! (Bon appétit!)