
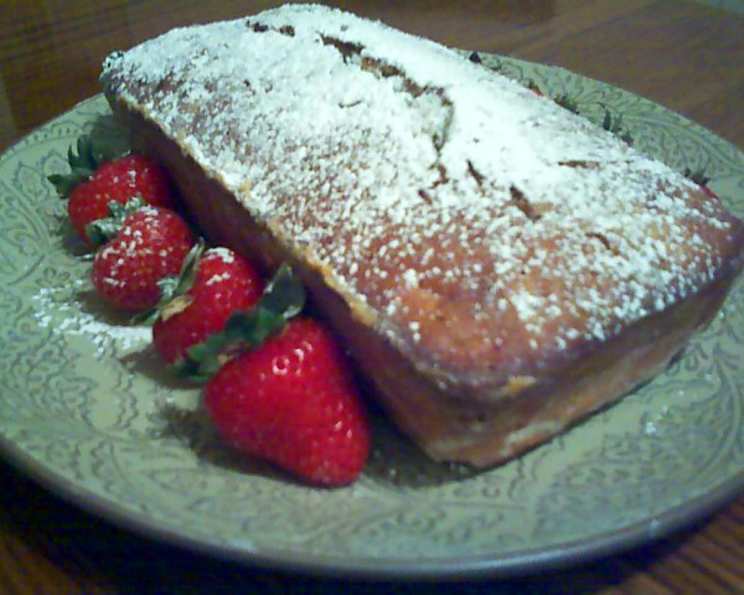
Hawaiian Banana Nut Bread: A Slice of Paradise
The scent of banana nut bread baking always takes me back to my childhood summers in Maui. My grandmother, or Tutu as we called her, would always have a loaf cooling on the counter, its warm aroma mingling with the salty breeze drifting in from the ocean. It wasn’t just a treat; it was a symbol of island hospitality and the simple joys of life – a perfect slice of sunshine in every bite. This recipe captures that same Aloha spirit, bringing together the familiar comfort of banana bread with the tropical twist of pineapple, all wrapped up in a nutty embrace.
Recipe Overview
- Prep Time: 15 minutes
- Cook Time: 60-70 minutes
- Total Time: 1 hour 15 minutes – 1 hour 25 minutes
- Yields: 2 loaves
- Dietary Type: Vegetarian
Ingredients
- 3 cups flour
- ¾ teaspoon salt
- 1 teaspoon baking soda
- 2 cups sugar
- 1 teaspoon cinnamon
- 3 eggs
- 1 cup oil
- 2 cups mashed ripe bananas
- 1 (8 ounce) can crushed pineapple, with juice
- 1 teaspoon vanilla
- ½ – 1 cup chopped walnuts
Equipment Needed
- Large Mixing Bowl
- Electric Mixer
- Two 9×5 inch loaf pans
- Measuring cups and spoons
- Oven
- Cooling Rack
Instructions
-
Begin by preheating your oven to 350 degrees Fahrenheit. This ensures even baking and a beautiful rise for your banana bread.
-
In a large mixing bowl, combine the sugar, eggs, and oil. Use an electric mixer to blend these ingredients together thoroughly until well combined and slightly lightened in color. This step is crucial for creating a tender crumb.
-
Next, add the remaining ingredients – the flour, salt, baking soda, cinnamon, mashed ripe bananas, crushed pineapple with its juice, and vanilla – to the mixing bowl.
-
Using the electric mixer, blend all the ingredients until just combined. Be careful not to overmix, as this can result in a tough bread. A few streaks of flour are perfectly acceptable at this stage.
-
Gently stir in the chopped walnuts. Distribute them evenly throughout the batter for a delightful nutty crunch in every slice.
-
Grease and flour two 9×5 inch loaf pans. This prevents the bread from sticking and ensures easy removal after baking.
-
Divide the batter evenly between the prepared loaf pans.
-
Place the loaf pans in the preheated oven and bake for approximately 60-70 minutes, or until a wooden skewer inserted into the center comes out clean or with just a few moist crumbs clinging to it. Start checking for doneness around the 60-minute mark, as baking times can vary depending on your oven.
-
Once baked, remove the loaf pans from the oven and let them cool in the pans for about 10 minutes. This allows the bread to set slightly and prevents it from crumbling when removed.
-
After 10 minutes, gently turn the loaves out onto a cooling rack to cool completely before slicing and serving.
Expert Tips & Tricks
- Use overripe bananas: The riper the bananas, the sweeter and more flavorful your bread will be. Bananas with brown spots are ideal.
- Don’t overmix: Overmixing develops the gluten in the flour, resulting in a tough, dense bread. Mix until just combined.
- Toast the walnuts: Toasting the walnuts before adding them to the batter enhances their flavor and adds a more pronounced crunch.
- Adjust sweetness to taste: If you prefer a less sweet bread, you can reduce the amount of sugar slightly.
- Add a streusel topping: For an extra touch of indulgence, consider adding a streusel topping made with flour, sugar, butter, and cinnamon before baking.
- Room temperature ingredients: Using room temperature eggs and oil will help the batter come together more smoothly.
- Test for doneness accurately: Insert a wooden skewer into the center of the loaf. If it comes out clean, the bread is done. If it has wet batter, bake for additional time.
Serving & Storage Suggestions
Serve the Hawaiian Banana Nut Bread warm or at room temperature. It’s delicious on its own, but also pairs well with a dollop of whipped cream, a scoop of vanilla ice cream, or a smear of cream cheese. For a truly tropical experience, try serving it with a side of fresh pineapple chunks.
To store, wrap the cooled loaves tightly in plastic wrap or place them in an airtight container. The bread will keep at room temperature for up to 3 days, in the refrigerator for up to a week, or in the freezer for up to 3 months. To thaw frozen bread, simply let it sit at room temperature for a few hours. You can also reheat slices in the microwave for a few seconds.
Nutritional Information
| Nutrient | Amount per Serving | % Daily Value |
|---|---|---|
| Calories | 2929.4 kcal | N/A |
| Calories from Fat | 1238 g | 42% |
| Total Fat | 137.7 g | 211% |
| Saturated Fat | 18.7 g | 93% |
| Cholesterol | 279 mg | 93% |
| Sodium | 1617.1 mg | 67% |
| Total Carbohydrate | 401 g | 133% |
| Dietary Fiber | 12.5 g | 50% |
| Sugars | 236.2 g | 944% |
| Protein | 35.4 g | 70% |
Note: Nutritional information is an estimate and may vary based on specific ingredients and serving sizes.
Variations & Substitutions
- Gluten-free: Substitute the all-purpose flour with a gluten-free blend. You may need to add a binder like xanthan gum to improve the texture.
- Dairy-free: Use a plant-based oil like coconut oil or avocado oil in place of the vegetable oil.
- Nut-free: Omit the walnuts or substitute them with sunflower seeds or pumpkin seeds.
- Spice it up: Add a pinch of ground nutmeg or cloves to the batter for a warmer, spicier flavor.
- Chocolate chips: Stir in chocolate chips for a decadent twist.
- Coconut flakes: Add shredded coconut to the batter for an extra tropical flavor.
- Different nuts: Try using macadamia nuts, pecans, or almonds instead of walnuts.
FAQs (Frequently Asked Questions)
Q: Can I use frozen bananas?
A: Yes, frozen bananas work well in this recipe. Just make sure to thaw them completely and drain any excess liquid before mashing.
Q: Can I make this recipe into muffins?
A: Absolutely! Simply reduce the baking time to around 20-25 minutes, or until a toothpick inserted into the center comes out clean.
Q: What if I don’t have crushed pineapple?
A: You can use pineapple tidbits or chunks, but make sure to chop them finely before adding them to the batter.
Q: My banana bread is sinking in the middle. What did I do wrong?
A: This could be due to several factors, such as overmixing the batter, using too much liquid, or opening the oven door too frequently during baking.
Q: How do I keep my banana bread from getting too brown on top?
A: If your bread is browning too quickly, you can tent it with aluminum foil during the last 15-20 minutes of baking.
Final Thoughts
This Hawaiian Banana Nut Bread is more than just a recipe; it’s an invitation to embrace the spirit of Aloha and share a slice of paradise with your loved ones. Don’t be afraid to experiment with variations and substitutions to make it your own. I encourage you to try this recipe and let the warm, comforting flavors transport you to a sunny island getaway. Feel free to share your creations and feedback – I’d love to hear how it turns out! Pair a slice with a cup of Kona coffee for the full Hawaiian experience.