
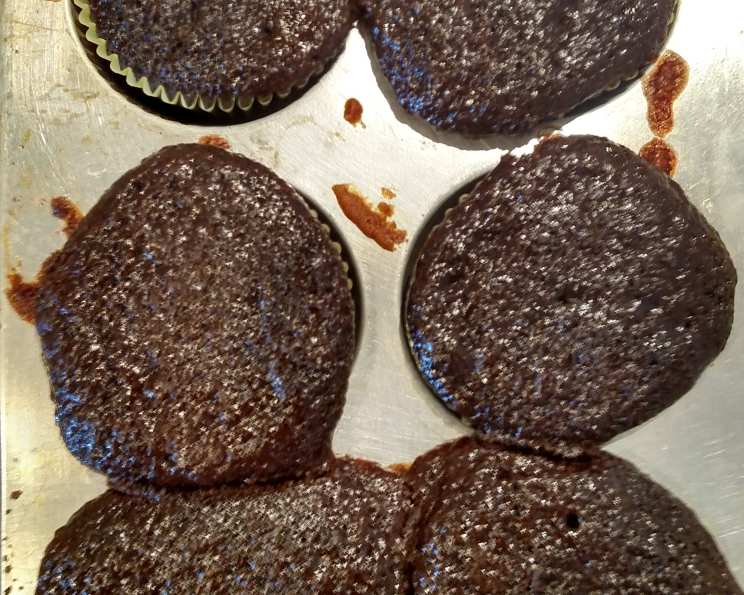
High-Altitude Chocolate Cake: A Mile-High Delight
I remember the first time I attempted a chocolate cake after moving to Denver. The dense, sunken disappointment that emerged from the oven was a far cry from the fluffy, moist cakes I baked at sea level. It was a baking disaster of epic proportions, a testament to the challenges of high-altitude baking. But, like any determined chef, I refused to be defeated. After many trials and adjustments, I finally unlocked the secrets to creating a truly decadent and reliably delicious chocolate cake that thrives in the thin air of the Rocky Mountains.
Recipe Overview
- Prep Time: 20 minutes
- Cook Time: 30-35 minutes
- Total Time: 50-55 minutes
- Servings: 8
- Yield: 1 Cake
- Dietary Type: Vegetarian
Ingredients
- 1 ¾ cups sugar
- 1 ¾ cups all-purpose flour, plus 2 tablespoons all-purpose flour
- ¾ cup cocoa
- 1 ¼ teaspoons baking powder
- 1 ¼ teaspoons baking soda
- 1 teaspoon salt
- 2 eggs
- 1 cup milk
- 2 tablespoons milk
- ½ cup vegetable oil
- 2 teaspoons vanilla extract
- 1 cup boiling water
Equipment Needed
- Two 9-inch round cake pans OR one 13x9x2-inch baking pan
- Mixing bowls (large)
- Electric mixer
- Measuring cups and spoons
- Rubber spatula
- Wire racks
- Toothpick
Instructions
-
Preheat your oven to 375°F (190°C). Properly greasing and flouring your baking pan(s) is paramount for a clean release. Don’t skimp on this step! Use shortening or butter to generously coat the inside of either two 9-inch round pans or one 13x9x2-inch baking pan, then dust with all-purpose flour, tapping out any excess. This ensures your cake won’t stick and will release beautifully.
-
In a large bowl, combine the dry ingredients: sugar, all-purpose flour (the 1 ¾ cups amount), cocoa, baking powder, baking soda, and salt. Whisk them together thoroughly to ensure even distribution. This prevents pockets of baking soda or powder, which can affect the cake’s texture and flavor.
-
In the same bowl, add the wet ingredients, with the exception of the boiling water: eggs, milk (the 1 cup amount), vegetable oil, and vanilla extract. Using an electric mixer on medium speed, beat the mixture for 2 minutes until well combined and relatively smooth.
-
Carefully stir in the boiling water. The batter will be quite thin; this is expected. The hot water helps to bloom the cocoa, intensifying its flavor and creating a moist, tender crumb.
-
Pour the batter evenly into your prepared baking pan(s). If using two round pans, divide the batter equally between them.
-
Bake for 30 to 35 minutes, or until a toothpick inserted into the center comes out clean. Start checking for doneness around the 30-minute mark. If the toothpick has wet batter clinging to it, continue baking for a few more minutes and check again. Be careful not to overbake, as this will result in a dry cake.
-
Once baked, let the cake cool in the pan(s) for 10 minutes before inverting it onto wire racks to cool completely. If you’ve baked the cake in a rectangular pan, you can leave it in the pan to cool.
-
Once the cake is completely cool, frost it with your favorite frosting. Chocolate buttercream, cream cheese frosting, or even a simple chocolate ganache would all be delicious choices.
Expert Tips & Tricks
- High-Altitude Adjustments: This recipe is specifically tailored for high altitude. At higher elevations, liquids evaporate faster, and leavening agents work more vigorously. That’s why the amount of flour is slightly increased, and the liquid content is carefully balanced.
- Cocoa Power: Use a high-quality unsweetened cocoa powder for the best flavor. Dutch-processed cocoa will give a darker, richer flavor, while natural cocoa will have a slightly more acidic taste.
- Room Temperature Ingredients: While the boiling water is added hot, ensure that the eggs and milk are at room temperature. This helps them incorporate more evenly into the batter, creating a smoother emulsion and a more tender cake.
- Don’t Overmix: Overmixing can develop the gluten in the flour, resulting in a tough cake. Mix the batter until just combined.
- Level Baking: Ensure your oven rack is level for even baking. You can use a baking stone underneath the cake pan to help regulate the oven temperature.
- Add Coffee: To deepen the chocolate flavor, add a tablespoon of instant espresso powder to the batter. The coffee will enhance the chocolate without making the cake taste like coffee.
Serving & Storage Suggestions
Serve the cake at room temperature for the best flavor and texture. A slice of this chocolate cake pairs perfectly with a scoop of vanilla ice cream, a dollop of whipped cream, or a sprinkle of fresh berries.
To store, wrap the cooled cake tightly in plastic wrap or place it in an airtight container. It will keep at room temperature for up to 3 days, in the refrigerator for up to a week, or in the freezer for up to 3 months. If freezing, thaw the cake completely before frosting. If the cake dries out slightly, brush it with a simple syrup made from equal parts sugar and water.
Nutritional Information
| Nutrient | Amount per Serving | % Daily Value |
|---|---|---|
| Calories | 469.3 kcal | N/A |
| Calories from Fat | N/A | N/A |
| Total Fat | 17.1 g | 26% |
| Saturated Fat | 3 g | 14% |
| Cholesterol | 51.3 mg | 17% |
| Sodium | 580.6 mg | 24% |
| Total Carbohydrate | 72.5 g | 24% |
| Dietary Fiber | 2.3 g | 9% |
| Sugars | 43.9 g | N/A |
| Protein | 7.2 g | 14% |
Note: Nutritional information is an estimate and may vary based on specific ingredients and serving sizes.
Variations & Substitutions
- Gluten-Free: Substitute a gluten-free all-purpose flour blend for the regular all-purpose flour. Be sure to use a blend that contains xanthan gum or another binding agent.
- Dairy-Free: Use a plant-based milk alternative such as almond milk, soy milk, or oat milk instead of cow’s milk. Ensure your frosting is also dairy-free.
- Lower Sugar: Reduce the sugar to 1 ½ cups for a slightly less sweet cake.
- Chocolate Chips: Fold in ½ cup of chocolate chips into the batter before baking for an extra chocolatey treat.
FAQs (Frequently Asked Questions)
Q: Why is there extra flour added to the recipe compared to sea-level recipes?
A: High-altitude baking requires adjustments because the lower air pressure causes liquids to evaporate more quickly and leavening agents to rise faster. The extra flour helps to bind the ingredients and prevent the cake from collapsing.
Q: Can I use a different type of oil instead of vegetable oil?
A: Yes, you can substitute vegetable oil with canola oil, coconut oil (melted), or even unsweetened applesauce for a slightly healthier option. Keep in mind that using a different oil may slightly alter the taste and texture of the cake.
Q: My cake sank in the middle. What went wrong?
A: A sunken cake can be caused by several factors, including overmixing the batter, using too much leavening agent, or opening the oven door too early during baking. Make sure to follow the recipe instructions carefully and avoid overbaking.
Q: Can I make this cake ahead of time?
A: Yes, you can bake the cake layers ahead of time and store them wrapped in plastic wrap in the refrigerator for up to 2 days. Let the cake layers come to room temperature before frosting.
Q: What is the best type of frosting to use for this cake?
A: The best frosting is a matter of personal preference! Chocolate buttercream, cream cheese frosting, vanilla buttercream, or even a simple chocolate ganache are all delicious options.
Final Thoughts
This high-altitude chocolate cake has become a staple in my kitchen, a reliable treat that always brings joy. Don’t let the challenges of high-altitude baking intimidate you – with this recipe, you can create a truly unforgettable chocolate cake that will impress your friends and family. I encourage you to try this recipe and share your own variations and experiences. Pair it with a rich cup of coffee or a glass of cold milk for the ultimate indulgence. Happy baking!