
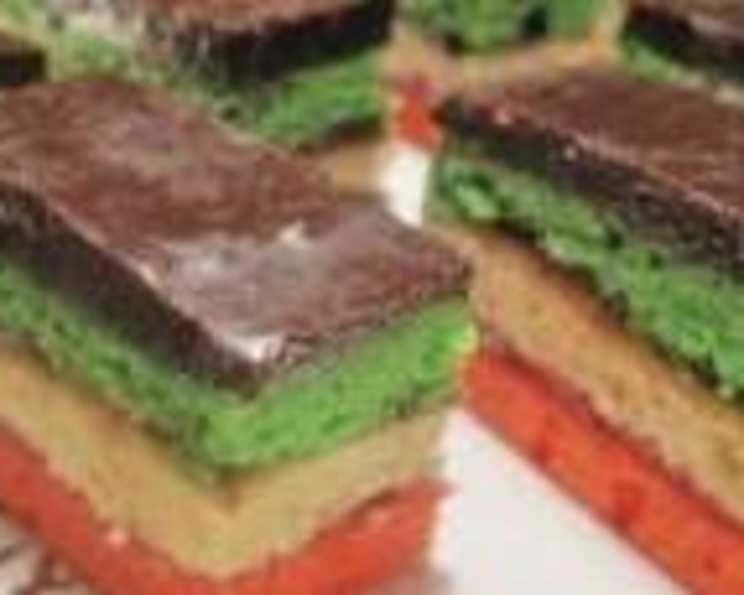
Holiday Rainbow Cookies: A Symphony of Color and Flavor
The scent of almond extract always transports me back to my Nonna’s kitchen. Every Christmas, she would spend days meticulously crafting these stunning rainbow cookies, a tradition passed down through generations. I remember being mesmerized by the vibrant layers – the crimson, emerald, and gold – each bite a perfect blend of almond-kissed cake, sweet raspberry jam, and rich chocolate. More than just a dessert, these cookies are edible heirlooms, a taste of home and a reminder of cherished family traditions.
Recipe Overview
- Prep Time: 30 minutes
- Cook Time: 12 minutes
- Total Time: 1 hour 5 minutes
- Servings: 12
- Yield: Approximately 36 cookies
- Dietary Type: Not specified (contains dairy and eggs)
Ingredients
- 4 eggs
- 1 cup granulated sugar
- 1 cup all-purpose flour
- 1 cup unsalted butter, 2 sticks, melted
- 1/2 teaspoon almond extract
- 3 drops red food coloring, may need more to achieve desired color
- 3 drops green food coloring, may need more to achieve desired color
- 1/2 cup seedless raspberry jam, divided
- 6 ounces semisweet chocolate, divided
- 1 tablespoon vegetable oil, divided
Equipment Needed
- 3, 11×7-inch baking pans
- Mixing bowls
- Electric mixer
- Rubber spatula
- Microwave-safe bowl
- Cutting board
- Sharp knife
- Measuring cups and spoons
Instructions
-
Preheat your oven to 350 degrees F (175 degrees C). Grease and flour three 11×7-inch baking pans. This step is crucial to prevent the cakes from sticking.
-
In a large mixing bowl, beat the eggs and sugar together with an electric mixer until the mixture becomes pale yellow and significantly increases in volume. This usually takes several minutes. The increased volume incorporates air, contributing to a light and airy cake texture.
-
Gently incorporate the flour into the egg mixture, being careful not to overmix. Overmixing can develop the gluten in the flour, resulting in a tough cake. Use a rubber spatula to fold the flour in until just combined.
-
Add the melted butter to the batter and mix until fully incorporated. Ensure the butter isn’t too hot, as it could cook the eggs.
-
Stir in the almond extract. This extract provides the signature flavor of these cookies.
-
Divide the batter into three equal portions, approximately 1 cup each. You can use measuring cups or a kitchen scale for accuracy.
-
In one portion, add a few drops of red food coloring. In the second portion, add a few drops of green food coloring. Add the food coloring gradually, mixing well after each addition, until you achieve your desired shades of red and green. The third portion will remain yellow (or pale gold).
-
Pour each portion of batter into its own prepared (greased and floured) 11×7-inch baking pan. Spread the batter evenly in each pan.
-
Bake the cakes in the preheated oven for 12 minutes, or until the cakes start to pull away from the sides of the pan. This indicates that the cakes are done. Avoid overbaking, as this can result in dry cookies.
-
Remove the cakes from the oven and cool them completely to room temperature in their pans. Cooling completely is essential for easy handling and preventing the jam and chocolate from melting.
-
Once cooled, turn the red cake layer onto a cutting board. Spread half of the raspberry jam (1/4 cup) evenly over the top of the red cake.
-
Carefully place the yellow cake layer on top of the jam-coated red cake. Spread the remaining raspberry jam (1/4 cup) evenly over the top of the yellow layer.
-
Finally, place the green cake layer on top of the yellow layer.
-
Melt 3 ounces of the semisweet chocolate with 1/2 tablespoon of vegetable oil in a microwave-safe bowl. Heat in 30-second intervals, stirring after each interval, until the chocolate is completely melted and smooth. The vegetable oil helps to thin the chocolate, making it easier to spread.
-
Spread the melted chocolate evenly over the top of the green cake layer. Refrigerate the assembled cake until the chocolate is firm, about 30 minutes.
-
Melt the remaining 3 ounces of semisweet chocolate with the remaining 1/2 tablespoon of vegetable oil in the same manner as before.
-
Turn the cake stack over so that the red cake layer is facing up. Spread the melted chocolate evenly over the top of the red cake layer.
-
Refrigerate the assembled cake until the chocolate is firm, about 30 minutes.
-
Once the chocolate is firm, cut the cake into 1-inch squares. A sharp knife and a gentle sawing motion will help prevent the chocolate from cracking.
-
Trim the edges of the four outer sides for a clean, professional look, if desired. Don’t discard the trimmings – they’re perfect for snacking!
Expert Tips & Tricks
- For the most vibrant colors, use gel food coloring instead of liquid. Gel colors are more concentrated and won’t thin the batter as much.
- To ensure even baking, rotate the baking pans halfway through the baking time.
- If you don’t have raspberry jam, apricot or strawberry jam can be used as substitutes.
- For a richer chocolate flavor, use dark chocolate instead of semisweet.
- To prevent the chocolate from cracking when cutting, warm the knife blade under hot water and wipe it dry before each cut.
- Use a ruler to ensure all the cut cookies are the same size for a neat, uniform appearance.
Serving & Storage Suggestions
Serve these delightful rainbow cookies as part of a holiday dessert spread, with a cup of coffee or tea, or as a sweet treat any time of year. They are best enjoyed chilled.
To store, keep the cookies in an airtight container in the refrigerator. They will stay fresh for up to 5 days. You can also freeze them for longer storage, up to 2 months. Thaw them in the refrigerator before serving. They can be served cold or at room temperature.
Nutritional Information
| Nutrient | Amount per Serving | % Daily Value |
|---|---|---|
| Calories | 381 kcal | N/A |
| Total Fat | 25.7 g | 39% |
| Saturated Fat | 15 g | 74% |
| Cholesterol | 111.2 mg | 37% |
| Sodium | 140.2 mg | 5% |
| Total Carbohydrate | 38.2 g | 12% |
| Dietary Fiber | 2.8 g | 11% |
| Sugars | 23.4 g | N/A |
| Protein | 5.2 g | 10% |
Note: Nutritional information is an estimate and may vary based on specific ingredients and portion sizes.
Variations & Substitutions
- Gluten-Free: Substitute a gluten-free all-purpose flour blend for the regular flour. Be sure to check that the blend contains xanthan gum or add it separately for best results.
- Citrus Zest: Add a teaspoon of orange or lemon zest to the batter for a bright, citrusy twist.
- Different Jams: Experiment with different flavors of jam, such as apricot, fig, or even a spiced cranberry jam for a festive touch.
- Nutella Swirl: Before baking, swirl a small amount of Nutella into each layer of batter for a hazelnut chocolate flavor.
- Chocolate Ganache: Instead of simply melting chocolate, make a chocolate ganache by heating heavy cream and pouring it over the chocolate. Let it sit for a minute, then whisk until smooth for an even richer topping.
FAQs (Frequently Asked Questions)
Q: Why are my rainbow cookies dry?
A: Overbaking is the most common cause of dry rainbow cookies. Make sure to check for doneness at the 12-minute mark and remove them from the oven as soon as they start to pull away from the sides.
Q: Can I make these cookies ahead of time?
A: Absolutely! In fact, making them a day or two in advance allows the flavors to meld together even more. Just store them properly in the refrigerator.
Q: My chocolate topping keeps cracking when I cut the cookies. What can I do?
A: Warming the knife under hot water before each cut helps to prevent the chocolate from cracking. Also, make sure the chocolate is not too thick – adding a bit of vegetable oil helps to thin it out.
Q: Can I use different food coloring?
A: Yes, you can certainly experiment with different colors! Consider using natural food coloring for a more subtle hue, or try creating a rainbow effect with more than three layers.
Q: My batter is too thick. What did I do wrong?
A: Make sure you measure the flour accurately. Too much flour can result in a thick batter. Also, avoid overmixing the batter after adding the flour, as this can develop the gluten and make it tough.
Final Thoughts
These Holiday Rainbow Cookies are more than just a recipe; they’re a labor of love, a symbol of tradition, and a burst of joy in every bite. Don’t be intimidated by the multiple steps – the result is well worth the effort. Gather your family, put on some festive music, and embark on this culinary adventure together. Share your creations with loved ones, and don’t hesitate to let me know how they turn out. Happy baking!