
Homebrew Ginger Beer: A Culinary Adventure
My first encounter with ginger beer wasn’t the fizzy, store-bought kind. It was a potent, almost magical brew crafted by my eccentric Aunt Millie. She’d bottle it up in old-fashioned swing-top bottles, the kind that looked like they belonged in a pirate’s stash. Opening one was always an event, a mini-explosion of spicy aroma and effervescence. That homemade ginger beer, with its sharp, clean bite, sparked a lifelong fascination and, after a lot of experimentation, this is my take.
Recipe Overview
- Prep Time: 20 minutes
- Cook Time: 30 minutes
- Fermentation Time: 3 days (minimum)
- Yields: 2 Litres
- Serves: 6-8
- Dietary Type: Vegan
Ingredients
- 1 whole ginger root
- ½ teaspoon yeast
- ¾ cup sugar
- 15 cloves
- ¼ teaspoon anise
Equipment Needed
- Large pot
- Measuring cups and spoons
- Peeler
- Knife
- Small tea ball or muslin bag (optional, for cloves)
- 2 Litre plastic bottle
Instructions
-
Begin by activating the yeast. In a half-cup of warm water, dissolve the sugar. Sprinkle the yeast on top and let it sit for approximately 5-10 minutes until it becomes foamy. This indicates that the yeast is active and ready to ferment.
-
In the meantime, boil about 2 litres of water in a large pot.
-
While the water heats, prepare the ginger. Peel the ginger root and cut it into smaller pieces. This will help release its flavor into the water.
-
Once the water has reached a rolling boil, carefully add the chopped ginger root, cloves, and anise. For easy removal later, I recommend placing the cloves in a small tea ball or a muslin bag.
-
Reduce the heat slightly and let the mixture simmer gently for 30 minutes. This allows the flavors of the ginger, cloves, and anise to infuse into the water, creating the base of your ginger beer.
-
After 30 minutes, remove the pot from the heat. Take out the ginger root and cloves (if using a tea ball or muslin bag, simply remove that).
-
Dissolve ¾ cup of sugar in the hot brew. Stir until the sugar is completely dissolved.
-
Allow the brew to cool until it is tepid, meaning it is warm but not hot enough to kill the yeast. This is crucial for successful fermentation. Aim for a temperature around 90-100°F (32-38°C).
-
Once the brew has cooled to a tepid temperature, add the yeast mixture you prepared earlier. Stir gently to combine.
-
Now, carefully pour the mixture into a clean 2 litre plastic bottle. Top up with water, leaving approximately 5-8cm of air at the top of the bottle. This headspace is important for allowing pressure to build up during fermentation. Experiment with the amount of air to find what works best for you – you might find that more air leads to more pressure.
-
Place the bottle in a warmish place for about 24 hours. Monitor it closely, especially the first time you make this recipe. Watch for pressure to build up inside the bottle.
-
Once you see significant pressure building, transfer the bottle to the refrigerator. This slows down the fermentation process.
-
Leave the bottle in the refrigerator for at least 2 days, but preferably longer. I typically leave it for at least 2 weeks, but it can safely stay in the refrigerator for up to 2 months. Keep in mind that the pressure will continue to increase during this time.
-
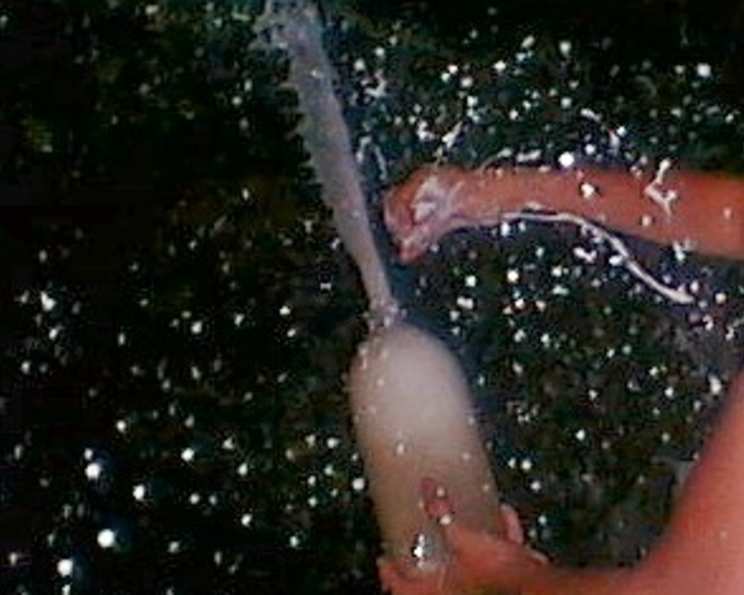
When opening the bottle, exercise extreme caution! The pressure inside can be very high. It’s best to do this over the sink or outdoors, and never point the bottle towards anyone. To minimize the “pop,” avoid covering the top of the cap completely; instead, only touch the sides while opening it. If you’ve achieved good pressure, the ginger beer will bubble out like champagne, so have glasses ready to pour immediately.
Expert Tips & Tricks
- Ginger Intensity: Adjust the amount of ginger to suit your taste. For a milder ginger beer, use slightly less ginger. For a spicier kick, use more.
- Sugar Level: Similarly, adjust the amount of sugar according to your sweetness preference. Some people prefer a drier ginger beer, while others like it sweeter.
- Yeast Type: While standard baker’s yeast works perfectly well, you can experiment with other types of yeast, such as champagne yeast, for a slightly different flavor profile.
- Bottle Safety: While I’ve always used plastic bottles successfully, some people prefer glass bottles designed for fermentation. If you choose to use glass, ensure they are specifically designed for pressure and are in perfect condition to avoid any risk of shattering.
- Burping the Bottle: If you’re nervous about excessive pressure buildup, you can carefully “burp” the bottle every few days by slightly loosening the cap to release some of the carbon dioxide. Be prepared for a fizz!
Serving & Storage Suggestions
Serve your homemade ginger beer chilled, straight from the refrigerator. It’s delicious on its own as a refreshing drink, or it can be used as a mixer in cocktails, such as a Moscow Mule or Dark ‘n’ Stormy.
Store unopened bottles of ginger beer in the refrigerator for up to 2 months. Once opened, consume within a day or two for best carbonation. Due to the ongoing fermentation process, it’s not recommended to store ginger beer at room temperature for extended periods. Freezing is also not recommended, as it can affect the carbonation and flavor.
Nutritional Information
| Nutrient | Amount per Serving | % Daily Value |
|---|---|---|
| Calories | 80 kcal | 4% |
| Total Fat | 0g | 0% |
| Saturated Fat | 0g | 0% |
| Cholesterol | 0mg | 0% |
| Sodium | 0mg | 0% |
| Total Carbohydrate | 20g | 7% |
| Dietary Fiber | 0g | 0% |
| Sugars | 20g | N/A |
| Protein | 0g | 0% |
Note: Nutritional information is an estimate and may vary based on specific ingredients and serving sizes.
Variations & Substitutions
- Spiced Ginger Beer: Add other spices like cinnamon sticks, cardamom pods, or star anise during the boiling process for a more complex flavor.
- Citrus Ginger Beer: Incorporate citrus zest (lemon, lime, or orange) into the brew for a brighter, tangier flavor.
- Honey Ginger Beer: Substitute honey for some or all of the sugar for a unique flavor profile.
- Herbal Ginger Beer: Infuse the ginger beer with herbs like mint or rosemary for a refreshing twist.
- Low-Sugar Ginger Beer: Use a sugar substitute like stevia or erythritol to reduce the sugar content. Keep in mind this may affect the fermentation process, so you may need to experiment with the amount of sweetener.
FAQs (Frequently Asked Questions)
Q: Why is there so much pressure in the bottle?
A: The pressure is a result of the yeast consuming the sugar and producing carbon dioxide as a byproduct of fermentation. The airtight bottle traps this carbon dioxide, creating the fizz.
Q: My ginger beer isn’t fizzy. What did I do wrong?
A: Several factors can contribute to this: inactive yeast, insufficient sugar, a leaky bottle, or a fermentation temperature that is too low. Make sure your yeast is active, use the correct amount of sugar, ensure the bottle is sealed tightly, and maintain a warmish environment during fermentation.
Q: Can I use a glass bottle instead of plastic?
A: Yes, but only use glass bottles specifically designed for brewing and carbonation. Regular glass bottles can explode due to the pressure.
Q: How long does the ginger beer last in the refrigerator?
A: Unopened bottles can last for up to 2 months in the refrigerator. Opened bottles should be consumed within a day or two for the best carbonation.
Q: Is there alcohol in this ginger beer?
A: Yes, there is a very small amount of alcohol produced during fermentation, but it is usually less than 0.5% ABV (alcohol by volume), which is considered non-alcoholic.
Final Thoughts
Crafting your own ginger beer at home is a deeply satisfying experience. The process is straightforward, but the results are anything but ordinary. Don’t be afraid to experiment with different spices, sweeteners, and fermentation times to create a truly unique brew that suits your taste. Share your creations with friends and family, and enjoy the bubbly, spicy goodness of homemade ginger beer!