
The Luxurious Simplicity of Homemade Cold Cream
I remember my grandmother’s dressing table. It was always adorned with a collection of elegant glass jars and bottles, each promising a touch of beauty and self-care. One jar, in particular, always caught my eye – a simple, unassuming container filled with a pearly white cream. It was her homemade cold cream, and the scent of it, a delicate blend of beeswax and something subtly floral, evokes instant nostalgia. Watching her gently massage it onto her skin was a ritual of quiet grace, a reminder that even the simplest ingredients, when carefully combined, can create something truly special. That memory is why I love sharing this recipe with others – it’s more than just skincare; it’s a connection to a time of simpler beauty rituals.
Recipe Overview
- Prep Time: 5 minutes
- Cook Time: 5 minutes
- Total Time: 10 minutes
- Servings: Varies
- Yield: Approximately 1 cup
- Dietary Type: DIY Skincare
Ingredients
- 1⁄4 teaspoon borax
- 1⁄4 cup distilled water
- 1⁄2 cup mineral oil
- 1⁄2 ounce grated beeswax
Equipment Needed
- One-cup glass measuring cup
- Two-cup glass measuring cup
- Microwave
- Stick blender
Instructions
-
First, dissolve the borax in the distilled water in a one-cup glass measuring cup. Set this aside. The borax helps to emulsify the oil and water, creating the creamy texture we’re looking for.
-
In a larger two-cup glass measuring cup, combine the mineral oil and grated beeswax. Using grated beeswax ensures it melts more quickly and evenly.
-
Heat the oil and beeswax mixture in the microwave until the beeswax is completely melted and the mixture appears clear. Begin with 30-second intervals, stirring in between, to prevent the mixture from overheating or splattering. Microwaving in short bursts allows for better control over the melting process.
-
Next, heat the borax and water mixture in the microwave for approximately one minute, or until it is almost boiling. It’s important to get it hot, but avoid a rolling boil as this can cause it to splatter.
-
Slowly and steadily pour the hot borax/water mixture into the melted oil/beeswax mixture. While pouring, use a stick blender to continuously mix the ingredients. The key here is to emulsify the mixture as you go.
-
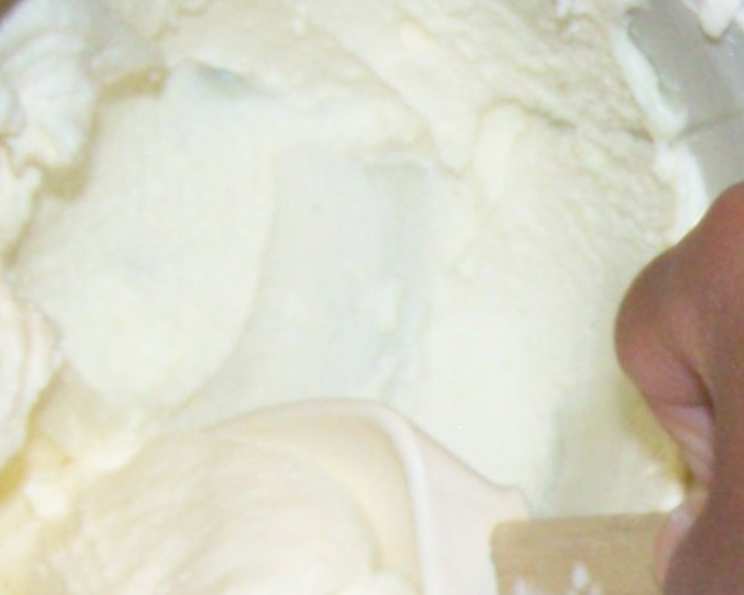
Continue to blend the mixture with the stick blender until it transforms into a glossy, white, and thick cream. This may take a few minutes, so be patient and blend continuously. The mixture will thicken as it cools. Don’t stop blending until you achieve the desired consistency.
Expert Tips & Tricks
-
Temperature is Key: Ensuring both the water/borax mixture and the oil/beeswax mixture are adequately heated is crucial for proper emulsification. If one is too cold, the cream may separate.
-
Gradual Addition: Adding the water phase (borax and water) slowly to the oil phase (oil and beeswax) is essential for creating a stable emulsion. Pouring it in all at once can lead to separation.
-
Stick Blender Technique: When using the stick blender, move it up and down in the container to ensure all ingredients are thoroughly combined. Avoid lifting the blender out of the mixture while it’s running, as this can introduce air and create a frothy texture.
-
Customizing the Scent: For a truly personalized cold cream, consider adding a few drops of your favorite essential oil once the mixture has cooled slightly. Lavender, chamomile, and rose are classic choices, but feel free to experiment with others. However, be sure to use essential oils safely and research their potential skin sensitivities.
-
Troubleshooting Separation: If your cold cream separates, it’s often due to insufficient emulsification. You can try gently reheating the mixture and blending it again with the stick blender.
Serving & Storage Suggestions
Homemade cold cream is best stored in an airtight container at room temperature. It should last for several months, depending on the freshness of your ingredients. To prolong its shelf life, store it in a cool, dark place away from direct sunlight. When using, scoop out the desired amount with clean fingers or a small spatula to avoid contaminating the entire batch.
While refrigeration isn’t necessary, some people prefer the cooling sensation of cold cream when it’s chilled. In this case, you can store it in the refrigerator, but be aware that the texture may become slightly firmer.
This cold cream can be used as a makeup remover, a moisturizing cleanser, or a general skin cream. To use as a makeup remover, gently massage a small amount onto your face and then wipe it off with a soft cloth or cotton pad. To use as a cleanser, massage it onto damp skin, then rinse with warm water.
Nutritional Information
Because this is a skincare product and not food, nutritional information is not applicable.
Variations & Substitutions
-
Oil Variations: While mineral oil is a classic choice for cold cream due to its stability and non-comedogenic properties, you can experiment with other oils like sweet almond oil, jojoba oil, or apricot kernel oil. These oils offer different benefits and may be more suitable for certain skin types.
-
Beeswax Alternatives: If you’re looking for a vegan option, consider using candelilla wax or carnauba wax as a substitute for beeswax. Keep in mind that these waxes may have different melting points and textures, so you may need to adjust the recipe accordingly.
-
Adding Herbs: For an extra boost of skin-loving ingredients, infuse your oil with dried herbs like calendula or chamomile before making the cold cream. Simply heat the oil with the herbs over low heat for a few hours, then strain the oil before using it in the recipe.
-
Essential Oil Blends: Experiment with different essential oil blends to create a cold cream that is tailored to your specific needs. For example, a blend of lavender, tea tree, and geranium can be beneficial for acne-prone skin, while a blend of rose, frankincense, and sandalwood can help to reduce the appearance of wrinkles.
FAQs (Frequently Asked Questions):
Q: Why use borax in this recipe? Is it safe?
A: Borax acts as an emulsifier, helping the oil and water bind together. When used in small quantities as indicated in this recipe and rinsed off, it is generally considered safe for cosmetic applications. However, if you have concerns, research borax alternatives for cosmetic use.
Q: Can I use a different type of oil instead of mineral oil?
A: Yes, you can substitute mineral oil with other oils like sweet almond oil or jojoba oil, but keep in mind that these oils may affect the texture and shelf life of the final product. Always perform a patch test to ensure you aren’t allergic.
Q: My cold cream is too oily. What did I do wrong?
A: This often happens when the water and oil don’t fully emulsify. Try gently reheating the mixture and blending it again with the stick blender. Ensuring both phases are sufficiently hot before combining is also crucial.
Q: How long will this cold cream last?
A: Stored properly in an airtight container at room temperature, your homemade cold cream should last for several months. Watch for changes in smell or texture, which could indicate spoilage.
Q: Can I add other ingredients, like vitamin E?
A: Yes, you can add other beneficial ingredients such as vitamin E oil (a natural preservative and antioxidant) or a few drops of your favorite essential oils for added benefits and fragrance. Add these only after the mixture has cooled slightly.
Final Thoughts
Creating your own cold cream is a wonderfully simple and rewarding experience. It allows you to control exactly what goes onto your skin, using natural ingredients and customizing the recipe to suit your individual needs. Don’t be afraid to experiment with different oils and essential oils to create a unique product that you’ll love. Embrace the process, enjoy the natural scents, and revel in the soft, supple skin that this homemade cold cream will provide. Share your creations with friends and family, and rediscover the beauty of homemade skincare!