
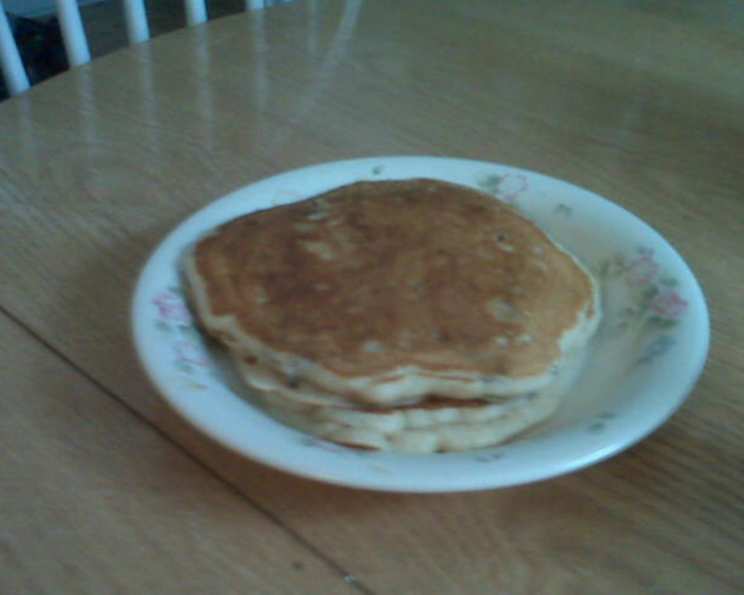
Homemade Cranberry Pancakes: A Thanksgiving Morning Delight
I remember one Thanksgiving morning, a whirlwind of cooking aromas filled our small kitchen. The turkey was roasting, the potatoes were simmering, and a sense of joyful chaos reigned supreme. Then came the crucial breakfast. Usually, it was a battle getting my teenager to eat anything substantial before the main feast. That’s when I had the idea to try something different: cranberry pancakes! The tartness of the cranberries, the warmth of the cinnamon, and the fluffy texture…it was a revelation. That morning, she devoured every last bite and even asked for more! It was the start of a new holiday tradition.
Recipe Overview
- Prep Time: 5 minutes
- Cook Time: 10 minutes
- Total Time: 15 minutes
- Servings: Approximately 6 pancakes
- Dietary Type: Vegetarian
Ingredients
- 1 egg, beaten until nice and fluffy
- 2 tablespoons vegetable oil
- ¾ cup 1% low-fat milk (any kind is fine)
- 1 cup unbleached flour (all-purpose is fine)
- 1 tablespoon sugar
- ½ teaspoon salt
- 3 teaspoons baking powder
- ¼ teaspoon cinnamon
- ¼ cup dried cranberries (such as Craisins)
Equipment Needed
- Whisk
- Measuring cups and spoons
- Rubber spatula
- Non-stick skillet
Instructions
- In a large bowl, combine the flour, sugar, salt, baking powder, and cinnamon. A whisk works very well for this, ensuring everything is evenly distributed.
- Add the dried cranberries to the dry ingredients. Gently whisk or stir until they are well distributed throughout the mixture.
- In a separate measuring cup, measure out the milk. Add the vegetable oil and the beaten egg to the milk. Mix the wet ingredients well until they are fully combined.
- Pour the wet ingredients into the bowl of dry ingredients.
- Using a rubber spatula, gently stir the batter just enough to combine and moisten the dry ingredients. Be careful not to overmix. It’s perfectly fine if there are some large lumps remaining in the batter; this will help keep the pancakes light and fluffy.
- Let the batter rest for a few minutes while you prepare your skillet. This allows the gluten in the flour to relax, resulting in a more tender pancake.
- Preheat a non-stick skillet over medium-low heat. To season the skillet, put a little vegetable oil on a paper towel and wipe it over the bottom and halfway up the sides of the pan.
- The skillet is ready when a drop of cold water skitters, sizzles, and evaporates almost immediately.
- Pour the pancake batter by ¼ cupfuls onto the hot skillet, leaving enough space between each pancake.
- Cook until the surface of the pancakes begins to bubble and the edges look dry. This indicates that the bottom is cooked and ready to be flipped, typically about 2-3 minutes.
- Gently flip the pancakes using a thin spatula.
- Cook the other side for another 2-3 minutes, or until golden brown and cooked through. Remember to turn only once, as flipping multiple times can deflate the pancakes.
- Remove the cooked pancakes from the skillet and place them on a plate. Repeat with the remaining batter, adding more oil to the skillet as needed.
- Serve immediately with your favorite toppings.
Expert Tips & Tricks
- Don’t overmix the batter: Overmixing develops the gluten in the flour, which can result in tough, chewy pancakes. A few lumps are perfectly acceptable.
- Let the batter rest: Allowing the batter to rest for a few minutes helps relax the gluten and allows the baking powder to activate, leading to lighter, fluffier pancakes.
- Control the heat: Cooking the pancakes over medium-low heat ensures they cook evenly and don’t burn on the outside before the inside is cooked.
- Use a non-stick skillet: A good non-stick skillet is essential for preventing the pancakes from sticking and ensuring they flip easily.
- Season the skillet properly: Seasoning the skillet with a little oil helps prevent sticking and gives the pancakes a beautiful golden-brown color.
- For extra fluffy pancakes, separate the egg, beat the egg white until stiff peaks form, and gently fold it into the batter at the end.
- If your pancakes are browning too quickly, reduce the heat slightly.
- To keep pancakes warm while you cook the rest of the batch, place them on a baking sheet in a warm oven (about 200°F).
Serving & Storage Suggestions
Serve these delicious Cranberry Pancakes immediately while they are warm and fluffy. They are best enjoyed with a simple pat of butter and a dusting of cinnamon sugar. While maple syrup is a classic pancake topping, it can overwhelm the delicate flavors of the cranberries and cinnamon. A light, golden syrup is a better choice, or even a dollop of whipped cream.
Leftover pancakes can be stored in an airtight container in the refrigerator for up to 3 days. To reheat, you can microwave them for a few seconds, toast them in a toaster, or warm them in a skillet over low heat. They can also be frozen for longer storage. To freeze, place the pancakes in a single layer on a baking sheet and freeze until solid. Then, transfer them to a freezer bag or airtight container. Frozen pancakes can be reheated directly from the freezer using the same methods.
Nutritional Information
| Nutrient | Amount per Serving | % Daily Value |
|---|---|---|
| Calories | 152 kcal | – |
| Calories from Fat | 52 kcal | 34% |
| Total Fat | 5.8 g | 8% |
| Saturated Fat | 1.1 g | 5% |
| Cholesterol | 32.5 mg | 10% |
| Sodium | 401.1 mg | 16% |
| Total Carbohydrate | 20.7 g | 6% |
| Dietary Fiber | 0.8 g | 3% |
| Sugars | 3.9 g | – |
| Protein | 4.2 g | 8% |
Variations & Substitutions
- Gluten-Free: Substitute the all-purpose flour with a gluten-free flour blend for a gluten-free version.
- Dairy-Free: Use a non-dairy milk alternative such as almond milk, soy milk, or oat milk instead of cow’s milk.
- Spice It Up: Add a pinch of nutmeg or ginger to the batter for a warmer, spicier flavor.
- Citrus Zest: Add the zest of an orange or lemon to the batter for a bright, citrusy twist.
- Fresh Cranberries: If using fresh cranberries, chop them finely before adding them to the batter. You may need to add a little extra sugar to balance the tartness.
- Different Dried Fruits: Substitute the dried cranberries with other dried fruits such as raisins, chopped dates, or dried blueberries.
FAQs (Frequently Asked Questions)
Q: Can I use maple syrup with these pancakes?
A: While you can, the recipe recommends a lighter syrup or just butter and cinnamon sugar, as maple syrup can overpower the delicate flavors of the cranberries and cinnamon.
Q: Can I make the batter ahead of time?
A: Yes, you can make the batter ahead of time and store it in the refrigerator for up to 24 hours. However, the baking powder will lose some of its potency over time, so the pancakes may not be as fluffy.
Q: How do I keep the pancakes warm while cooking the rest of the batch?
A: Place the cooked pancakes on a baking sheet in a warm oven (about 200°F) to keep them warm while you finish cooking the rest of the batch.
Q: Can I freeze these pancakes?
A: Yes, these pancakes freeze well. Place them in a single layer on a baking sheet and freeze until solid, then transfer them to a freezer bag or airtight container. Reheat directly from frozen.
Q: My pancakes are burning on the outside but still raw on the inside. What am I doing wrong?
A: Your skillet is likely too hot. Reduce the heat to medium-low and continue cooking, allowing the pancakes to cook through without burning.
Final Thoughts
These Homemade Cranberry Pancakes are more than just a breakfast dish; they’re a memory waiting to be made. The simple act of whisking together the ingredients, the delightful sizzle in the pan, and the faces of your loved ones as they take that first bite—these are the moments that make cooking so rewarding. So, gather your ingredients, embrace the little imperfections, and create a batch of these pancakes. Share them with someone you love, and let the warmth of the cinnamon and the tartness of the cranberries fill your kitchen with joy. I encourage you to experiment with different toppings or variations to make them your own. I would love to hear about your own personal touches in the comments below!