
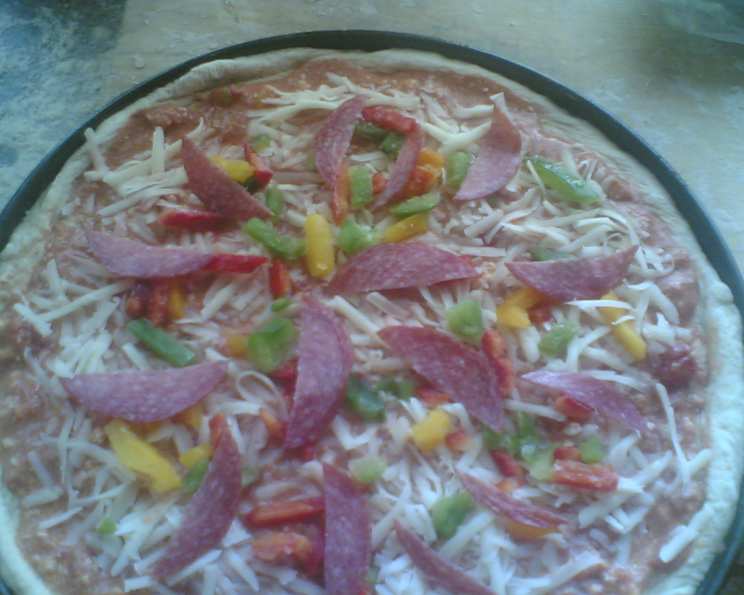
Homemade Freezer Pizza: A Slice of Convenience
I can still smell it – the yeasty aroma of homemade dough mingling with the savory scent of simmering marinara. As a kid, Saturday afternoons were pizza-making days in our kitchen. My mom would orchestrate the dough, my dad would man the sauce, and my siblings and I would gleefully arrange toppings. Freezing a few of those pizzas for busy weeknights was a stroke of genius, ensuring a taste of weekend joy even when time was short. Now, I’m sharing this slightly refined, but just as comforting, version of my mom’s recipe.
Recipe Overview
- Prep Time: 30 minutes
- Cook Time: 20-25 minutes
- Total Time: 50-55 minutes
- Servings: 6
- Yield: 1 pizza
- Dietary Type: Adaptable (can be made vegetarian or gluten-free)
Ingredients
For the Crust:
- 2 cups all-purpose flour
- 2 teaspoons active dry yeast
- 1 teaspoon sugar
- ½ teaspoon salt
- ¾ cup water, lukewarm
- 2 tablespoons olive oil
For the Topping:
- 12 ounces mozzarella cheese, grated
- ¼ lb Italian sausage, browned and crumbled
- ¼ lb ground beef, browned and crumbled
- ¼ cup onion, chopped and sautéed until softened
- 2 ounces pepperoni slices
- 1 ½ cups marinara sauce
- 2 tablespoons Parmesan cheese, freshly grated
- Salt to taste
Equipment Needed
- Automatic bread machine (optional)
- Pizza pan
- Non-stick cooking spray or pastry brush
- Large skillet
- Aluminum foil or freezer-safe wrap
Instructions
- Prepare the dough: If using an automatic bread machine, add the ingredients in the following order: water, olive oil, flour, sugar, salt, and yeast. Select the Dough setting and press Start. If making the dough by hand, combine the dry ingredients in a large bowl. Make a well in the center and add the water and olive oil. Mix until a shaggy dough forms. Turn out onto a lightly floured surface and knead for 5-7 minutes, until smooth and elastic. Place in a lightly oiled bowl, turning to coat. Cover and let rise in a warm place for 1-1.5 hours, or until doubled in size.
- Preheat and prep: While the dough is rising, prepare the toppings. Brown the Italian sausage and ground beef in a large skillet over medium heat. Drain off any excess grease. Chop the onion and sauté until softened and slightly translucent.
- Shape the crust: Once the dough has risen, punch it down gently to release the air. Spray a pizza pan with non-stick cooking spray or brush with olive oil. Gently stretch the pizza crust to fit the pan, forming a raised edge at the lip to hold in the toppings.
- Layer the cheese: Sprinkle the grated mozzarella cheese evenly over the entire crust. This crucial step helps to create a moisture barrier, preventing the crust from becoming soggy during freezing and baking.
- Add the toppings: Distribute the browned sausage, ground beef, pepperoni, and sautéed onion evenly over the mozzarella cheese.
- Sauce it up: Gently spread the marinara sauce over the cheese and toppings. Be careful not to use too much sauce, as this can also contribute to a soggy crust.
- Finish with Parmesan: Sprinkle the Parmesan cheese over the sauce and season with salt to taste.
- Flash Freeze: Place the prepared pizza in the freezer, uncovered, for at least 2 hours. This flash-freezing process will solidify the toppings, making it easier to wrap without disturbing their placement.
- Wrap and Store: Once the pizza is thoroughly frozen, carefully wrap it tightly in aluminum foil or freezer-safe wrap. This will protect it from freezer burn and help maintain its quality.
- Bake from Frozen: When ready to bake, do not thaw the pizza. Preheat the oven to 400°F (200°C).
- Bake: Place the frozen pizza directly on the middle rack of the preheated oven. Bake for 20 to 25 minutes, or until the crust is browned, the sauce is bubbling, and the cheese is fully melted and golden brown. Keep a close eye on it during the last few minutes of baking to prevent burning.
- Cool and Serve: Remove the pizza from the oven and let it cool slightly before slicing and serving.
Expert Tips & Tricks
- Pre-baking the crust: For an extra crispy crust, pre-bake the crust for 5-7 minutes at 400°F (200°C) before adding the toppings. This will help to prevent it from becoming soggy during the final bake.
- Cheese selection: Using a low-moisture mozzarella cheese will further reduce the risk of a soggy crust.
- Spice it up: Add a pinch of red pepper flakes to the sauce or toppings for a little extra heat.
- Make ahead: The dough can be made a day in advance and stored in the refrigerator. Allow it to come to room temperature before stretching and shaping.
- Vegetarian option: Substitute the meat toppings with vegetables such as bell peppers, mushrooms, olives, or spinach.
- Prevent sticking: Before adding the dough to the pan, lightly dust it with cornmeal to prevent sticking and add a slight crunch to the crust.
Serving & Storage Suggestions
Serve the homemade freezer pizza hot and fresh out of the oven. It’s delicious on its own or with a simple side salad.
To store leftover baked pizza, wrap individual slices tightly in plastic wrap or place them in an airtight container. Leftovers can be stored in the refrigerator for up to 3-4 days.
To reheat, bake in a preheated oven at 350°F (175°C) for 5-10 minutes, or until heated through. You can also reheat slices in a skillet over medium heat for a crispy crust. Microwaving is an option, but the crust may become soft.
Nutritional Information
(Estimated values, may vary based on specific ingredients)
| Nutrient | Amount per Serving | % Daily Value |
|---|---|---|
| Calories | 574 kcal | N/A |
| Total Fat | 31 g | 48% |
| Saturated Fat | 13 g | 65% |
| Cholesterol | 81 mg | 26% |
| Sodium | 1286 mg | 53% |
| Total Carbohydrate | 43 g | 14% |
| Dietary Fiber | 2 g | 7% |
| Sugars | 8 g | N/A |
| Protein | 28 g | 56% |
Variations & Substitutions
- Gluten-Free: Use a gluten-free pizza dough recipe or a store-bought gluten-free crust.
- Vegetarian: Omit the meat toppings and add vegetables like mushrooms, bell peppers, olives, and onions.
- Vegan: Use a vegan cheese alternative and omit the meat toppings. There are many great plant-based sausage and pepperoni options available now.
- Hawaiian: Add pineapple chunks and Canadian bacon.
- Pesto Pizza: Use pesto instead of marinara sauce.
- Spicy Pizza: Add jalapeños, red pepper flakes, or a spicy sausage.
FAQs (Frequently Asked Questions)
Q: Can I use a different type of cheese?
A: Yes, you can use other cheeses like provolone, cheddar, or a blend of cheeses. Just be mindful of the moisture content, as higher moisture cheeses can lead to a soggy crust.
Q: Can I freeze the pizza for longer than a month?
A: While the pizza will still be safe to eat after a month, the quality may start to decline due to freezer burn. For best results, consume within 1-2 months.
Q: Do I need to pre-cook the toppings?
A: It’s recommended to pre-cook the meat toppings, like sausage and ground beef, to ensure they are fully cooked and to remove excess grease. Onions are also best when sautéed first.
Q: My crust is getting soggy. What am I doing wrong?
A: Too much sauce, high-moisture cheese, or not pre-baking the crust can all contribute to a soggy crust. Make sure to use a moderate amount of sauce, a low-moisture cheese, and consider pre-baking the crust for a few minutes.
Q: Can I bake this on a pizza stone?
A: Absolutely! Preheat the pizza stone in the oven before placing the frozen pizza on it. This will result in an even crispier crust.
Final Thoughts
This homemade freezer pizza recipe is more than just a convenient meal; it’s a way to bring a little bit of homemade goodness into your busy life. Don’t be afraid to experiment with different toppings and crust variations to create your perfect pizza. Gather your family, get creative in the kitchen, and enjoy the satisfaction of knowing you have a delicious, homemade meal ready to go whenever you need it. Share your creations and tag us on social media; we can’t wait to see your pizza masterpieces! Consider pairing your pizza with a crisp garden salad and a glass of your favorite beverage for a complete and satisfying meal.