
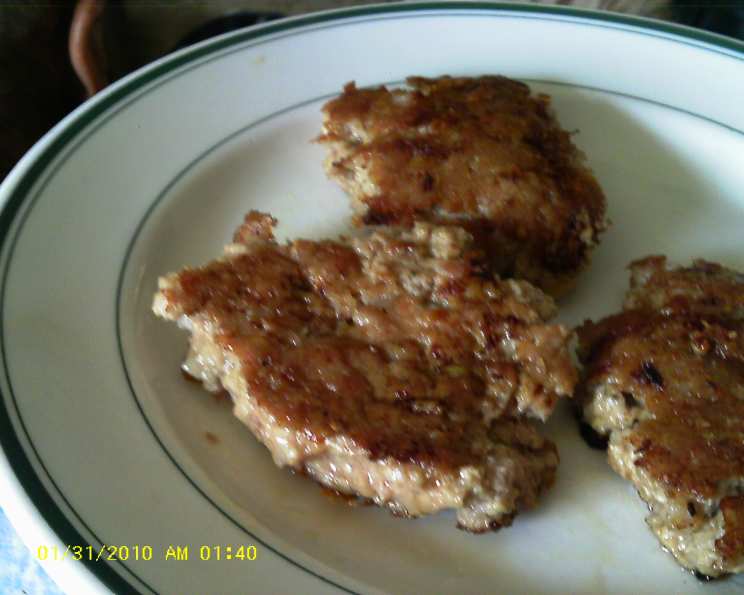
Homemade Garlic Sausage: A Culinary Adventure
The aroma of garlic sizzling in a pan, that unmistakable savory scent that fills the entire kitchen, always takes me back to my childhood. My grandfather, a butcher by trade, would craft sausages in his workshop, a symphony of aromas mingling with the rhythmic thud of his cleaver. While he had many varieties, the garlic sausage was always my favorite. It was his pièce de résistance, and this recipe, while not his, aims to capture that same bold, garlicky flavor that defined so many happy memories.
Recipe Overview
- Prep Time: 30 minutes
- Chill Time: Overnight
- Cure Time: 1-2 days
- Yields: 2 lbs
- Dietary Type: Varies (see notes)
Ingredients
- 4 teaspoons kosher salt
- 1/4 teaspoon white pepper
- 1/2 teaspoon sugar
- 1 teaspoon minced garlic (freshly minced is best!)
- 2 lbs ground pork (approximately 80% lean)
- 1/3 cup wine (dry red or white wine both work well)
- Sausage casings (hog casings recommended; see notes)
Equipment Needed
- Large mixing bowl
- Sausage stuffer (optional, but highly recommended)
- Butcher twine
- Cool, dry place for hanging (ideally around 45°F)
Instructions
-
In a large mixing bowl, combine the kosher salt, white pepper, sugar, and minced garlic. Ensure the spices are evenly distributed. This dry mixture will help to both season and cure the sausage.
-
Add the ground pork to the bowl. Using your hands or a sturdy spoon, gently mix the pork with the spice mixture until everything is evenly incorporated. Be careful not to overmix, as this can result in a tough sausage.
-
Pour the wine over the pork mixture. The wine adds moisture and depth of flavor to the sausage. Gently mix until the wine is evenly distributed throughout the pork.
-
Cover the bowl tightly with plastic wrap and refrigerate overnight. This chilling period allows the flavors to meld together and the salt to begin curing the meat. This is a crucial step for both flavor development and food safety.
-
Prepare your sausage casings according to the manufacturer’s instructions. Typically, this involves rinsing them thoroughly inside and out to remove excess salt. Soaking them in warm water for about 30 minutes can also make them more pliable and easier to work with.
-
If using a sausage stuffer, thread the prepared casing onto the stuffer nozzle. Leave a few inches of casing hanging off the end and tie a knot in it. If you don’t have a stuffer, you can use the nozzle attachment on a stand mixer, or even carefully spoon the mixture into the casings.
-
Carefully feed the pork mixture into the sausage stuffer, being careful not to create air pockets. As the casing fills, gently guide it off the nozzle and onto a clean surface. Maintain a consistent pressure to create evenly filled sausages.
-
Once the entire casing is filled, twist the sausage into links approximately 5 inches long. Pinch the casing at the desired length, twist several times, and then repeat in the opposite direction for the next link. This creates a secure seal between each link.
-
Using butcher twine, tie off the ends of the sausage strand to secure the filling. If any large air pockets appear, use a sterilized needle or toothpick to gently prick the casing and release the air.
-
Hang the sausages in a cool, dry place with good air circulation for 1 to 2 days. The ideal temperature is around 45°F (7°C). This curing process allows the flavors to further develop and the sausage to dry slightly, improving its texture and keeping qualities. If you don’t have a suitable cool place, you can hang them in the refrigerator, but the curing process will take longer, and the flavor may not be as intense.
Expert Tips & Tricks
- Fresh Garlic is Key: While garlic powder can be used in a pinch, freshly minced garlic provides a much brighter and more pungent flavor that is essential to this sausage.
- Temperature Control: Keeping the pork mixture cold throughout the process is crucial for preventing bacterial growth and ensuring a good texture.
- Spice it Up: For a spicier sausage, add a pinch of red pepper flakes or a dash of cayenne pepper to the spice mixture.
- Casing Considerations: Natural hog casings are the most traditional choice for sausages, but collagen casings are also available and are easier to work with. If using natural casings, be sure to rinse them thoroughly to remove excess salt.
- Test Batch: Before stuffing all the sausage, cook a small patty of the mixture to taste and adjust the seasonings as needed.
Serving & Storage Suggestions
Homemade garlic sausage is incredibly versatile. Grill it and serve it on a bun with your favorite toppings, slice it and add it to pasta dishes, or use it as a flavorful addition to stews and soups. It pairs well with hearty vegetables like potatoes, cabbage, and onions.
Store uncooked sausage in the refrigerator for up to 3 days, or in the freezer for up to 3 months. To freeze, wrap the sausages tightly in plastic wrap and then place them in a freezer bag.
To cook frozen sausage, thaw it overnight in the refrigerator and then cook as desired. You can also cook it directly from frozen, but it will take longer and may not cook as evenly.
Nutritional Information
(Estimated values per 4 oz serving, uncooked)
| Nutrient | Amount per Serving | % Daily Value |
|---|---|---|
| Calories | 350 kcal | 18% |
| Total Fat | 28g | 43% |
| Saturated Fat | 10g | 50% |
| Cholesterol | 90mg | 30% |
| Sodium | 750mg | 31% |
| Total Carbohydrate | 2g | 1% |
| Dietary Fiber | 0g | 0% |
| Sugars | 1g | 2% |
| Protein | 22g | 44% |
Variations & Substitutions
- Spicy Garlic Sausage: Add 1-2 teaspoons of red pepper flakes or a pinch of cayenne pepper to the spice mixture.
- Italian Garlic Sausage: Add 1 teaspoon of fennel seeds and 1/2 teaspoon of dried oregano to the spice mixture.
- Beer Sausage: Substitute the wine with 1/3 cup of your favorite beer.
- Venison Garlic Sausage: Replace half of the ground pork with ground venison for a leaner and more gamey flavor.
- Smoked Sausage: After the initial hanging period, smoke the sausages over your favorite wood chips for added flavor.
FAQs (Frequently Asked Questions)
Q: Can I use pre-ground garlic instead of fresh garlic?
A: Freshly minced garlic provides the best flavor, but you can use pre-ground garlic in a pinch. Use about 1/2 teaspoon of pre-ground garlic for every teaspoon of fresh minced garlic.
Q: What if I don’t have a sausage stuffer?
A: You can use the nozzle attachment on a stand mixer, or even carefully spoon the mixture into the casings. It’s a bit more time-consuming, but still achievable.
Q: How do I know when the sausage is cooked through?
A: The internal temperature of the sausage should reach 160°F (71°C). Use a meat thermometer to check the temperature.
Q: Can I freeze the sausage after it’s been cured?
A: Yes, you can freeze the sausage after it’s been cured. Wrap it tightly in plastic wrap and then place it in a freezer bag.
Q: My sausage casings keep breaking, what am I doing wrong?
A: The casings might be too dry. Try soaking them in warm water for a longer period of time before stuffing. Also, be careful not to overstuff the casings, as this can also cause them to break.
Final Thoughts
Crafting your own garlic sausage is a rewarding experience. The aroma that fills your kitchen as you work, the satisfaction of knowing exactly what ingredients are going into your food, and the delicious flavor that results are all well worth the effort. So, gather your ingredients, sharpen your knives, and embark on this culinary adventure. Don’t be afraid to experiment with different spices and flavor combinations to create your own signature sausage. And most importantly, enjoy the process! Share your creations with friends and family, and let them experience the joy of homemade goodness. This garlic sausage, a little bit of love and a whole lot of flavor, will be a guaranteed crowd-pleaser.