
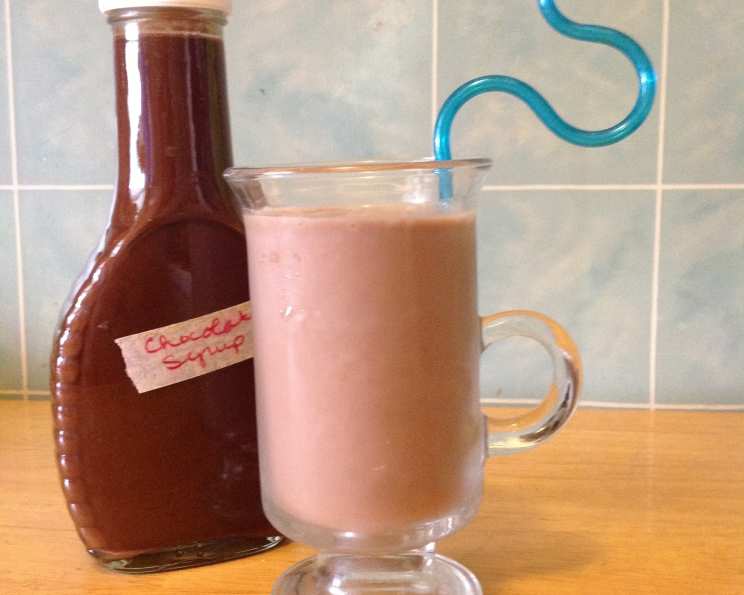
The Ultimate Homemade Hershey’s Chocolate Syrup
Do you remember sneaking into the kitchen as a kid, the forbidden thrill of a near-empty Hershey’s syrup bottle practically singing your name? I do. For me, it wasn’t just the sweet, rich chocolate—it was the ritual. A generous squeeze into a glass of cold milk, the satisfying swirl of the spoon, and the instant transformation into a chocolatey dream. Later, as a chef, I found myself wanting that same magic, but with ingredients I could feel good about. That’s how I discovered this recipe, a simple, satisfying way to create my own homemade chocolate symphony.
Recipe Overview
- Prep Time: 5 minutes
- Cook Time: 5 minutes
- Total Time: 10 minutes
- Yields: 2 cups
- Serves: 32
- Dietary Type: Vegetarian, Gluten-Free
Ingredients
- ½ cup packed cocoa powder (I recommend organic)
- 1 cup milk
- 2 cups sugar (Organic cane sugar preferred)
- ⅛ teaspoon salt (Kosher salt is ideal)
- ¼ teaspoon vanilla extract (Organic for best flavor)
Equipment Needed
- Large saucepan
- Whisk
- Clean jar with a spout, or other airtight container
Instructions
- In a large saucepan, thoroughly whisk together the cocoa powder and milk. Make sure there are no lumps, creating a smooth, even slurry.
- Heat the mixture over medium-low heat, continuously whisking to dissolve the cocoa powder completely. The goal here is to create a homogenous mixture before adding the sugar.
- Add the sugar to the saucepan and continue to stir or whisk until it’s fully dissolved. This is a crucial step; undissolved sugar can lead to a grainy syrup, which we want to avoid.
- Bring the mixture to a boil and then boil for exactly 3 minutes. This is where you need to be extra vigilant. The mixture tends to boil over quickly, so I suggest taking it on and off the burner intermittently to control the temperature. Continuous stirring is also helpful during this stage.
- Remove the saucepan from the heat and stir in the salt and vanilla extract. The salt enhances the chocolate flavor and the vanilla adds a beautiful aroma.
- Let the syrup cool completely. As it cools, a thin skin may form on the surface. Simply skim this off and discard.
- Pour the cooled syrup into a clean jar or container with a spout for easy dispensing. Store it covered in the refrigerator.
Expert Tips & Tricks
- Cocoa Quality Matters: Using high-quality cocoa powder significantly impacts the flavor. Opt for Dutch-processed cocoa for a smoother, less acidic taste.
- Sugar Dissolution: To ensure the sugar is fully dissolved, rub a small amount of the mixture between your fingers. If you feel any gritty particles, continue stirring over low heat until smooth.
- Preventing Boil-Over: Keep a close eye on the syrup during boiling. Reducing the heat slightly and whisking continuously can help prevent boil-over. You can also use a larger saucepan to provide more headroom.
- Vanilla Enhancement: For a deeper vanilla flavor, add the vanilla extract after the syrup has cooled slightly. This helps preserve its delicate aroma.
- Chocolate Intensity: For a richer, darker chocolate flavor, increase the amount of cocoa powder by 1-2 tablespoons.
Serving & Storage Suggestions
Homemade Hershey’s chocolate syrup is incredibly versatile. Drizzle it over ice cream, stir it into milk (hot or cold), use it to top pancakes or waffles, or incorporate it into milkshakes and desserts.
Store the syrup in an airtight container in the refrigerator. It will keep for several weeks, if not months. Properly stored, it maintains its flavor and consistency for an extended period. The high sugar content acts as a natural preservative.
Nutritional Information
| Nutrient | Amount per Serving | % Daily Value |
|---|---|---|
| Calories | 56.4 kcal | N/A |
| Calories from Fat | 4 g | N/A |
| Total Fat | 0.5 g | 0% |
| Saturated Fat | 0.3 g | 1% |
| Cholesterol | 1.1 mg | 0% |
| Sodium | 13.2 mg | 0% |
| Total Carbohydrate | 13.6 g | 4% |
| Dietary Fiber | 0.5 g | 1% |
| Sugars | 12.5 g | 50% |
| Protein | 0.5 g | 1% |
Variations & Substitutions
- Dairy-Free: Use plant-based milk alternatives like almond milk, soy milk, or oat milk. Be aware that these milks may affect the final flavor and thickness of the syrup.
- Sugar-Free: Experiment with sugar substitutes like erythritol or stevia, but be mindful of the different sweetness levels and potential aftertastes. You may need to adjust the quantity to achieve the desired sweetness.
- Mexican Chocolate: Add a pinch of ground cinnamon and a dash of chili powder for a warm, spicy twist.
- Mocha Syrup: Add a tablespoon of instant coffee powder to the saucepan along with the cocoa powder for a delicious mocha flavor.
FAQs (Frequently Asked Questions)
Q: Why is my syrup grainy?
A: This usually indicates that the sugar wasn’t fully dissolved during the cooking process. Ensure you stir the mixture continuously until the sugar crystals are completely gone before bringing it to a boil.
Q: How do I prevent the syrup from boiling over?
A: Use a large saucepan and keep a close eye on the syrup while it’s boiling. Reduce the heat slightly and stir continuously to prevent it from bubbling over.
Q: Can I use honey or maple syrup instead of sugar?
A: While you can substitute honey or maple syrup, it will alter the flavor and consistency of the syrup. You may need to adjust the liquid ratio to achieve the desired thickness.
Q: How long does homemade chocolate syrup last?
A: When stored properly in an airtight container in the refrigerator, homemade chocolate syrup can last for several weeks, possibly even a couple of months.
Q: Can I freeze chocolate syrup?
A: Yes, you can freeze chocolate syrup. Pour it into a freezer-safe container, leaving some headspace for expansion. Thaw it in the refrigerator overnight before using.
Final Thoughts
This homemade Hershey’s chocolate syrup recipe is a simple, rewarding way to elevate your favorite treats. Its superior taste and the ability to control the ingredients make it a welcome addition to any kitchen. Don’t hesitate to experiment with variations and substitutions to create your own signature syrup. I encourage you to give it a try – and then share your creations and feedback with me! Perhaps you’ll want to serve it with a scoop of homemade vanilla ice cream, the perfect pairing for this delightful concoction. Enjoy!