
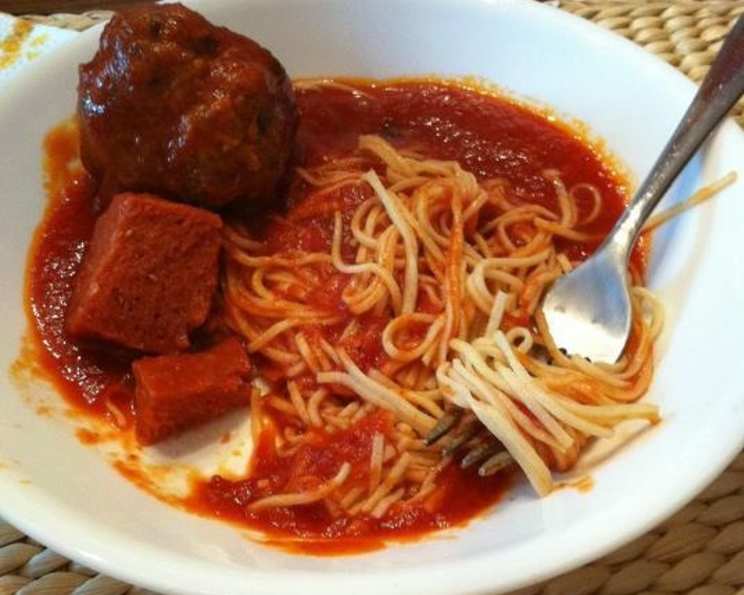
Mastering Homemade Semolina Pasta: A Chef’s Guide
The scent of freshly made pasta has always transported me back to my grandmother’s kitchen in Sicily. I remember standing on a small stool, mesmerized as she transformed humble ingredients – flour, eggs, and a touch of salt – into silky strands of pasta. The rhythmic thwack of the rolling pin against the wooden table, the cloud of semolina dust dancing in the sunlight, and the anticipation of the hearty, home-cooked meal to come are memories I cherish. This recipe is my attempt to recreate that magic, a tribute to the simple beauty of Italian cooking.
Recipe Overview
- Prep Time: 20 minutes
- Cook Time: 12 minutes
- Total Time: 32 minutes
- Servings: 4
- Yields: Approximately 1 pound of pasta
- Dietary Type: Vegetarian
Ingredients
- 3 eggs
- ⅛ teaspoon salt
- 1 ¾ cups semolina flour
Equipment Needed
- Medium-size bowl
- Fork
- Wax paper
- Pasta machine or rolling pin
- Floured surface
Instructions
-
Begin by beating the eggs in a medium-size bowl using a fork. Ensure the yolks and whites are fully incorporated.
-
Mix in the salt. This small amount of salt enhances the flavor of the pasta and helps to develop the gluten in the flour.
-
Gradually add the semolina flour, a little at a time, to the egg mixture, mixing well after each addition. The dough will initially be quite shaggy.
-
Once most of the flour is incorporated, turn the dough out onto a lightly floured surface and knead for 5 minutes. The dough should become smooth and elastic. If the dough is too sticky, add a little more flour, a tablespoon at a time, until it reaches the right consistency.
-
Wrap the dough tightly in wax paper to prevent it from drying out and let it rest for 12 minutes. This resting period allows the gluten to relax, making the dough easier to roll out.
-
After resting, pass the dough through a pasta machine, starting with the widest setting and gradually decreasing the setting with each pass until you reach the desired thickness. Alternatively, you can gently roll the dough out as thinly as you can on a floured surface using a rolling pin. Ensure your surface is well-floured to prevent sticking.
-
Cut the sheet of pasta into the size of noodles required. Whether you are making tagliatelle, fettuccine, or pappardelle, use a sharp knife or pasta cutter to achieve clean, even cuts.
-
If making ravioli, brush the edges with egg white to seal the filling inside. This creates a strong bond that prevents the ravioli from opening during cooking.
Expert Tips & Tricks
-
Semolina Flour is Key: Using semolina flour is crucial for achieving the right texture. It has a coarser grind than all-purpose flour and creates a pasta with a slightly nutty flavor and a satisfying chew.
-
Resting is Essential: Don’t skip the resting period! It allows the gluten to relax, resulting in a more tender pasta.
-
Work Quickly: Once the pasta is cut, work quickly to cook it or dry it. Fresh pasta dries out quickly, which can make it brittle.
-
Freeze for Later: If you’re not planning to cook all the pasta immediately, you can freeze it. Toss the noodles with a little flour to prevent them from sticking together, then arrange them in a single layer on a baking sheet and freeze until solid. Transfer the frozen noodles to a freezer bag for long-term storage.
-
Dough Consistency: The consistency of the dough is essential. Too dry, and it will be difficult to work with and result in a crumbly pasta. Too wet, and it will be sticky and hard to roll out. Add flour or water, a tablespoon at a time, until you achieve a smooth, elastic dough.
Serving & Storage Suggestions
Serve your homemade semolina pasta immediately after cooking for the best flavor and texture. It pairs beautifully with a variety of sauces, from simple tomato sauce to creamy pesto or a hearty meat ragu. Garnish with fresh herbs, such as basil or parsley, and a sprinkle of grated Parmesan cheese.
To store leftover cooked pasta, toss it with a little olive oil to prevent sticking and refrigerate in an airtight container for up to 2 days. To reheat, simply toss the pasta in boiling water for a minute or two until heated through.
Uncooked, dried pasta can be stored in an airtight container at room temperature for several weeks. Frozen pasta can be stored in the freezer for up to 2 months.
Nutritional Information
| Nutrient | Amount per Serving | % Daily Value |
|---|---|---|
| Calories | 270 kcal | 14% |
| Total Fat | 9g | 12% |
| Saturated Fat | 2g | 10% |
| Cholesterol | 186mg | 62% |
| Sodium | 60mg | 3% |
| Total Carbohydrate | 38g | 14% |
| Dietary Fiber | 2g | 7% |
| Sugars | 1g | – |
| Protein | 9g | 18% |
Variations & Substitutions
-
Flavored Pasta: Experiment with adding herbs or spices to the dough for a unique flavor. Try adding chopped fresh basil, rosemary, or thyme, or a pinch of red pepper flakes for a spicy kick.
-
Whole Wheat Semolina Pasta: Substitute up to half of the semolina flour with whole wheat flour for a more nutritious and rustic pasta.
-
Egg Yolk Pasta: For an even richer pasta, use only egg yolks instead of whole eggs. This will result in a pasta with a vibrant yellow color and a more tender texture.
-
Gluten-Free Semolina Pasta: Replace semolina flour with a blend of gluten-free flours like rice flour, tapioca starch, and potato starch to enjoy delicious, homemade pasta even with dietary restrictions. You may need to adjust the liquid content depending on the blend.
FAQs (Frequently Asked Questions)
Q: Why is semolina flour used for pasta?
A: Semolina flour, made from durum wheat, gives pasta its characteristic chewiness and texture, holding its shape well during cooking.
Q: Can I use all-purpose flour instead of semolina flour?
A: While you can use all-purpose flour, the texture will be different. Semolina provides a superior, chewier result.
Q: How do I prevent the pasta from sticking together while cooking?
A: Use a large pot of boiling, salted water and stir the pasta frequently during the first few minutes of cooking.
Q: How do I know when the pasta is done?
A: Fresh pasta cooks very quickly. It’s done when it floats to the surface and is al dente – firm to the bite.
Q: Can I dry this pasta recipe?
A: Yes! Freshly cut pasta can be dried for later use. Spread the strands in a single layer on a drying rack or a clean kitchen towel and let air dry for 12-24 hours, or until completely dry to the touch.
Final Thoughts
Making homemade pasta might seem daunting, but with a little practice and this simple recipe, you can create a delicious and satisfying meal that’s far superior to anything you can buy in a store. So, gather your ingredients, dust off your pasta machine (or rolling pin!), and embark on a culinary adventure that will transport you to the heart of Italy. I encourage you to experiment with different flavors and sauces to create your own signature pasta dish. And don’t forget to share your creations with friends and family – the joy of homemade pasta is best enjoyed together! Buon appetito!