
Dazzling DIY: Crafting the Perfect Homemade Sprinkles
The first time I made sprinkles from scratch, it was a complete mess – sticky fingers, uneven lines, and a kitchen dusted in vibrant hues. Yet, amidst the chaos, there was a unique satisfaction in knowing I was creating something special, something that would bring joy to every cupcake and cookie it adorned. I remember the look of pure delight on my niece’s face as she helped me break the dried lines into tiny, colorful pieces. That memory, the laughter, and the vibrant sprinkle-covered fingers, is what homemade sprinkles are truly about.
Recipe Overview
- Prep Time: 30 minutes
- Dry Time: 12 hours
- Total Time: 12 hours 30 minutes
- Yields: 1 cup prepared sprinkles
- Dietary Type: Vegetarian
Ingredients
- 1 egg white
- 1 tablespoon water
- 2 cups powdered sugar
- ¼ teaspoon almond extract
- Food coloring (gel or liquid)
Equipment Needed
- Electric mixer
- Medium bowl
- 3 rimmed baking sheets
- Parchment paper
- Pastry bag
- #2 pastry tip (or similar small round tip)
- Small bottles or airtight containers for storage
Instructions
- Prepare the Icing Base: In a medium bowl, using an electric mixer, beat the egg white and water together until frothy. This should take approximately 20 seconds. You’re looking for a light, airy texture, not stiff peaks.
- Incorporate the Sugar: Gradually add the powdered sugar to the egg white mixture, beating on low speed until fully incorporated and the mixture is smooth. Be patient and add the sugar in small increments to prevent a cloud of powdered sugar from erupting.
- Flavor and Color: Stir in the almond extract and a few drops of your desired food coloring. If using gel food coloring, start with a very small amount, as it’s more concentrated than liquid. You can always add more to achieve your desired shade. Divide the icing into separate bowls if you want to create multiple colors.
- Prepare the Baking Sheets: Line three rimmed baking sheets with parchment paper. This prevents the sprinkles from sticking and makes cleanup a breeze.
- Pipe the Sprinkles: Transfer the icing mixture to a pastry bag fitted with a small pastry tip, such as a #2. Pipe the batter out onto the parchment-lined baking sheets in long, thin lines, covering the entire surface. Ensure the lines don’t touch each other to prevent them from sticking together as they dry. Alternatively, you can pipe tiny dots for a confetti-like effect.
- Air Dry: Let the baking sheets stand at room temperature, uncovered, until the icing lines are completely dry. This typically takes about 12 hours, but drying time can vary depending on the humidity in your kitchen. The lines should be hard and brittle to the touch.
- Break and Store: Once the lines have completely dried, use your fingers to break them up into short, sprinkle-sized pieces. Gently crumble the dried icing, avoiding large chunks.
- Bottle them Up: Fill small bottles or airtight containers with the prepared sprinkles. Store them in a cool, dry place.
Expert Tips & Tricks
- Egg White Safety: Using pasteurized egg whites is recommended for safety, as these are heat-treated to reduce the risk of salmonella. You can find pasteurized egg whites in most grocery stores.
- Food Coloring Finesse: Gel food coloring offers more vibrant and concentrated color compared to liquid food coloring. When using gel, start with a tiny amount and gradually add more until you achieve your desired shade.
- Drying Time is Key: Patience is paramount when making sprinkles. Ensure the icing lines are completely dry before breaking them up. If they’re still slightly soft, they’ll clump together.
- Humidity Check: High humidity can significantly extend the drying time. If you live in a humid climate, consider placing the baking sheets in a slightly warmer, drier environment to speed up the process. You can even use a dehydrator on a low setting.
- Uniformity Matters: For more uniform sprinkles, use a ruler as a guide when piping the icing lines. This ensures consistent thickness and length.
- Flavor Boost: Experiment with different extracts! Vanilla, lemon, or even a touch of rose water can add unique flavor profiles to your sprinkles.
Serving & Storage Suggestions
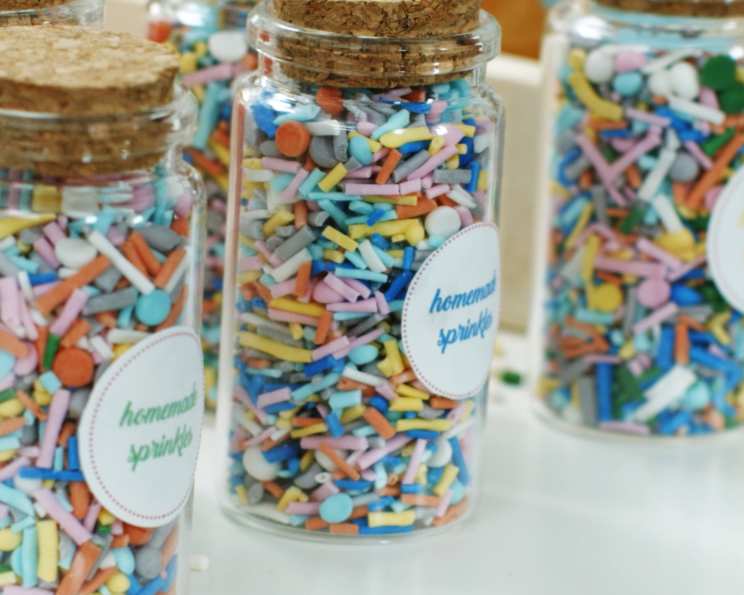
These homemade sprinkles are perfect for adorning cupcakes, cookies, cakes, ice cream, and any other dessert that needs a touch of whimsy. Store the sprinkles in airtight containers at room temperature for up to several months. Avoid storing them in the refrigerator, as moisture can cause them to become sticky. To prevent color fading, keep them away from direct sunlight. For a festive touch, layer different colored sprinkles in clear jars or bottles for a visually appealing presentation.
Nutritional Information
Note: Nutritional information is an estimate and can vary based on specific ingredients and serving sizes.
| Nutrient | Amount per Serving | % Daily Value |
|---|---|---|
| Calories | 318 kcal | 16% |
| Total Fat | 0g | 0% |
| Saturated Fat | 0g | 0% |
| Cholesterol | 0mg | 0% |
| Sodium | 40mg | 2% |
| Total Carbohydrate | 80g | 27% |
| Dietary Fiber | 0g | 0% |
| Sugars | 79g | N/A |
| Protein | 0.4g | 1% |
Variations & Substitutions
- Vegan Sprinkles: Substitute the egg white with aquafaba (the liquid from a can of chickpeas). Whip the aquafaba until frothy before adding the powdered sugar.
- Gluten-Free Sprinkles: This recipe is naturally gluten-free, as powdered sugar does not contain gluten.
- Citrus Zest: Add finely grated citrus zest (lemon, lime, or orange) to the icing mixture for a burst of fresh flavor.
- Spice Infusion: Incorporate a pinch of ground cinnamon, nutmeg, or cardamom for a warm, aromatic twist.
- Chocolate Sprinkles: Add a tablespoon of unsweetened cocoa powder to the icing mixture for chocolate-flavored sprinkles.
FAQs (Frequently Asked Questions)
Q: Can I use liquid food coloring instead of gel food coloring?
A: Yes, you can use liquid food coloring, but you might need to use more to achieve the same vibrancy as gel food coloring. Be careful not to add too much liquid, as it can affect the consistency of the icing.
Q: How do I prevent the sprinkles from sticking together?
A: Ensure the icing lines are completely dry before breaking them up. High humidity can cause them to stick, so consider drying them in a drier environment. Also, avoid overcrowding the baking sheets when piping the icing.
Q: Can I make these sprinkles ahead of time?
A: Absolutely! These sprinkles can be made well in advance and stored in airtight containers for several months.
Q: My sprinkles are not drying properly. What can I do?
A: If your sprinkles are not drying properly, it could be due to high humidity or too much liquid in the icing. Try placing the baking sheets in a slightly warmer, drier environment or adding a little more powdered sugar to the icing to thicken it.
Q: Can I use different pastry tips for different sprinkle shapes?
A: Yes, you can experiment with different pastry tips to create various sprinkle shapes. A star tip will create star-shaped sprinkles, while a round tip of a different size will give a thicker or thinner sprinkle.
Final Thoughts
Making your own sprinkles is a surprisingly simple and rewarding experience. It’s a chance to unleash your creativity, experiment with colors and flavors, and add a personal touch to your baked creations. So, gather your ingredients, put on your apron, and get ready to sprinkle some joy! Don’t hesitate to share your creations and any variations you come up with. Imagine these adorning a batch of freshly baked sugar cookies – pure happiness!