
The Magic of Homemade Yogurt: A Culinary Journey
I remember the first time I tasted truly homemade yogurt. It wasn’t the overly sweet, artificially flavored stuff from the supermarket. No, this was a revelation – tangy, creamy, and utterly satisfying. My grandmother, with her gentle hands and infinite patience, had made it. It was served with a drizzle of honey from her own beehives and a sprinkle of fresh berries from the garden. Every spoonful felt like a warm hug, a connection to tradition, and a testament to the simple joys of creating something delicious from scratch.
Recipe Overview
- Prep Time: 15 minutes
- Cook Time: 5 minutes (for heating the milk)
- Total Time: 12-24 hours (includes setting and chilling time)
- Servings: 8
- Yield: 8 cups
- Dietary Type: Vegetarian
Ingredients
- ½ gallon whole milk (can use low-fat or skim milk, but whole milk yields the creamiest results)
- ½ cup plain yogurt with live cultures (store-bought is fine for your first batch, just make sure it contains “live cultures”) or Mahdzoon
Equipment Needed
- Large saucepan
- Thermometer (optional, but recommended)
- Glass or Pyrex bowl
- Lid or plate to cover the bowl
- Towels
Instructions
- Heat the Milk: Pour the ½ gallon of milk into a large saucepan. Over medium heat, bring the milk to just below a boil. You’ll see small bubbles forming around the edges and steam rising. Be careful not to let it scorch or boil over. This heating process is crucial for denaturing the milk proteins, which results in a thicker, creamier yogurt.
- Cool the Milk: Remove the saucepan from the heat and allow the milk to cool. This is where patience is key. You want the milk to cool to about 120°F (49°C). This temperature is warm enough to activate the yogurt cultures but not so hot that it kills them. You should be able to comfortably hold your finger in the milk for about 10 seconds without it feeling too hot. If you don’t have a thermometer, err on the side of cooler rather than hotter.
- Combine Milk and Starter: Once the milk has cooled to the correct temperature, pour it into a clean glass or Pyrex bowl. Add the ½ cup of plain yogurt (your Mahdzoon starter or store-bought yogurt) to the cooled milk.
- Mix Thoroughly: Gently but thoroughly stir the yogurt into the milk until it is evenly distributed. You want to ensure that the live cultures are well dispersed throughout the milk, so they can do their work.
- Incubate: Cover the bowl with a lid or plate. Then, completely wrap the bowl with towels to maintain a consistent temperature. This insulation is essential for creating the right environment for the yogurt to set.
- Set at Room Temperature: Place the wrapped bowl in a warm, draft-free location at room temperature for approximately 3-4 hours, or until the yogurt has set. The setting time can vary depending on the temperature of your room and the activity of the cultures in your starter. To check if the yogurt is set, gently tilt the bowl. If it holds its shape and doesn’t immediately run, it’s ready.
- Refrigerate: Once the yogurt has set, remove the towels and place the bowl in the refrigerator. Chill for at least 8 hours before serving. This chilling period allows the yogurt to firm up further and develop its characteristic tang.
- Store: Store the finished yogurt in the refrigerator. It will keep for about 1-2 weeks.
- Serving Suggestion: Before serving, you can add a spoonful or two of your favorite fruit preserves or jam and a touch of vanilla extract for added flavor.
Expert Tips & Tricks
- The Importance of Temperature: Maintaining the correct temperature is crucial for successful yogurt making. Too hot, and you’ll kill the cultures. Too cold, and they won’t activate properly. Use a thermometer for best results, especially when you’re first starting out.
- Starter Quality Matters: The quality of your starter yogurt directly impacts the quality of your homemade yogurt. Choose a plain yogurt with a high concentration of live and active cultures for the best results. After your first batch, you can use your own homemade yogurt as the starter for future batches – saving money and ensuring a consistent flavor profile.
- Thickness Control: For a thicker yogurt, you can strain it through cheesecloth after it has set and chilled. This removes some of the whey, resulting in a Greek-style yogurt.
- Preventing Grainy Yogurt: Avoid over-heating the milk, and ensure the starter is well mixed to prevent a grainy texture.
- Incubation Environment: Consider using an oven with the light on (but turned off) as an incubator. The gentle warmth of the light bulb can help maintain a consistent temperature. Alternatively, use an electric blanket set on low.
- Troubleshooting: If your yogurt doesn’t set properly, it could be due to a weak starter, incorrect temperature, or insufficient incubation time. Try again with a fresh starter and pay close attention to the temperature.
Serving & Storage Suggestions
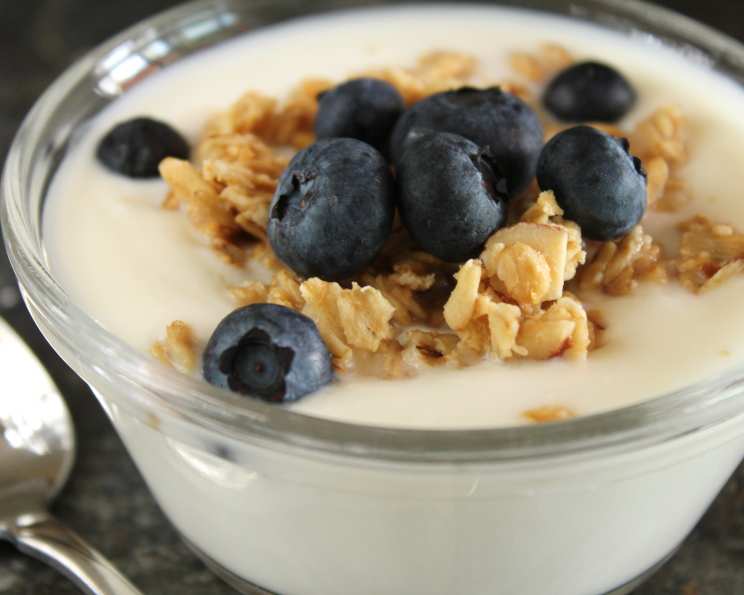
Serve your homemade yogurt chilled, on its own, or as a versatile ingredient in countless dishes. It’s delicious with fresh fruit, granola, honey, or nuts for breakfast or a healthy snack. Use it as a base for creamy dips, sauces, or dressings. Add it to smoothies for extra protein and tang.
Store leftover yogurt in an airtight container in the refrigerator for up to 1-2 weeks. While it’s not recommended to leave yogurt at room temperature for extended periods (more than 2 hours), refrigeration significantly slows down the growth of undesirable bacteria. Freezing yogurt can alter its texture, making it slightly grainy when thawed, but it’s still safe to eat. Thawed yogurt is best used in smoothies or baked goods rather than eaten plain.
Nutritional Information
| Nutrient | Amount per Serving | % Daily Value |
|---|---|---|
| Calories | 150 kcal | 8% |
| Total Fat | 8g | 12% |
| Saturated Fat | 5g | 25% |
| Cholesterol | 25mg | 8% |
| Sodium | 105mg | 4% |
| Total Carbohydrate | 12g | 4% |
| Dietary Fiber | 0g | 0% |
| Sugars | 12g | – |
| Protein | 8g | 16% |
Note: Nutritional information is an estimate and may vary based on specific ingredients and serving sizes.
Variations & Substitutions
- Dairy-Free Yogurt: Experiment with plant-based milks like almond, soy, or coconut milk. Keep in mind that the texture and flavor will differ from traditional dairy yogurt. You’ll also need a dairy-free yogurt starter with live cultures.
- Flavored Yogurt: Infuse the milk with spices like vanilla bean, cardamom, or cinnamon while heating for a subtle flavor. Add fruit purees or extracts after the yogurt has set and chilled.
- Sweetened Yogurt: Stir in honey, maple syrup, or agave nectar to taste after the yogurt has set and chilled. Avoid adding sweeteners before incubation, as they can interfere with the cultures.
- Greek Yogurt: Strain your homemade yogurt through cheesecloth to remove excess whey and create a thicker, tangier Greek-style yogurt.
FAQs (Frequently Asked Questions)
Q: Can I use ultra-pasteurized milk?
A: Ultra-pasteurized milk may work, but it sometimes results in a thinner yogurt. Regular pasteurized milk is generally recommended for the best texture.
Q: What if my yogurt doesn’t set?
A: This can happen due to several factors, including an inactive starter, milk that was too hot or too cold, or an environment that wasn’t warm enough. Try again with a fresh starter and a more controlled temperature.
Q: How can I make my yogurt thicker?
A: Use whole milk, strain the yogurt after it sets, or add a small amount of powdered milk to the milk before heating.
Q: Can I use frozen yogurt as a starter?
A: No, freezing can damage the live cultures, making it unsuitable as a starter.
Q: How long does homemade yogurt last in the fridge?
A: Homemade yogurt typically lasts for 1-2 weeks in the refrigerator.
Final Thoughts
Making homemade yogurt is a rewarding experience that allows you to create a delicious and healthy treat tailored to your own preferences. Don’t be intimidated by the process – with a little practice and patience, you’ll be enjoying creamy, tangy yogurt made with your own two hands in no time. I encourage you to experiment with different flavors, textures, and toppings to create your signature yogurt creation. Share your results and experiences with others and keep the delicious tradition alive! Consider serving your homemade yogurt with a sprinkle of toasted granola and a drizzle of homemade fruit compote for an extra special touch.