
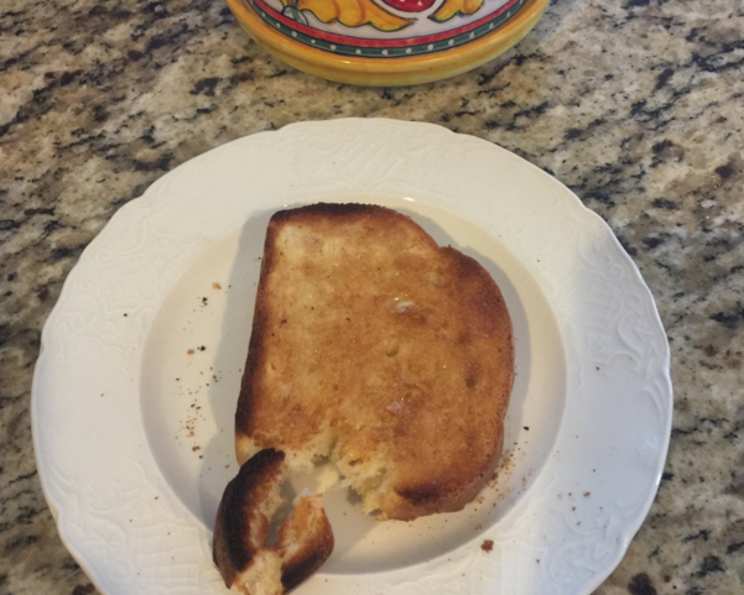
Honey Oatmeal Bread for Your KitchenAid Mixer
The scent of baking bread is a time machine, isn’t it? One whiff, and I’m instantly transported back to my grandmother’s kitchen. She had this uncanny ability to transform simple ingredients into golden, fragrant loaves that filled her home with warmth and love. I can still picture her, flour dusting her apron, patiently kneading dough on a well-worn wooden board. It’s a feeling I chase every time I bake, hoping to recapture that magic, that simple joy of creating something nourishing and delicious from scratch. This Honey Oatmeal Bread brings me a little closer to that memory every single time.
Recipe Overview
- Prep Time: 2 hours 40 minutes
- Cook Time: 40 minutes
- Total Time: 3 hours 20 minutes
- Yields: 2 loaves of bread
- Dietary Type: Vegetarian
Ingredients
- 5 – 6 ½ cups all-purpose flour
- 1 cup quick-cooking oats
- 2 teaspoons salt
- 2 (¼ ounce) packages active dry yeast
- 1 ½ cups water
- ½ cup honey
- ½ cup butter or margarine
- 2 eggs
- 1 tablespoon water
- 1 egg white
- Additional oatmeal, for sprinkling
Equipment Needed
- KitchenAid Stand Mixer
- Dough Hook Attachment
- Measuring cups and spoons
- Saucepan
- Greased bowl
- Two 8 ½ x 4 ½ x 2 ½-inch bread pans
- Wire racks
Instructions
-
To begin, place 5 cups of the all-purpose flour, the quick-cooking oats, salt, and active dry yeast in the bowl of your KitchenAid Stand Mixer.
-
Attach the bowl to the mixer, and then attach the dough hook.
-
Turn the mixer to speed 2 and mix the dry ingredients for 30 seconds, just until they are combined.
-
In a saucepan, combine the water, honey, and butter (or margarine).
-
Heat the mixture in the saucepan over low heat until it reaches a temperature between 120°F and 130°F. This is crucial for activating the yeast without killing it. Use a thermometer to ensure accuracy.
-
With the mixer still on speed 2, slowly and steadily add the warm liquid mixture to the flour mixture. Mix for about 1 minute to combine.
-
Add the eggs to the bowl and mix for an additional 1 minute.
-
Continue mixing on speed 2. Gradually add the remaining flour, about ½ cup at a time, until the dough begins to cling to the dough hook and cleans the sides of the bowl. This should take about 3 minutes. You may not need all 6 ½ cups of flour. The amount will depend on the humidity and other factors.
-
Once the dough has come together, increase the mixer speed to speed 2 and knead the dough for 7-10 minutes, or until the dough is smooth and elastic. This is a key step in developing the gluten and creating a good bread structure. The dough should be tacky, but not overly sticky.
-
Lightly grease a large bowl. Place the dough in the greased bowl, turning it to coat the top with grease. This will prevent a skin from forming as it rises.
-
Cover the bowl with a clean kitchen towel or plastic wrap. Let the dough rise in a warm place until it has doubled in size, about 1 hour. A warm oven (turned off) or a sunny spot works well.
-
Once the dough has doubled, punch it down to release the air.
-
Divide the dough in half.
-
Shape each half into a loaf. You can do this by gently stretching and folding the dough under itself, creating a smooth, rounded top.
-
Place each loaf into a greased 8 ½ x 4 ½ x 2 ½-inch bread pan.
-
Cover the pans with a clean kitchen towel or plastic wrap. Let the loaves rise in a warm place until they have doubled in size, about another hour.
-
Preheat your oven to 375°F (190°C).
-
In a small bowl, combine the 1 tablespoon of water and the egg white. Whisk until lightly frothy.
-
Gently brush the tops of the risen loaves with the egg white wash. This will give them a beautiful, golden-brown sheen.
-
Sprinkle the tops of the loaves generously with oatmeal.
-
Bake in the preheated oven for 40 minutes, or until the loaves are golden brown and sound hollow when tapped on the bottom. If the tops are browning too quickly, you can tent them with foil during the last 10-15 minutes of baking.
-
Remove the loaves from the oven and let them cool in the pans for a few minutes before transferring them to wire racks to cool completely.
Expert Tips & Tricks
-
Temperature is Key: The water temperature for activating the yeast is crucial. Too hot, and you’ll kill the yeast. Too cold, and it won’t activate properly. Use a thermometer for best results.
-
Flour Power: The amount of flour needed can vary depending on humidity and the specific type of flour you use. Add the flour gradually until the dough comes together and cleans the sides of the bowl.
-
Warm Rising Environment: Provide a consistently warm environment for the dough to rise. A slightly warm oven (turned off) or a proofing drawer is ideal.
-
Doneness Check: Tapping the bottom of the loaf to check for doneness is a classic technique. The loaf should sound hollow. You can also use a thermometer; the internal temperature should be around 200-210°F (93-99°C).
-
Enrich the Dough: For a richer flavor, substitute some of the water with milk or buttermilk.
Serving & Storage Suggestions
This Honey Oatmeal Bread is fantastic sliced and served warm with butter, jam, or honey. It’s also excellent for sandwiches, toast, or grilled cheese. Leftover bread can be stored at room temperature in an airtight container for up to 3 days. For longer storage, wrap the loaves tightly in plastic wrap and freeze for up to 2 months. To reheat, thaw completely and then warm in a low oven (around 300°F/150°C) for a few minutes, or toast individual slices.
Nutritional Information
| Nutrient | Amount per Serving (estimated) | % Daily Value* |
|---|---|---|
| Calories | 2058.7 kcal | N/A |
| Calories from Fat | 513 g | 25% |
| Total Fat | 57.1 g | 87% |
| Saturated Fat | 31.7 g | 158% |
| Cholesterol | 308 mg | 102% |
| Sodium | 2850.3 mg | 118% |
| Total Carbohydrate | 339.2 g | 113% |
| Dietary Fiber | 14.6 g | 58% |
| Sugars | 71.2 g | 284% |
| Protein | 49.3 g | 98% |
*Percent Daily Values are based on a 2,000 calorie diet. Your daily values may be higher or lower depending on your calorie needs. Note that this is an automatically generated estimate and may not be completely accurate.
Variations & Substitutions
- Whole Wheat Version: Substitute up to half of the all-purpose flour with whole wheat flour for a nuttier flavor and increased fiber.
- Nutty Addition: Add ½ cup of chopped walnuts, pecans, or almonds to the dough for extra texture and flavor.
- Seed Power: Sprinkle sesame seeds, poppy seeds, or sunflower seeds on top of the loaves along with the oatmeal.
- Spice It Up: Add a teaspoon of ground cinnamon or nutmeg to the dough for a warm, spiced flavor.
- Vegan Option: Substitute the butter with a vegan butter alternative and use a flax egg (1 tablespoon ground flaxseed mixed with 3 tablespoons water) in place of the eggs. The egg wash can be replaced with plant-based milk.
FAQs (Frequently Asked Questions)
Q: Why is my bread dense and not rising properly?
A: This is often due to inactive yeast or not allowing the dough to rise in a warm enough environment. Make sure your yeast is fresh and that your rising location is consistently warm.
Q: Can I use instant yeast instead of active dry yeast?
A: Yes, you can. If using instant yeast, you can add it directly to the dry ingredients without proofing it first.
Q: My bread is browning too quickly on top. What can I do?
A: Tent the loaves with aluminum foil during the last 10-15 minutes of baking to prevent the tops from burning.
Q: How do I know when the bread is done baking?
A: The bread should be golden brown and sound hollow when tapped on the bottom. You can also use a thermometer; the internal temperature should be around 200-210°F (93-99°C).
Q: Can I freeze this bread?
A: Yes, this bread freezes well. Wrap the loaves tightly in plastic wrap and then in a freezer bag. It can be frozen for up to 2 months.
Final Thoughts
Baking this Honey Oatmeal Bread is more than just following a recipe; it’s an act of creating comfort and connection. The aroma filling your kitchen, the soft texture of the dough, and the satisfying crunch of the oatmeal topping – it all combines to create a truly special experience. I encourage you to give this recipe a try. Share it with your loved ones, and savor the simple pleasure of homemade bread. Perhaps pair it with a comforting bowl of soup on a chilly evening, or simply enjoy a slice with a cup of tea. However you choose to enjoy it, I hope this Honey Oatmeal Bread brings a little bit of warmth and happiness to your day.