
Mastering the Art of Blind Baking: A Guide to Perfect Pie Crusts
The first time I attempted a custard pie, I was brimming with confidence. My filling was silky smooth, the aroma intoxicating, but the crust…oh, the crust. It was pale, soggy, and a far cry from the golden, flaky perfection I envisioned. That humbling experience ignited my quest to conquer the art of blind baking, a technique that transforms a potentially disastrous pie bottom into a sturdy, delicious foundation for any filling. Now, years later, I find a strange satisfaction in the gentle crackle of a perfectly pre-baked crust, a testament to patience and precision in the kitchen.
Recipe Overview
- Prep Time: 20 minutes
- Cook Time: 35 minutes
- Total Time: 55 minutes
- Yields: 1 Pie crust
- Dietary Type: Vegetarian
Ingredients
- Pie crust dough (homemade or store-bought, about 1 disk)
- Parchment paper (or a large round coffee filter)
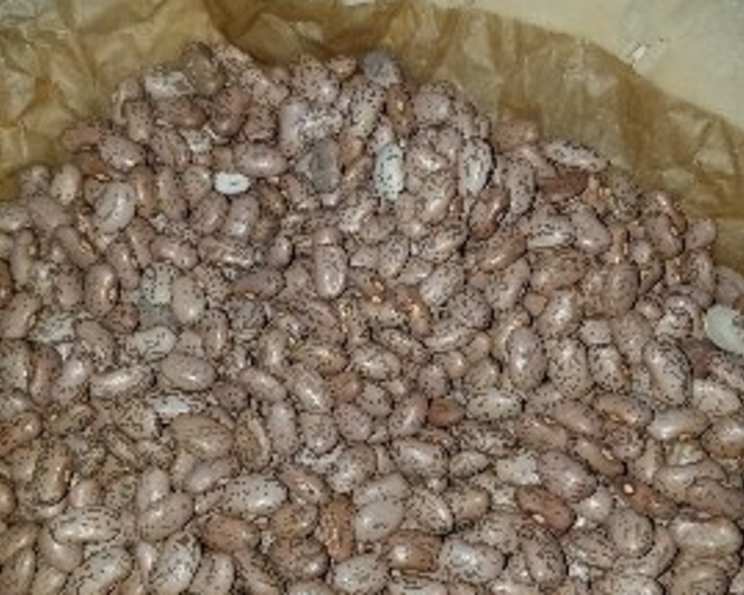
- Dried beans (or pie weights) OR raw rice (as pie weights)
Equipment Needed
- Pie dish (9-inch recommended)
- Rolling pin
- Fork
- Oven
Instructions
-
Begin by rolling out your pie dough on a lightly floured surface to a thickness of about 1/8 inch. Gently place the rolled dough into your pie dish, ensuring it fits snugly against the bottom and sides.
-
Trim the edges of the dough, leaving about an inch of overhang. You can then crimp the edges decoratively with your fingers or a fork. This not only adds a touch of elegance but also helps prevent the crust from shrinking during baking.
-
Now, place a sheet of parchment paper or an opened-up round coffee filter carefully inside the pie crust, ensuring it covers the entire surface. This barrier will prevent the pie weights from directly touching the dough.
-
Pour in your chosen pie weights. You can use dried beans, raw rice, or purpose-made ceramic pie weights. Fill the pan about halfway, ensuring the weights are evenly distributed. This even distribution is essential for preventing the crust from puffing up unevenly.
-
Chill the pie crust in the refrigerator for about 30 minutes. This step is crucial for preventing the dough from shrinking in the oven. The cold butter in the dough solidifies, slowing down gluten development and maintaining the crust’s shape.
-
While the crust chills, preheat your oven to 375°F (190°C). Ensure the oven is fully preheated before baking for even cooking.
-
Bake the crust for 20 minutes. This initial bake helps to set the structure of the crust.
-
Remove the pie crust from the oven. Carefully remove the parchment paper and pie weights (or rice/beans). Be cautious as the weights will be hot. You can save the beans or rice for future blind baking – just be sure to label them clearly and don’t cook with them.
-
At this point, you have a partially baked crust.
-
For a partially baked crust (needed when the filling will be baked inside the crust), check the bottom of the crust. It should appear dry and slightly flaky but still pale. If the bottom looks moist, return the crust to the oven for a few more minutes (5-10 minutes) until it dries out. This step ensures a crisp bottom layer that won’t become soggy from a wet filling.
-
For a fully baked crust (needed for fillings that don’t require baking, like cream pies or chocolate ganache), prick the bottom of the crust several times with a fork. This will prevent it from puffing up during the final bake.
-
-
Return the crust to the oven (whether it was partially baked or is ready to be fully baked). Bake for an additional 10 to 15 minutes, or until the crust is golden brown. Keep a close eye on it to prevent burning, especially around the edges.
Expert Tips & Tricks
- Docking the Crust: For fillings that tend to make the crust soggy, dock the crust (prick it all over with a fork) even before the initial bake. This allows steam to escape, preventing puffing and sogginess.
- Egg Wash (for a Shinier Crust): For a glossy, golden-brown crust, brush the edges with a beaten egg wash (egg yolk mixed with a teaspoon of water or milk) during the last 5 minutes of baking.
- Preventing Over-Browning: If the edges of the crust start to brown too quickly, cover them with strips of aluminum foil.
- Check for Doneness: Tap the bottom of the baked crust lightly. It should sound firm and hollow.
- Reviving a Soggy Crust: If your pre-baked crust is still a little soft after baking, return it to the oven for a few minutes at a higher temperature (around 400°F or 200°C). Watch it closely to prevent burning.
Serving & Storage Suggestions
A blind-baked pie crust is best served filled as soon as possible, especially when using a delicate filling like custard. For cream pies or chilled fillings, allow the crust to cool completely before adding the filling. If you’re not ready to fill your crust immediately, you can store it at room temperature for up to 24 hours, wrapped loosely in plastic wrap. For longer storage, freeze the baked crust for up to a month. Thaw it completely at room temperature before filling.
Nutritional Information
Note: Nutritional information will vary significantly depending on the type of crust used.
| Nutrient | Amount per Serving | % Daily Value |
|---|---|---|
| Calories | 200 kcal | 10% |
| Total Fat | 12g | 18% |
| Saturated Fat | 7g | 35% |
| Cholesterol | 0mg | 0% |
| Sodium | 150mg | 7% |
| Total Carbohydrate | 20g | 7% |
| Dietary Fiber | 1g | 4% |
| Sugars | 2g | – |
| Protein | 2g | 4% |
Variations & Substitutions
- Gluten-Free Crust: Use a gluten-free pie crust recipe or a store-bought gluten-free crust for a gluten-free option.
- Chocolate Crust: Add 2 tablespoons of cocoa powder to your dry ingredients when making the crust for a chocolatey twist.
- Graham Cracker Crust: Use a graham cracker crust recipe for fillings that complement the sweet, crumbly texture. This typically won’t need to be baked as long.
- Different Flours: Experiment with different types of flour for a more nuanced flavour. Whole wheat, spelt, or rye flour can all be used in small amounts to add depth.
FAQs (Frequently Asked Questions)
Q: Why do I need to chill the pie crust before baking?
A: Chilling the pie crust is crucial to relax the gluten in the dough, which reduces shrinkage and prevents the fat from melting too quickly in the oven. This results in a more tender and flaky crust.
Q: Can I reuse the beans or rice I used as pie weights?
A: Yes, you can reuse dried beans or raw rice as pie weights for future blind baking. However, do not cook and eat them afterward, as they may have absorbed moisture or other unwanted substances from the crust.
Q: My pie crust is shrinking during baking. What am I doing wrong?
A: Shrinkage is often caused by gluten development or insufficient chilling. Make sure not to overwork the dough when making the crust, chill the dough for at least 30 minutes before baking, and use pie weights or beans to hold the crust in place.
Q: How do I know when my pie crust is fully baked?
A: A fully baked pie crust should be golden brown in color and feel firm and dry to the touch. The bottom of the crust should also be dry and slightly flaky.
Q: Can I blind bake a pie crust ahead of time and freeze it?
A: Yes, you can blind bake a pie crust ahead of time and freeze it. Allow the crust to cool completely before wrapping it tightly in plastic wrap and then placing it in a freezer-safe bag or container. Thaw completely before filling.
Final Thoughts
Blind baking might seem like an extra step, but the results are undeniable: a sturdy, golden crust that perfectly complements any pie filling. Don’t be intimidated! With a little patience and these helpful tips, you’ll be whipping up picture-perfect pies in no time. I hope you find this helpful and are baking perfect pies soon! Try pairing your masterpiece with a scoop of homemade vanilla ice cream or a dollop of freshly whipped cream. Don’t forget to share your baking adventures and any innovative twists you come up with! Happy baking!