
Biltong Bliss: Crafting South African Beef Jerky at Home
My first encounter with biltong, the iconic South African dried meat, was a revelation. I was backpacking through the Drakensberg Mountains, and a local farmer shared a slab of his homemade biltong with me. The savory, complex flavors – a symphony of coriander, pepper, and just a hint of sweetness – were unlike anything I’d tasted before. It wasn’t just food; it was a taste of South Africa itself, a culinary story etched in every chewy bite. Ever since, I’ve been on a quest to recreate that magic in my own kitchen. This recipe, refined over years, brings you as close as possible to the authentic biltong experience.
Recipe Overview
- Prep Time: 2 hours (including salting)
- Dry Time: 1-3 days (depending on thickness and environment)
- Total Time: 26-74 hours
- Servings: 5-10
- Yield: Varies based on initial meat weight
- Dietary Type: High-Protein, Gluten-Free, Dairy-Free
Ingredients
- 5 kg rump steak, silverskin removed and cut into thick strips (approx. 1 inch thick) *Note: Ensure the strips are cut *against* the grain for optimal tenderness.*
- 300 g rock salt
- 50 g mixed color whole peppercorns
- 25 g whole coriander seeds
- 4 g sugar
- ½ liter brown vinegar
- 25 ml Worcestershire sauce
- 50 g all-purpose seasoning (such as a braai spice blend, or a custom mix of garlic powder, onion powder, paprika, etc.)
- 250 ml warm water
Equipment Needed
- Large plastic or glass dish
- Coffee grinder or spice grinder
- Air dryer or dehydrator (alternatively, an oven with a very low temperature setting)
- Mixing bowls
Instructions
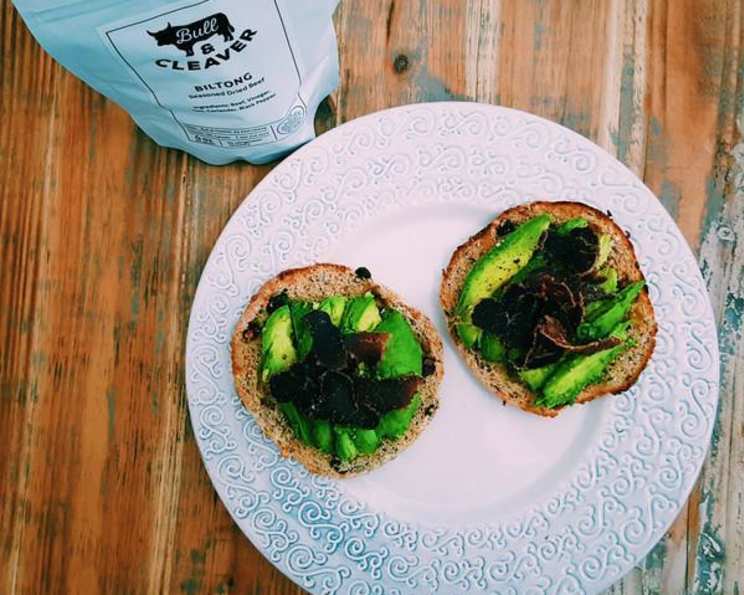
- Prepare the Beef: Source high-quality rump steak from a trusted butcher or online supplier. Bull and Cleaver (as originally suggested) or similar reputable vendors are great options.
- Cut Against the Grain: This is crucial! Using a sharp knife, carefully slice the rump steak into strips approximately 1 inch thick, ensuring you cut against the grain. This will result in a more tender final product. Remove any excess fat, as it can impede the drying process and affect the flavor.
- Rest the Beef: Place the cut strips of beef in a cool, dry place and allow them to rest for at least one hour. This helps the meat relax and improves its ability to absorb the flavors of the marinade.
- Salt Curing: Sprinkle a generous layer of rock salt at the bottom of a large plastic or glass dish. Place a layer of beef strips on top of the salt, then sprinkle another layer of rock salt over the beef. Repeat this layering process until all the beef is used, ensuring each layer is well coated with rock salt.
- Cure in Salt: Leave the beef strips to cure in the rock salt for one hour. The salt will draw out moisture from the meat, which is essential for the drying process.
- Prepare the Spice Mix: While the beef is curing, prepare your spice mix. Start with the whole coriander seeds. The fresher the spices, the more vibrant the flavor will be.
- Grind the Spices: Using a coffee grinder or spice grinder, grind the whole coriander seeds into a coarse powder. The consistency should be slightly coarser than ground pepper.
- Grind the Pepper: Add the mixed color whole peppercorns to the grinder. Grind according to your preference – some prefer a fine powder, while others prefer a coarser grind for a more pronounced pepper flavor. Start with grinding about 5-10g and adjust to your taste.
- Combine the Spices: In a mixing bowl, combine the ground coriander, ground pepper, sugar (2-4g), and all-purpose seasoning (25g). Mix thoroughly to ensure all the spices are evenly distributed. This spice mix can be prepared in larger quantities and stored for future use.
- Prepare the Meat Bath: In a separate bowl, combine the Worcestershire sauce (25 ml), brown vinegar (½ liter), and warm water (250 ml). Mix well to create the meat bath.
- Rinse the Salt: After the beef has cured in the salt for one hour, remove the strips from the dish and thoroughly rinse them under cold running water to remove the excess rock salt. Pat the beef strips dry with paper towels.
- Soak the Beef: Place the rinsed beef strips into the meat bath and ensure they are fully submerged. Allow the beef to soak in the marinade for at least 2 hours, or up to 4 hours, for a more intense flavor.
- Spice Application: Remove the beef strips from the meat bath and pat them dry with paper towels. Lay the strips on a clean surface and sprinkle the prepared spice mix evenly over all sides. Remember, less is more. You can always add more spice later, but you can’t remove it.
- Optional Additional Flavors: Feel free to experiment with additional spices to customize the flavor of your biltong. Chili flakes, garlic powder, curry powder, or smoked paprika can add unique and interesting flavor dimensions. Just remember to use them sparingly.
- Drying Process: Arrange the spiced beef strips in an air dryer or dehydrator, ensuring there is adequate space between each strip for proper airflow. Alternatively, you can use an oven set to the lowest possible temperature (ideally below 170°F or 77°C) with the door slightly ajar to allow moisture to escape.
- Drying Time: The drying time will vary depending on the thickness of the beef strips, the temperature of your drying environment, and your desired level of dryness. Generally, it will take between 1 and 3 days.
- Monitor and Test: Regularly check the beef strips for dryness. They should be firm to the touch and slightly flexible, but not wet or overly juicy. Taste a small piece to assess the flavor and dryness. If the biltong is still too wet, continue drying it for a few more hours.
- Enjoy! Once the biltong has reached your desired level of dryness, remove it from the air dryer or oven and allow it to cool completely before slicing and serving.
Expert Tips & Tricks
- Cutting the Beef: As mentioned earlier, cutting against the grain is paramount for tenderness. Take your time and ensure you’re cutting in the right direction.
- Spice Level: Start with less spice than you think you need. You can always add more spice to subsequent batches.
- Humidity Control: If you live in a humid environment, it may take longer for the biltong to dry. Consider using a dehumidifier in the drying area to speed up the process.
- Mold Prevention: Ensure good airflow during the drying process to prevent mold growth.
- Vinegar Choice: While brown vinegar is traditional, you can experiment with other vinegars, such as apple cider vinegar or balsamic vinegar, for a different flavor profile. Just be mindful of the sugar content, as it can affect the drying time.
- Spice Grinding: Freshly ground spices are always best for flavor. Invest in a good quality coffee grinder or spice grinder.
Serving & Storage Suggestions
Serve your homemade biltong sliced thinly or in thicker chunks, depending on your preference. It’s fantastic on its own as a high-protein snack, or you can add it to salads, sandwiches, or charcuterie boards.
Store the biltong in an airtight container in a cool, dry place. It will last for several weeks at room temperature. For longer storage, you can refrigerate it, which will extend its shelf life to several months. You can also freeze the biltong for up to a year, although the texture may change slightly after thawing.
Nutritional Information
| Nutrient | Amount per Serving (approx. 100g) | % Daily Value (Based on 2000 calorie diet) |
|---|---|---|
| Calories | 250 kcal | 13% |
| Total Fat | 8g | 12% |
| Saturated Fat | 3g | 15% |
| Cholesterol | 80mg | 27% |
| Sodium | 600mg | 26% |
| Total Carbohydrate | 2g | 1% |
| Dietary Fiber | 0g | 0% |
| Sugars | 1g | – |
| Protein | 40g | 80% |
Note: Nutritional information is an estimate and may vary based on specific ingredients and preparation methods.
Variations & Substitutions
- Spicier Biltong: Add more chili flakes or a pinch of cayenne pepper to the spice mix for a spicier kick.
- Sweeter Biltong: Increase the amount of sugar in the spice mix for a sweeter flavor profile.
- Garlic Biltong: Add garlic powder or minced garlic to the spice mix for a garlicky flavor.
- Venison Biltong: Substitute the rump steak with venison for a gamey twist.
- Ostrich Biltong: Another popular South African variation uses ostrich meat, which is leaner than beef.
FAQs (Frequently Asked Questions)
Q: Can I use a different cut of beef?
A: While rump steak is the traditional choice, you can use other lean cuts such as top round or sirloin. Avoid cuts with excessive marbling, as the fat can hinder the drying process.
Q: How long should I dry the biltong?
A: The drying time depends on the thickness of the meat, the humidity, and your desired level of dryness. Check the biltong regularly and taste it to determine when it’s ready.
Q: Can I use a regular oven instead of a dehydrator?
A: Yes, you can use a regular oven set to the lowest possible temperature (ideally below 170°F or 77°C) with the door slightly ajar to allow moisture to escape.
Q: How do I prevent mold growth?
A: Ensure good airflow during the drying process and avoid overcrowding the beef strips. If you live in a humid environment, consider using a dehumidifier.
Q: What if my biltong is too salty?
A: Make sure to rinse the salt off thoroughly after the salting process. You can also reduce the amount of salt used in the curing process in future batches.
Final Thoughts
Making biltong at home is a rewarding experience. The aroma that fills your kitchen as the meat slowly dries, the anticipation of that first flavorful bite – it’s a culinary journey worth taking. Don’t be afraid to experiment with different spices and flavor combinations to create your own signature biltong. Gather your ingredients, follow the steps, and prepare to be transported to the heart of South Africa with every delicious morsel. And don’t forget to share your creations with friends and family – biltong is best enjoyed together!