
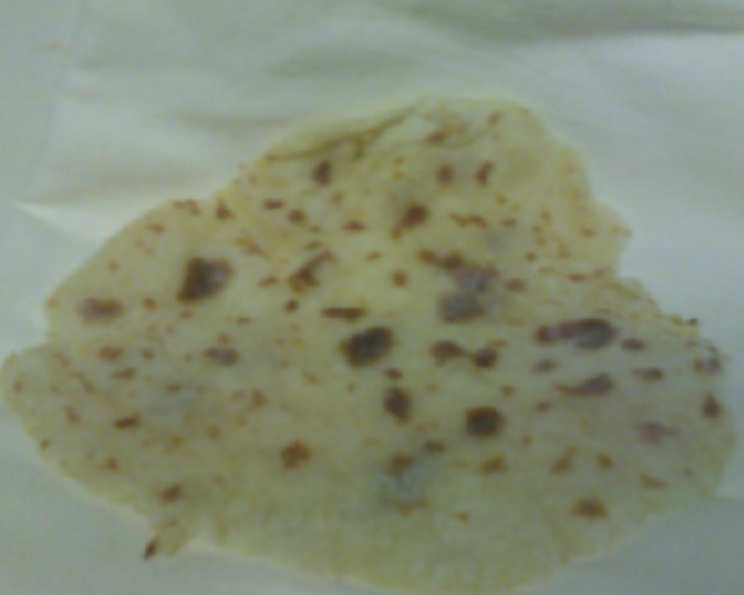
The Humble Comfort of Hungry Jack Lefse
The scent of potatoes always takes me back to my grandmother’s kitchen. She wasn’t fancy, but her cooking was love made edible. One winter, she decided to teach me how to make lefse, a Norwegian flatbread that held a special place in her heart. I remember the cloud of flour, the rhythmic rolling, and the satisfying sizzle on the hot griddle. It wasn’t just food; it was a connection to our heritage, a taste of home that warmed me from the inside out. This recipe reminds me of those simple, comforting days.
Recipe Overview
- Prep Time: 15 minutes
- Cook Time: 17 minutes
- Total Time: 32 minutes
- Yields: 20 lefse
- Dietary Type: Vegetarian
Ingredients
- 3 cups instant potato flakes (specifically Hungry Jack Brand is recommended)
- 1 cup water
- 2 tablespoons margarine or butter
- 2 teaspoons salt
- 1 cup milk
- ¾ – 1 cup all-purpose flour (Pillsbury BEST is recommended)
- Butter for serving
- Sugar for serving (optional)
Equipment Needed
- Electric lefse griddle or electric skillet
- Large bowl
- Small saucepan
- Measuring cups and spoons
- Rolling pin
- Pastry cloth or well-floured board
- Lefse stick or spatula
- Plastic wrap
- Cloth dish towels
Instructions
-
Heat an electric lefse griddle (preferred) or electric skillet to the highest temperature. If using a regular griddle on the stove, ensure it’s preheated to medium-high heat.
-
DO NOT GREASE the griddle or skillet. This is important for achieving the right texture and browning.
-
Measure the potato flakes into a large bowl.
-
In a small saucepan, combine the water, salt, and margarine (or butter). Heat over medium-high heat until the mixture comes to a rolling boil.
-
Remove the saucepan from the heat and add the milk to the hot liquid.
-
Pour the hot liquid mixture over the potato flakes in the large bowl. Stir until the flakes are moistened. The mixture will appear crumbly at this stage.
-
Gradually add the flour in small amounts to the potato mixture.
-
Work the mixture with your hands until a soft dough of rolling consistency forms. Be careful to AVOID USING TOO MUCH FLOUR. Adding too much flour will result in tough lefse.
-
Form the dough into a roll approximately 10 inches long and 2 inches in diameter.
-
Cut the roll into ½-inch thick slices.
-
Cover the dough slices with plastic wrap while rolling out each lefse to prevent them from drying out.
-
On a well-floured board or pastry cloth, roll out each slice of dough until it is paper-thin. The thinner, the better!
-
Carefully transfer the rolled-out lefse to the heated griddle using a lefse stick or spatula.
-
Bake for approximately 1 minute, or until brown spots appear on the bottom surface. Watch closely, as they can burn quickly.
-
Turn the lefse over and bake the other side for 30-45 seconds. Again, keep a close eye to prevent burning.
-
Immediately place the cooked lefse between cloth dish towels to prevent them from drying out. This step is crucial for maintaining their soft and pliable texture.
-
Repeat the rolling and cooking process with the remaining slices of dough.
-
Allow the cooked lefse to cool completely before serving.
-
To serve, spread with butter and fold in quarters. Alternatively, spread with butter, sprinkle with sugar, and roll them up tightly in plastic wrap, as my friend’s husband prefers.
Expert Tips & Tricks
- Temperature Control: The griddle temperature is crucial. Too hot, and the lefse will burn before it cooks through. Too low, and they will be tough and dry. Finding the sweet spot takes practice, so don’t be discouraged if your first few are not perfect.
- Rolling Technique: Rolling the lefse paper-thin is key to a tender final product. Use a good rolling pin and apply even pressure. Rotating the lefse as you roll helps to achieve a uniform thickness.
- Flour Management: Resist the urge to add too much flour. The dough should be slightly sticky, but manageable. If the dough is too wet, add a tiny amount of flour at a time, kneading it in gently until it reaches the desired consistency.
- Preventing Sticking: If the lefse are sticking to the griddle, ensure it’s hot enough. A thin coating of flour on the griddle can also help, but use it sparingly.
- Make-Ahead Tip: Lefse can be made ahead of time and stored in the refrigerator or freezer. For refrigerated storage, keep them tightly wrapped in plastic wrap. For freezer storage, place a sheet of parchment paper between each lefse to prevent them from sticking together.
- Reviving Dry Lefse: If your lefse become dry, lightly spritz them with water and warm them in a skillet or microwave.
Serving & Storage Suggestions
Lefse is traditionally served warm with butter and sugar. Some people enjoy adding cinnamon or brown sugar for extra flavor. It’s also delicious with savory fillings like lutefisk or cream cheese.
Store leftover lefse in an airtight container or wrapped tightly in plastic wrap in the refrigerator for up to 3 days. For longer storage, freeze them for up to 2 months. To reheat, microwave for a few seconds or warm them in a dry skillet over medium heat. You can also re-steam them by placing them in a steamer basket over simmering water for a few minutes.
Nutritional Information
| Nutrient | Amount per Serving | % Daily Value |
|---|---|---|
| Calories | 60.5 kcal | N/A |
| Calories from Fat | 14 kcal | N/A |
| Total Fat | 1.7 g | 2% |
| Saturated Fat | 0.5 g | 2% |
| Cholesterol | 1.7 mg | 0% |
| Sodium | 259.9 mg | 10% |
| Total Carbohydrate | 10 g | 3% |
| Dietary Fiber | 0.6 g | 2% |
| Sugars | 0.3 g | 1% |
| Protein | 1.5 g | 3% |
Note: Nutritional information is an estimate and may vary based on specific ingredients and portion sizes.
Variations & Substitutions
- Gluten-Free Lefse: Substitute the all-purpose flour with a gluten-free all-purpose flour blend. You may need to experiment with the amount of flour to achieve the right consistency.
- Dairy-Free Lefse: Use non-dairy milk (such as almond, soy, or oat milk) and dairy-free margarine in place of butter.
- Sweet Potato Lefse: Incorporate cooked and mashed sweet potato into the dough for a slightly sweet and colorful variation. Reduce the amount of potato flakes accordingly.
- Herb-Infused Lefse: Add finely chopped fresh herbs like dill or chives to the dough for a savory twist.
- Spice it Up: Add a pinch of cardamom or nutmeg to the dough for a warm, aromatic flavor.
FAQs (Frequently Asked Questions)
Q: Why is my lefse dough sticky?
A: Lefse dough is naturally a bit sticky due to the potatoes. Avoid adding too much flour, as this will make the lefse tough. Keep your hands and rolling surface well-floured.
Q: My lefse are tearing when I try to transfer them to the griddle. What can I do?
A: This likely means the lefse are too thin or sticking to the rolling surface. Make sure your board or pastry cloth is well-floured and use a lefse stick or a wide spatula to gently lift and transfer the lefse.
Q: How do I know when the lefse is cooked properly?
A: The lefse should have small brown spots on the bottom surface and be slightly firm to the touch. Avoid overcooking, as this will make them dry and brittle.
Q: Can I make the dough ahead of time?
A: Yes, you can make the dough ahead of time and store it in the refrigerator for up to 24 hours. Wrap it tightly in plastic wrap to prevent it from drying out. Let it come to room temperature before rolling out.
Q: What’s the best way to reheat lefse?
A: The best way to reheat lefse is in a dry skillet over medium heat for a few seconds per side. You can also microwave them for a few seconds, but be careful not to overheat them, as they can become tough.
Q: Can I use a cast-iron skillet if I don’t have a griddle?
A: Absolutely! A well-seasoned cast-iron skillet works beautifully for making lefse. Just be sure it’s heated evenly and not too hot.
Final Thoughts
Hungry Jack Lefse is more than just a recipe; it’s a connection to tradition, a comforting embrace in the form of a simple flatbread. Whether you’re a seasoned baker or a kitchen novice, I encourage you to try this recipe and experience the joy of making and sharing this delightful treat. Don’t be afraid to experiment with variations and make it your own. And most importantly, savor every bite! This pairs nicely with a cup of coffee or alongside a hearty stew. I hope you enjoy making this recipe and creating new memories with it.