
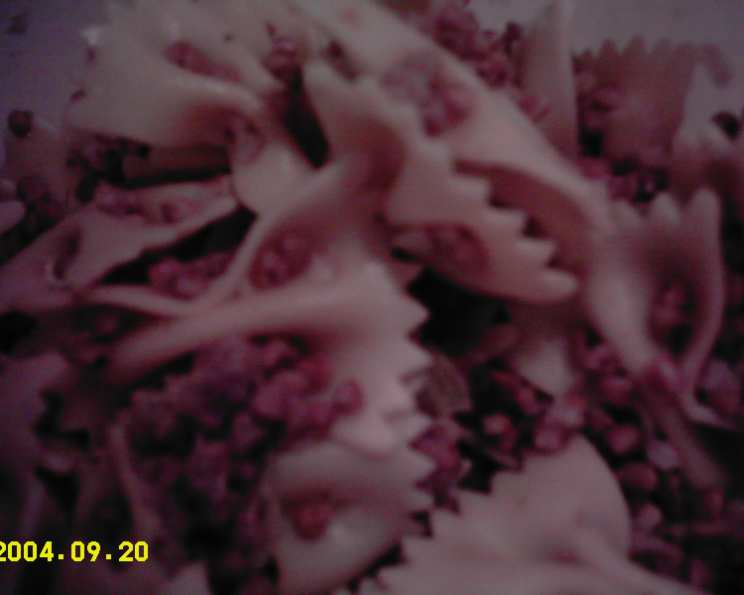
Kasha Varnishkes: A Taste of Home
My Bubbe Esther’s kitchen was a symphony of comforting aromas, but none more nostalgic than the savory scent of toasted buckwheat and caramelized onions. Kasha varnishkes, a humble dish of buckwheat groats and bow tie pasta, wasn’t just food; it was a tangible link to my heritage, a warm hug on a cold day, and a constant reminder of family traditions passed down through generations. Each perfectly browned grain and tender noodle carried a story, whispered across tables laden with love and laughter. Recreating it always brings me back to her bustling kitchen.
Recipe Overview
- Prep Time: 10 minutes
- Cook Time: 25 minutes
- Total Time: 35 minutes
- Servings: 8-10
- Dietary Type: Vegetarian (easily adaptable to vegan)
Ingredients
- 1 cup dried kasha, coarse grain
- 1 egg
- 1 onion, chopped
- 2 tablespoons oil (vegetable or olive oil works well)
- 2 cups chicken broth (vegetable broth for a vegetarian version)
- Salt and pepper to taste
- 1 package bow tie pasta, cooked
Equipment Needed
- Small bowl
- Skillet or large pan with lid
- Measuring cups and spoons
- Pot for cooking pasta (if not already cooked)
Instructions
-
In a small bowl, thoroughly mix the kasha with the beaten egg. This process is crucial; the egg coats the grains, preventing them from becoming mushy during cooking. Set aside.
-
In a skillet or large pan, heat the oil over medium heat. Add the chopped onion and cook, stirring occasionally, until softened and golden brown. This caramelization is key to the dish’s depth of flavor.
-
Add the kasha to the skillet with the browned onions. Cook, stirring constantly, separating the grains, until they are slightly toasted and fragrant. This usually takes about 3-5 minutes. The toasting enhances the nutty flavor of the kasha.
-
Pour in the chicken broth, and season with salt and pepper. Bring the mixture to a boil.
-
Once boiling, reduce the heat to low, cover the skillet, and simmer until the broth is fully absorbed and the kasha is tender. This typically takes around 12 minutes. Check periodically to ensure the liquid hasn’t evaporated too quickly; if needed, add a splash more broth.
-
Gently mix in the cooked bow tie pasta to the kasha mixture. Season with additional salt and pepper to taste. Ensure the pasta is evenly distributed and heated through.
-
Serve hot and enjoy this comforting classic!
Expert Tips & Tricks
-
Kasha Selection: Coarse grain kasha is preferred for its texture and ability to hold its shape during cooking. Fine or medium grain kasha can become mushy.
-
Egg Coating: Don’t skip the step of coating the kasha with the egg. It’s essential for achieving a separate, fluffy texture.
-
Broth Choice: While chicken broth adds a traditional richness, vegetable broth provides a delicious vegetarian option. You can also use mushroom broth for an earthier flavor.
-
Onion Caramelization: Take your time with the onions. A deep, golden-brown color enhances their sweetness and adds complexity to the dish.
-
Toasting the Kasha: Keep a close eye on the kasha while toasting. It should become fragrant and lightly browned, but not burned. Constant stirring is key.
-
Preventing Mushiness: Avoid overcooking the kasha once the broth is added. Simmer gently and check for doneness. The grains should be tender but still retain some bite.
-
Make-Ahead Tip: The kasha mixture (before adding the pasta) can be prepared ahead of time and stored in the refrigerator for up to 2 days. Reheat gently before adding the pasta.
-
Vegan Variation: Substitute the egg with 1 tablespoon of oil and 1 tablespoon of water mixed well. Ensure you use vegetable broth instead of chicken broth.
Serving & Storage Suggestions
Kasha varnishkes is a versatile dish that can be served as a hearty side dish or a light main course. It pairs beautifully with roasted vegetables, grilled meats, or a dollop of sour cream (or vegan sour cream alternative).
-
Serving: Serve hot, garnished with fresh parsley or dill for a pop of color and freshness.
-
Storage: Leftovers can be stored in an airtight container in the refrigerator for up to 3 days.
-
Reheating: Reheat gently in a skillet over low heat, adding a splash of broth or water if needed to prevent drying. You can also microwave it in short intervals, stirring in between.
-
Freezing: Kasha varnishkes can be frozen for up to 2 months. Thaw overnight in the refrigerator before reheating. The texture may be slightly softer after freezing, but the flavor will still be delicious.
Nutritional Information
(Estimated values per serving – may vary based on specific ingredients)
| Nutrient | Amount per Serving | % Daily Value |
|---|---|---|
| Calories | 250 kcal | 13% |
| Total Fat | 8g | 12% |
| Saturated Fat | 1g | 5% |
| Cholesterol | 30mg | 10% |
| Sodium | 300mg | 13% |
| Total Carbohydrate | 35g | 12% |
| Dietary Fiber | 4g | 16% |
| Sugars | 2g | |
| Protein | 8g | 16% |
Variations & Substitutions
-
Gluten-Free: Use gluten-free bow tie pasta for a gluten-free version. Ensure the broth is also gluten-free.
-
Mushroom Kasha Varnishkes: Sauté sliced mushrooms with the onions for an earthier flavor profile.
-
Savory Additions: Add sautéed spinach, kale, or other greens to the kasha mixture for added nutrients and flavor.
-
Spicy Kick: Add a pinch of red pepper flakes or a dash of hot sauce for a spicy twist.
-
Herbed Kasha Varnishkes: Stir in fresh herbs like dill, parsley, or chives just before serving for added freshness.
FAQs (Frequently Asked Questions)
Q: Can I use a different type of pasta?
A: While bow tie pasta is traditional, you can use other small pasta shapes like shells or elbows. The key is to choose a pasta that will hold the kasha and sauce well.
Q: How do I prevent the kasha from sticking to the pan?
A: Using a non-stick skillet and stirring frequently during the toasting and simmering stages will help prevent sticking.
Q: Can I make this dish ahead of time?
A: Yes, you can prepare the kasha mixture (before adding the pasta) ahead of time and store it in the refrigerator for up to 2 days. Reheat gently before adding the pasta.
Q: What if I don’t have chicken broth?
A: Vegetable broth is a great substitute. You can also use water, but the flavor will be less rich.
Q: How do I know when the kasha is cooked?
A: The kasha is cooked when the broth is fully absorbed and the grains are tender but still slightly firm to the bite.
Final Thoughts
Kasha varnishkes is more than just a recipe; it’s a story of family, tradition, and comfort. It’s a celebration of simple ingredients transformed into a dish that nourishes both the body and the soul. Whether you’re looking to connect with your heritage or simply seeking a delicious and satisfying meal, I encourage you to try this recipe. Share it with your loved ones, adapt it to your own tastes, and create your own memories around this timeless classic. I hope this dish brings you as much joy as it has brought me over the years. Let me know how it turns out!