
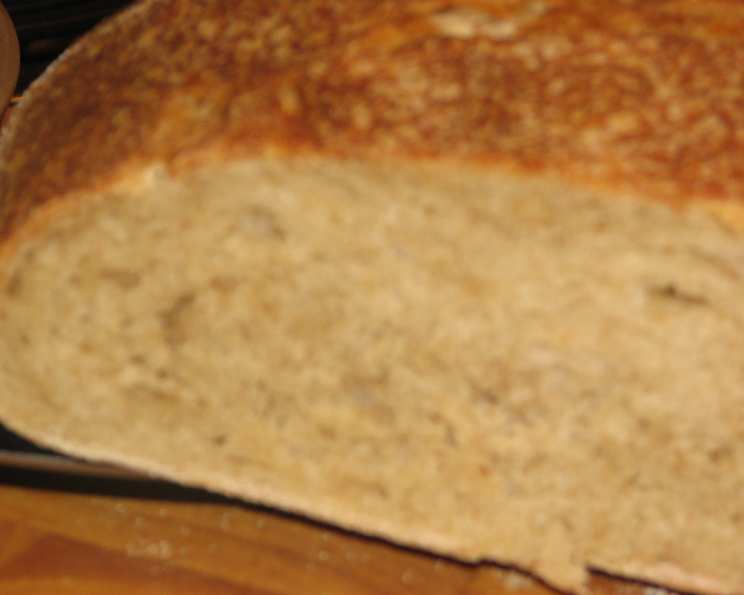
The King Arthur Sourdough: A Baker’s Journey
My earliest memory of sourdough isn’t from a bakery, but from my grandmother’s kitchen. She wasn’t a fancy baker, but her sourdough possessed a tangy depth unlike anything store-bought. It filled the house with a comforting aroma, a mix of warm flour and gentle fermentation. While her recipe was lost to time, this King Arthur Sourdough evokes that same nostalgic feeling, a hearty loaf that’s both satisfying to make and even more rewarding to eat. It’s a journey, a commitment, but the incredible flavor is well worth the effort.
Recipe Overview
- Prep Time: 30 minutes (plus 18-20 hours for sponge)
- Cook Time: 18-25 minutes
- Total Time: 20 hours (including rising)
- Yield: 2 loaves
- Dietary Type: Vegetarian
Ingredients
For the Sponge:
- ½ teaspoon sourdough starter
- 2 cups unbleached all-purpose flour
- 1 cup warm water
For the Dough:
- 3 cups unbleached all-purpose flour
- ¾ cup warm water
- 1 ½ teaspoons salt
- ½ teaspoon instant yeast
Equipment Needed
- Medium mixing bowl
- Large bowl (for bulk fermentation)
- Baking stone or baking sheet
- Baker’s peel (optional)
- Spray bottle
Instructions
- Prepare the Sponge: In a medium mixing bowl, combine the sourdough starter and 2 cups of unbleached all-purpose flour. Gradually mix in the 1 cup of warm water. Stir vigorously for several minutes to activate the gluten. This step is crucial for developing the sourdough’s characteristic tang.
- Ferment the Sponge: Cover the bowl tightly and set aside in a warm place for 18-20 hours. This long fermentation period is what gives the sourdough its complex flavor. The sponge should expand by about 1/3 or more and develop bubbles and a pleasing aroma. You can prepare the sponge up to 7 days ahead and refrigerate it until ready to use.
- Combine the Sponge and Dough Ingredients: Add the fermented sponge to a large bowl. Incorporate the 3 cups of unbleached all-purpose flour, ¾ cup of warm water, 1 ½ teaspoons of salt, and ½ teaspoon of instant yeast.
- Form the Dough: Stir the ingredients until they form a shaggy mass. Don’t overmix at this stage.
- Autolyse (Resting Period): Let the mixture sit, covered, for 20-30 minutes. This resting period, known as autolyse, allows the flour to fully absorb the water, making kneading easier and preventing the need to add too much additional flour.
- Knead the Dough: Knead the dough for about 8-10 minutes by hand on a lightly floured surface, or 6-8 minutes in an electric mixer fitted with a dough hook. The dough should feel firm, slightly sticky, and elastic. It’s tempting to add more flour if it seems too sticky, but resist! A slightly sticky dough yields a more open crumb.
- First Fermentation (Bulk Fermentation): Place the dough in a lightly greased bowl, turning to coat all sides. Cover the bowl and set it in a warm place.
- Stretch and Fold: After an hour, and again at the 2-hour mark, gently deflate the dough and perform a series of stretch and folds. To do this, gently stretch a portion of the dough upwards and fold it over onto itself. Rotate the bowl and repeat this process several times. This helps to strengthen the gluten and develop the dough’s structure.
- Proof the Dough: In 2-3 hours, the dough should have almost doubled in size. This is a sign that the fermentation process is progressing well.
- Shape the Loaves: Turn the dough out onto a lightly greased work surface. Divide the dough in half and form each half into a round (boule). Let the rounds rest for 20 minutes, covered. This allows the gluten to relax, making shaping easier.
- Final Shaping: After the rest, form the pieces into your preferred loaf shapes – rounds, ovals (batards), or even braided loaves.
- Final Proof: Place the shaped loaves seam-side up in bannetons or on a parchment-lined baking sheet, and cover loosely. Let the loaves rise for 2 more hours. The dough should have almost doubled in size and feel light and airy. This is the final proof.
- Preheat the Oven: Preheat your oven to 475°F (246°C) with a baking stone or baking sheet inside. The hot stone will help to create a crispy crust.
- Score the Loaves: Gently turn the loaves out onto a floured baker’s peel or directly onto the preheated baking stone or baking sheet. Score the loaves several times with a sharp knife or lame. Scoring allows the bread to expand properly in the oven and creates attractive patterns.
- Bake: Just before placing the loaves in the oven, spritz the inside of the oven several times with water. This creates steam, which helps to develop a shiny, crispy crust. Repeat this spritzing after 30 seconds, 1 minute, and 2 minutes.
- Reduce Temperature: Turn the oven temperature down to 450°F (232°C) and bake for 18-25 minutes, or until the crust is well browned and the bread feels firm.
- Check for Doneness: To ensure the bread is baked through, tap the bottom of the loaf. It should sound hollow. The internal temperature should read 195°F (90°C) when measured with a thermometer.
- Cooling: Transfer the baked loaves to a wire rack and let them cool completely before slicing. This is crucial, as slicing warm bread can result in a gummy texture.
Expert Tips & Tricks
- Sourdough Starter Health: A healthy, active sourdough starter is essential for successful sourdough baking. If your starter is sluggish, feed it regularly for a few days before using it in this recipe.
- Oven Spring: The initial burst of expansion in the oven is called oven spring. Proper scoring and steam are crucial for maximizing oven spring.
- Adjusting Hydration: Sourdough recipes can be adjusted to change the crumb. Slightly higher hydration (more water) will lead to a more open, airy crumb.
- Baking in a Dutch Oven: For an even crispier crust and enhanced oven spring, consider baking the loaves in a preheated Dutch oven.
Serving & Storage Suggestions
Serve this King Arthur Sourdough fresh, sliced with butter, or use it to make sandwiches, toast, or croutons. It pairs beautifully with soups, stews, and cheese boards. Store leftover bread in a breadbox or tightly wrapped at room temperature for up to 3 days. For longer storage, wrap the bread tightly and freeze it for up to 2 months. To reheat, thaw the bread completely and then warm it in a 350°F (175°C) oven for 10-15 minutes.
Nutritional Information
| Nutrient | Amount per Serving | % Daily Value |
|---|---|---|
| Calories | 228 kcal | 11% |
| Total Fat | 0.6g | 1% |
| Saturated Fat | 0.1g | 1% |
| Cholesterol | 0mg | 0% |
| Sodium | 351mg | 15% |
| Total Carbohydrate | 48g | 16% |
| Dietary Fiber | 1.7g | 7% |
| Sugars | 0.2g | 0% |
| Protein | 6.5g | 13% |
Note: Nutritional information is an estimate and may vary based on specific ingredients and portion sizes.
Variations & Substitutions
- Rye Sourdough: For a deeper, more complex flavor, substitute ½ cup of rye flour for ½ cup of the all-purpose flour in the sponge.
- Whole Wheat Sourdough: Similarly, you can substitute ½ cup of whole wheat flour for ½ cup of the all-purpose flour in the sponge.
- Seeded Sourdough: Add your favorite seeds, such as sesame, poppy, or sunflower seeds, to the dough during the final kneading stage.
- Herb Sourdough: Incorporate chopped fresh herbs, such as rosemary, thyme, or oregano, into the dough for a savory twist.
FAQs (Frequently Asked Questions)
Q: Can I use active dry yeast instead of instant yeast?
A: Yes, but you’ll need to proof the active dry yeast in warm water for 5-10 minutes before adding it to the dough.
Q: My sourdough isn’t rising as much as it should. What could be the problem?
A: Several factors can affect the rise, including a weak starter, cold temperatures, or over-kneading. Ensure your starter is active, proof the dough in a warm place, and avoid over-kneading.
Q: How do I know when my sourdough is properly proofed?
A: Gently poke the dough with a floured finger. If the indentation slowly springs back, it’s ready to bake. If it springs back immediately, it needs more time. If it doesn’t spring back at all, it’s over-proofed.
Q: Why is my sourdough crust so hard?
A: A hard crust can be caused by baking at too high of a temperature or for too long. Also, make sure to create enough steam in the oven during the initial baking period.
Q: Can I freeze the sourdough dough before baking?
A: Yes, you can freeze the dough after shaping it. Wrap it tightly in plastic wrap and then in foil. Thaw it in the refrigerator overnight before letting it rise and bake as directed.
Final Thoughts
Embarking on the sourdough journey is a testament to patience and dedication. This King Arthur Sourdough is more than just bread; it’s an experience, a connection to tradition, and a celebration of simple ingredients transformed by time and care. So, preheat your oven, awaken your starter, and embrace the process. Don’t be afraid to experiment with variations and make it your own. Share your delicious creations with friends and family, and let the aroma of freshly baked sourdough fill your home.