
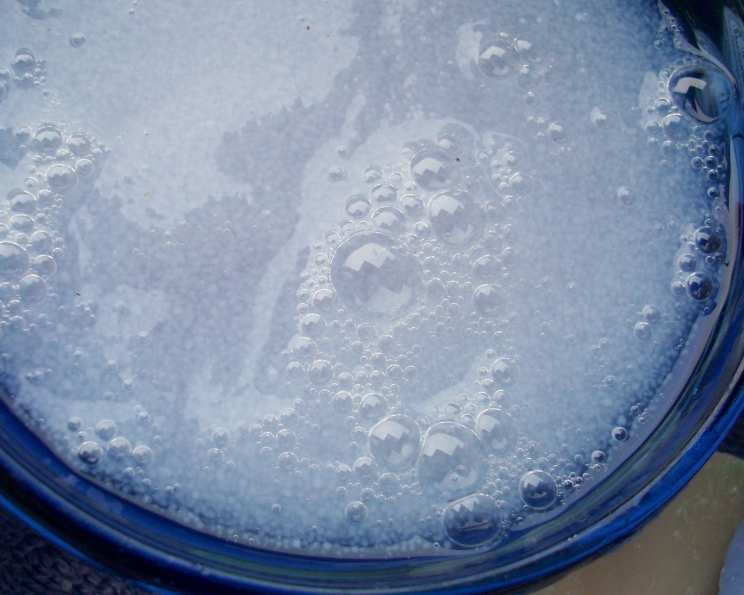
Crafting Your Own Liquid Gold: A Homemade Liquid/Gel Soap Recipe
I remember, as a child, being utterly fascinated by the bubbles. Not just any bubbles, but the rich, fragrant lather of my grandmother’s homemade soap. She always had a large jar of it sitting by the kitchen sink, a cloudy, opalescent liquid that promised cleanliness and a touch of her loving care. The scent, a blend of lavender and something subtly herbal I could never quite place, is forever etched in my memory. More than the scent, it was the knowledge that she had made it, carefully and deliberately, that made each handwash feel special. Now, I’m sharing a recipe that will allow you to create your own batch of liquid gold right in your kitchen.
Recipe Overview
- Prep Time: 15 minutes
- Cook Time: 1-3 hours (depending on heat setting and soap type)
- Total Time: 1-3 hours 15 minutes
- Yields: Approximately 1/2 gallon
- Dietary Type: Vegan (depending on the type of soap used)
Ingredients
- 2 cups bath soap flakes, or 2 cups grated bar bath soap (choose your favorite scent!)
- 1/2 gallon water
- 2 tablespoons glycerin
Equipment Needed
- Large pot or Dutch oven
- Spoon or whisk
- Glass jar or container with a tight-fitting lid for storage
Instructions
- Combine the bath soap flakes (or grated bar soap) and water in a large pot or Dutch oven. Choose a pot large enough to accommodate the mixture as it dissolves and expands.
- Set the pot over low heat. This is crucial for preventing scorching and ensuring the soap dissolves evenly. High heat can cause the soap to clump and create a mess.
- Stir the mixture occasionally but consistently. This prevents the soap from sticking to the bottom of the pot and helps it dissolve more quickly. Patience is key here; the soap will gradually melt into the water. Depending on the type of soap and the heat setting, this process can take anywhere from 1 to 3 hours.
- Continue stirring until the soap has completely dissolved into the water. The mixture should be relatively smooth, though it may still appear slightly cloudy. Any remaining chunks of soap indicate that it needs more time to dissolve.
- Once the soap is fully dissolved, remove the pot from the heat.
- Stir in the glycerin. Glycerin is a humectant, meaning it helps to retain moisture. Adding it to your liquid soap will help prevent your skin from drying out, especially with frequent handwashing.
- Allow the mixture to cool slightly. As it cools, it will thicken into a gel-like consistency.
- Transfer the liquid soap to a glass jar or other container with a tight-fitting lid. This will help to prevent evaporation and contamination.
- If you prefer a less thick, more liquid soap, you can use 1 gallon of water instead of 1/2 gallon. This will result in a thinner consistency that may be easier to dispense from certain types of soap dispensers.
Expert Tips & Tricks
- Choose your soap wisely: The type of soap you use will greatly impact the final product. Mild, unscented soaps are a good starting point, especially if you have sensitive skin. You can then add your own essential oils for fragrance.
- Grate the soap finely: If using bar soap, grating it finely will help it dissolve more quickly and evenly. A cheese grater or food processor with a grating attachment works well for this.
- Low and slow is the way to go: Resist the urge to crank up the heat to speed up the dissolving process. Low heat and consistent stirring are essential for preventing scorching and ensuring a smooth, even texture.
- Don’t overcook: Overheating the soap mixture can cause it to become brittle or separate. Once the soap is dissolved, remove it from the heat immediately.
- Adjust the thickness: The consistency of your liquid soap will depend on the type of soap you use and the amount of water. If it’s too thick, add a little more water, one tablespoon at a time, until you reach the desired consistency. If it’s too thin, you can try letting it sit uncovered for a few days to allow some of the water to evaporate.
- Customize your scent: Add essential oils to your liquid soap for a natural fragrance. Lavender, tea tree, lemon, and peppermint are all popular choices. Start with a few drops and add more until you achieve the desired scent. Be sure to use essential oils that are safe for topical use.
- Add color (optional): You can add a few drops of natural food coloring to your liquid soap for a pop of color.
Serving & Storage Suggestions
Your homemade liquid soap is perfect for use in the bathroom, kitchen, or anywhere you need to wash your hands. Simply dispense a small amount into your palm, lather with water, and rinse thoroughly.
Store your liquid soap in a cool, dry place away from direct sunlight. It should last for several months. If you notice any changes in color, odor, or consistency, discard it.
Nutritional Information
Since this recipe is for soap and not for consumption, there is no applicable nutritional information.
Variations & Substitutions
- Castile Soap Base: Instead of flaked or grated bath soap, you can use castile soap as a base. Castile soap is a vegetable-based soap that is gentle on the skin and environmentally friendly. Adjust the amount of water to achieve the desired consistency.
- Add Honey: Add a tablespoon of honey for extra moisturizing properties. Honey is a natural humectant and also has antibacterial properties.
- Herbal Infusion: Infuse the water with herbs before adding the soap. Simply simmer the water with your favorite herbs (such as lavender, chamomile, or rosemary) for about 30 minutes, then strain the water before using it in the recipe.
- Essential Oil Blends: Experiment with different essential oil blends to create your own signature scent. Consider blends like lavender and chamomile for relaxation, or eucalyptus and peppermint for an invigorating experience.
FAQs (Frequently Asked Questions)
Q: Can I use any type of bar soap for this recipe?
A: It’s best to use mild, unscented bath soap or castile soap. Avoid using harsh soaps or detergents, as they can irritate the skin.
Q: How do I prevent the soap from clumping while it’s dissolving?
A: Stir the mixture frequently and consistently over low heat. This will help to prevent the soap from sticking to the bottom of the pot and clumping together.
Q: My liquid soap is too thick. How can I thin it out?
A: Add a little more water, one tablespoon at a time, until you reach the desired consistency.
Q: Can I add essential oils to my liquid soap?
A: Yes, you can add essential oils for fragrance. Start with a few drops and add more until you achieve the desired scent. Be sure to use essential oils that are safe for topical use.
Q: How long will this homemade liquid soap last?
A: Stored properly in a cool, dry place, your homemade liquid soap should last for several months.
Final Thoughts
Creating your own liquid soap is a simple and rewarding project that allows you to customize your cleansing experience. From selecting your favorite scents to adjusting the consistency to your liking, the possibilities are endless. I encourage you to gather your ingredients, embrace the process, and enjoy the satisfaction of using a product you crafted with your own hands. Don’t hesitate to experiment with variations and share your creations with friends and family! Perhaps you’ll even spark a new tradition. Happy soap-making!